tarmac terror
Members
I am fairly new to this forum, having become an Accord owner since last Friday. Today I made a start on beginning to tidy up some of the cars imperfections. I will keep updating the thread as I go. I have no plans to modify this car at all, I have some other projects which keep me busy, this car is to be my reliable daily workhorse, although having said that, I look after all my cars to the same standard both mechanically and appearance wise.
Anyway, lets get started. I didn't get any "before" pictures today, I had already started work before I thought about it.
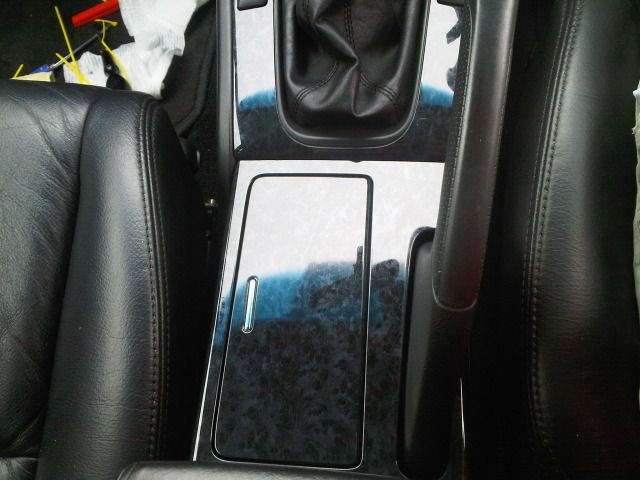
One of the things which bugged me about this car was the plastics in the centre console, in my car they are a blue marble effect, these were dull and quite heavily scuffed and scratched, I decided the way forward was to remove these and tackle them with the DA and see what sort of finish could be achieved. If this proved unsuccessful, the plan was to prime and paint them. I dont particluarly like these veneers in a car, its like walnut trim, totally out of place in any car, in my opinion.
Started with meguairs yellow polishing pad, and meguairs ultimate compound, after several passes of the polisher, it became evident that this was having no real impact. I changed to microfibre pads, and again used ultimate compound. The finish was further refined using the yellow polishing pad and with ultimate compound, then several passes using meguairs ultimate polish, with a final coat of simoniz original wax. The finish is not perfect, there are some deep scrathes remaining, these have been flattend down a bit, and I am happier with it now.
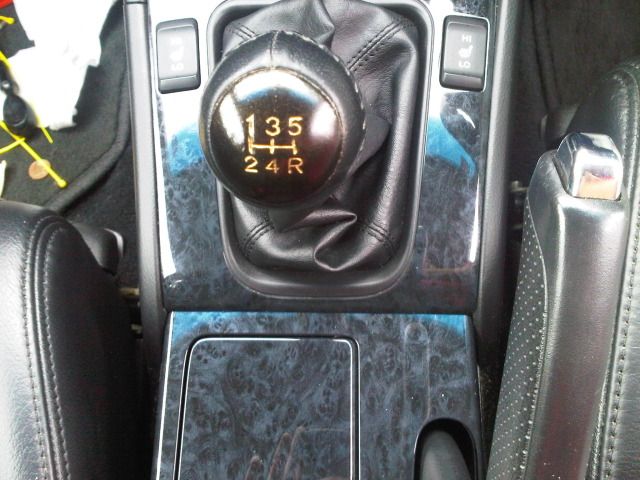
While the console was stripped down, I noticed the silver paint on the gear knob had worn a little, I dont know what inlay colour for the numbers and shift pattern was, or if these too were silver - anyhow, I decided a little change was in order. I lightly sanded the silver finish to provide a good key for the plastic primer. Masked things up and applied three light coats of grey primer, three light coats of matt black paint, then used gold leaf (nicked from my wife's card making supplies!!!) to inlay the numbers and shift pattern on the knob. A couple of coats of clear lacquer were applied just to make sure things were durable enough, as I have a habit of scuffing gear knobs with my wedding ring.
May not be to everyone or even anyone's liking, but its done now!!!
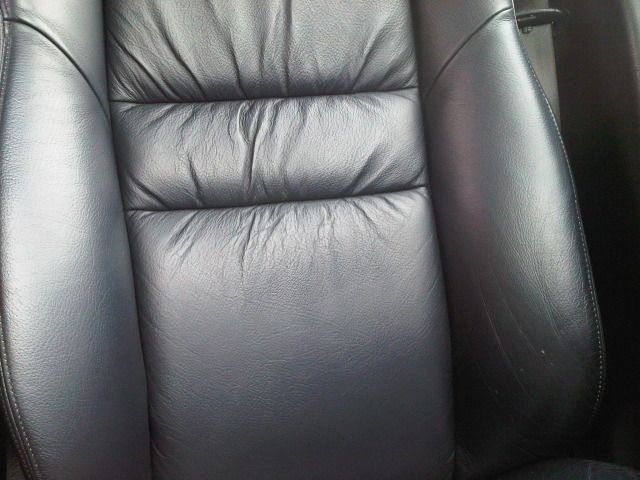
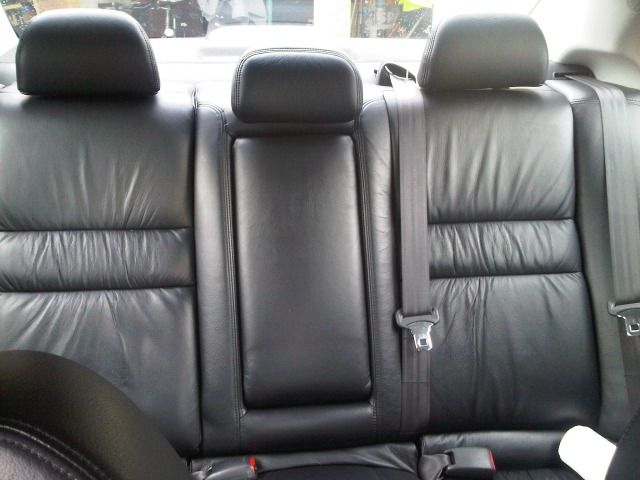
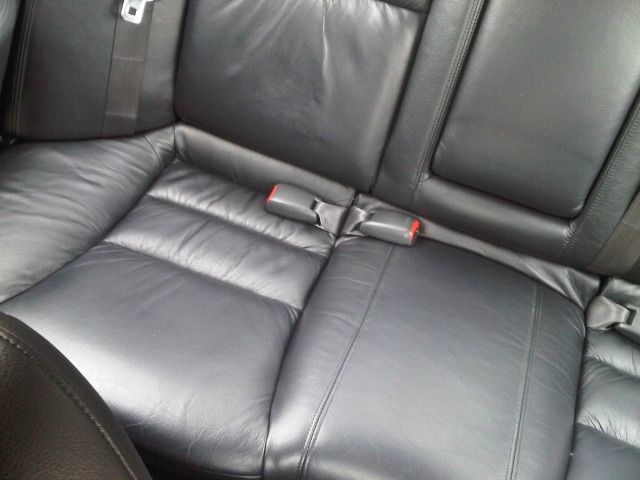
Next onto the leather - overall it is in good condition, after passing the vacuum across it, it got treated with meguairs leather cleaner and conditioner.
Drivers seat
Rear seats
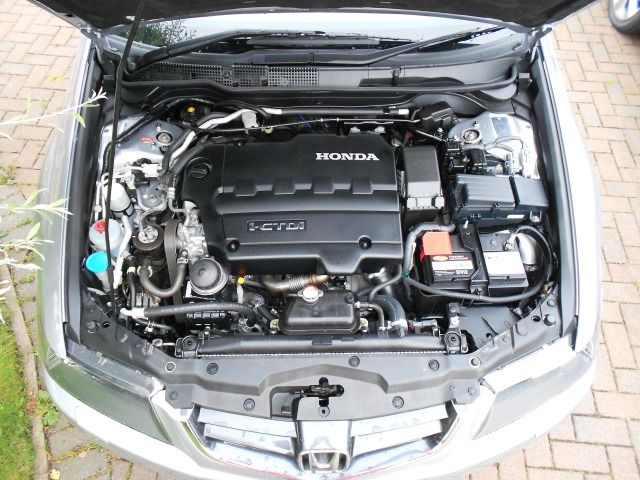
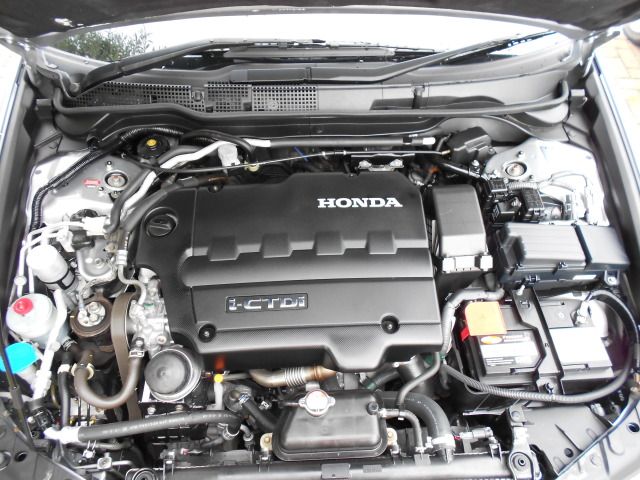
By this point it had at last stopped raining. So thought I would tackle the engine bay. Apologies, there are no 'before' pics. With the engine warmed, I lightly misted the entire engine bay with water, then used AutoSmart G101 diluted at 1:20. A few of the more stubborn areas were tackled with the same product at a strength of 1:5 as a spot cleaner. The grime was aggitated with a stiff brush, then hosed off with a high volume low pressure hose. An air line was used to clear residue from corners and crevices, before a light application of CD2 Engine detailer was applied.
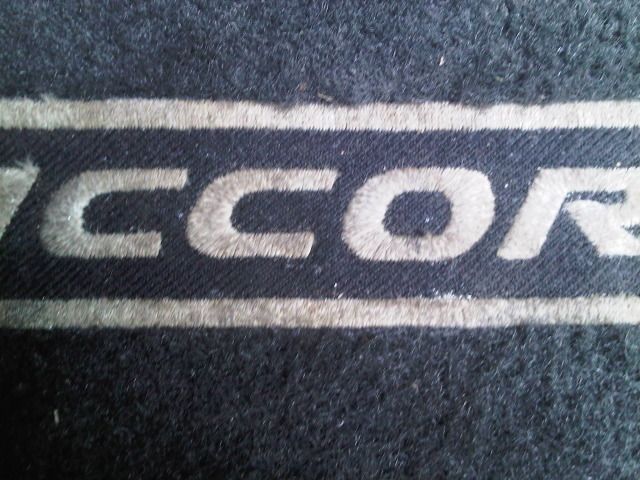
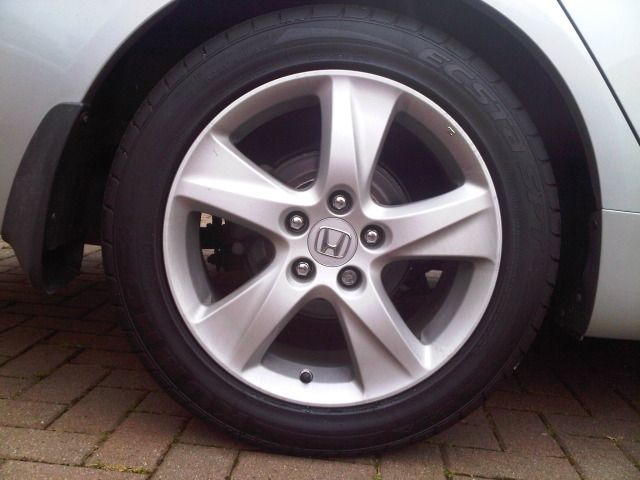
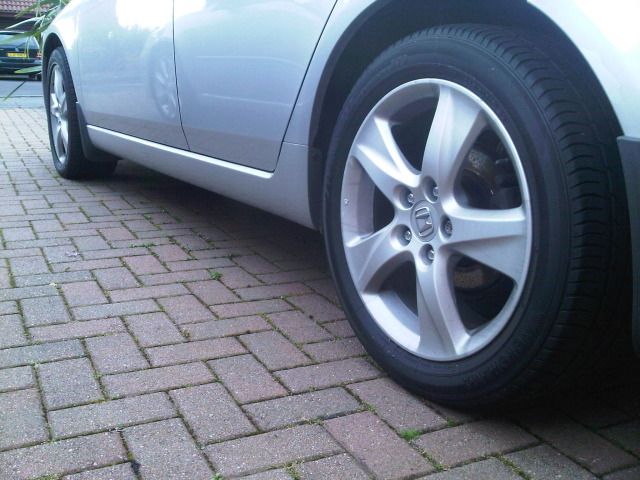
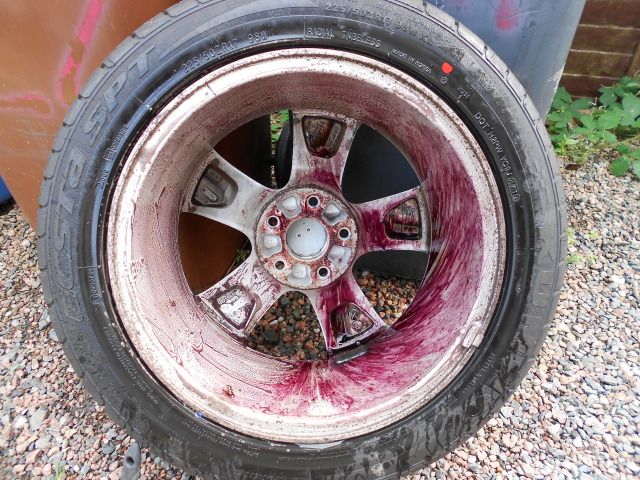
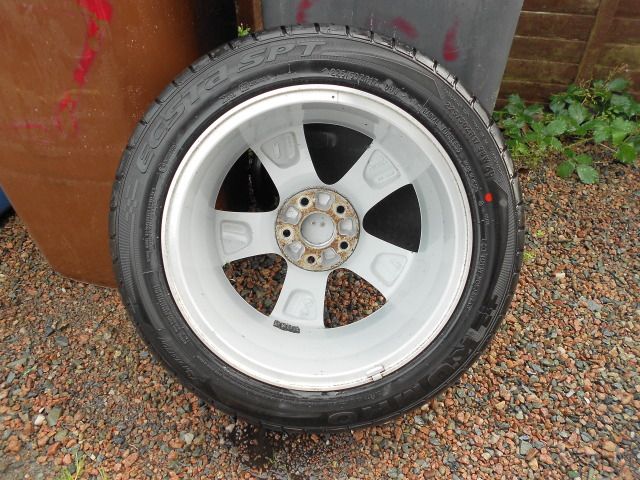
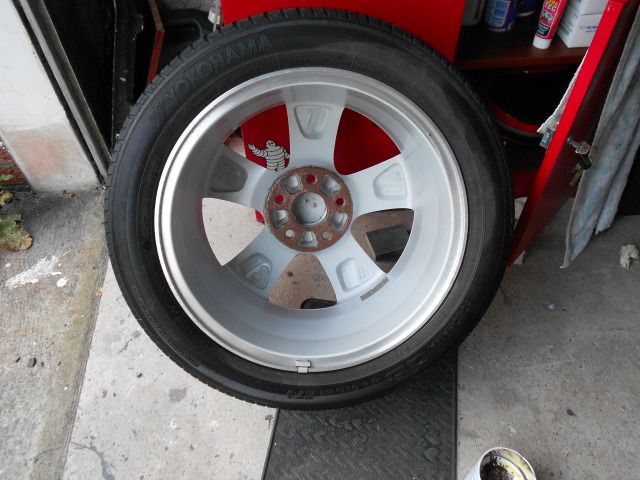
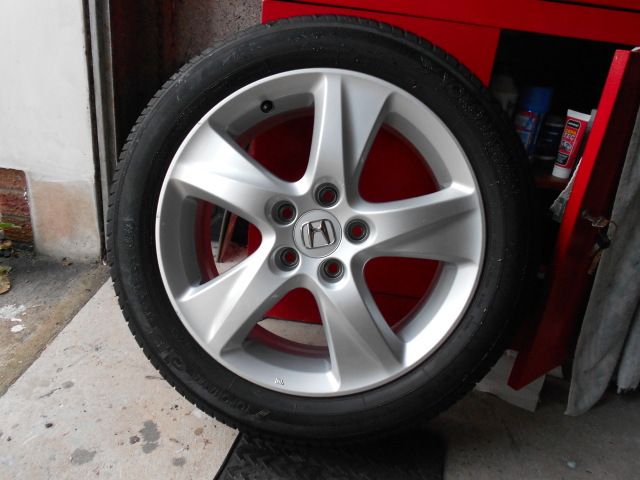
Hopefully before or at the weekend I will get an opportunity to start work on the wheels and carpets / mats. So until then, these are the before shots.
The mats are a bit grubby just from day to day use, the second shot closeup gives a better indication of this.
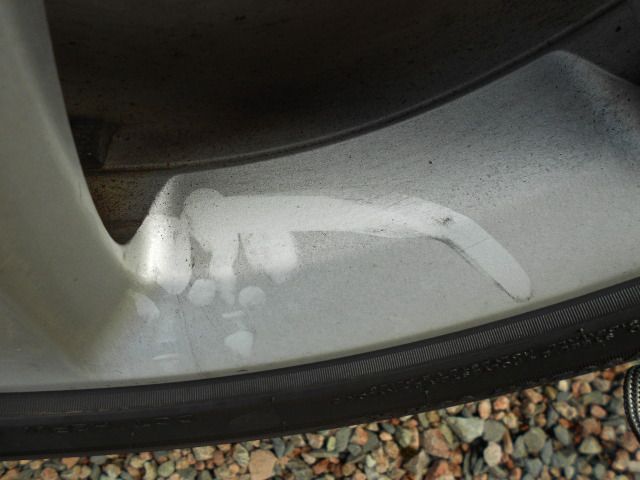
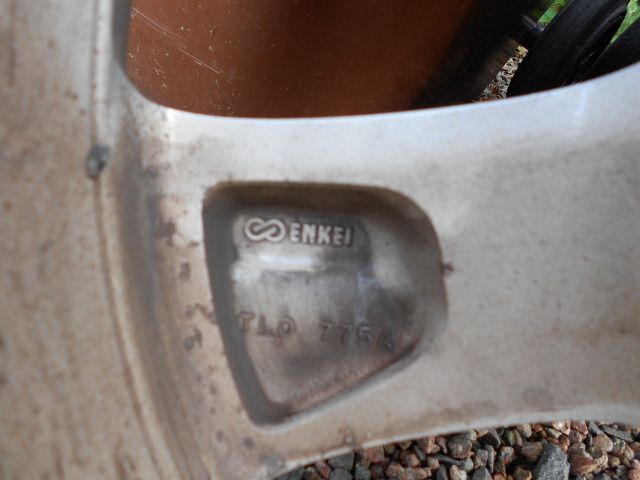
The wheels are in good condition in terms of their finish, but there is always room for improvement.
Anyway, lets get started. I didn't get any "before" pictures today, I had already started work before I thought about it.
One of the things which bugged me about this car was the plastics in the centre console, in my car they are a blue marble effect, these were dull and quite heavily scuffed and scratched, I decided the way forward was to remove these and tackle them with the DA and see what sort of finish could be achieved. If this proved unsuccessful, the plan was to prime and paint them. I dont particluarly like these veneers in a car, its like walnut trim, totally out of place in any car, in my opinion.
Started with meguairs yellow polishing pad, and meguairs ultimate compound, after several passes of the polisher, it became evident that this was having no real impact. I changed to microfibre pads, and again used ultimate compound. The finish was further refined using the yellow polishing pad and with ultimate compound, then several passes using meguairs ultimate polish, with a final coat of simoniz original wax. The finish is not perfect, there are some deep scrathes remaining, these have been flattend down a bit, and I am happier with it now.
While the console was stripped down, I noticed the silver paint on the gear knob had worn a little, I dont know what inlay colour for the numbers and shift pattern was, or if these too were silver - anyhow, I decided a little change was in order. I lightly sanded the silver finish to provide a good key for the plastic primer. Masked things up and applied three light coats of grey primer, three light coats of matt black paint, then used gold leaf (nicked from my wife's card making supplies!!!) to inlay the numbers and shift pattern on the knob. A couple of coats of clear lacquer were applied just to make sure things were durable enough, as I have a habit of scuffing gear knobs with my wedding ring.
May not be to everyone or even anyone's liking, but its done now!!!
Next onto the leather - overall it is in good condition, after passing the vacuum across it, it got treated with meguairs leather cleaner and conditioner.
Drivers seat
Rear seats
By this point it had at last stopped raining. So thought I would tackle the engine bay. Apologies, there are no 'before' pics. With the engine warmed, I lightly misted the entire engine bay with water, then used AutoSmart G101 diluted at 1:20. A few of the more stubborn areas were tackled with the same product at a strength of 1:5 as a spot cleaner. The grime was aggitated with a stiff brush, then hosed off with a high volume low pressure hose. An air line was used to clear residue from corners and crevices, before a light application of CD2 Engine detailer was applied.
Hopefully before or at the weekend I will get an opportunity to start work on the wheels and carpets / mats. So until then, these are the before shots.
The mats are a bit grubby just from day to day use, the second shot closeup gives a better indication of this.
The wheels are in good condition in terms of their finish, but there is always room for improvement.

")