I can't take the credit for this one. It was very kindly forwarded to me by member Terry Vincent. Originally posted by a member called speaky05..
Welcome to my guide on how to replace the gas struts on a Honda Accord Tourer 2004. This may also apply to other model years 2003 to 2008. This is a guide on how I replaced the struts on my own car due to the tailgate not holding open on its own. I thought this was dangerous as it would just fall on someone’s head without warning! Some people had reported being quoted over £400 for supply and fitting of new struts. I did buy genuine replacements from Honda (fantastic service – ordered 17:00 on Friday, picked them up at 08:30 on Saturday!), at a cost of £70 each, but I saved on labour and was finished in about an hour!
You undertake this replacement at your own risk and I will not be held responsible for any damage or injury that may occur when following this guide.
Important safety tips
• You will be working very close to the rear airbags so there is a chance you may disturb them, so be very careful!
• There is a risk of the tailgate falling and injuring body parts (Head and Fingers), so support the tailgate well and keep all mad animals away!
• Do not try to operate the power tailgate while following this guide, as severe injury may result!
• There is a considerable risk of minor injury to fingers in the form of minor abrasions and cuts!
Tools Used
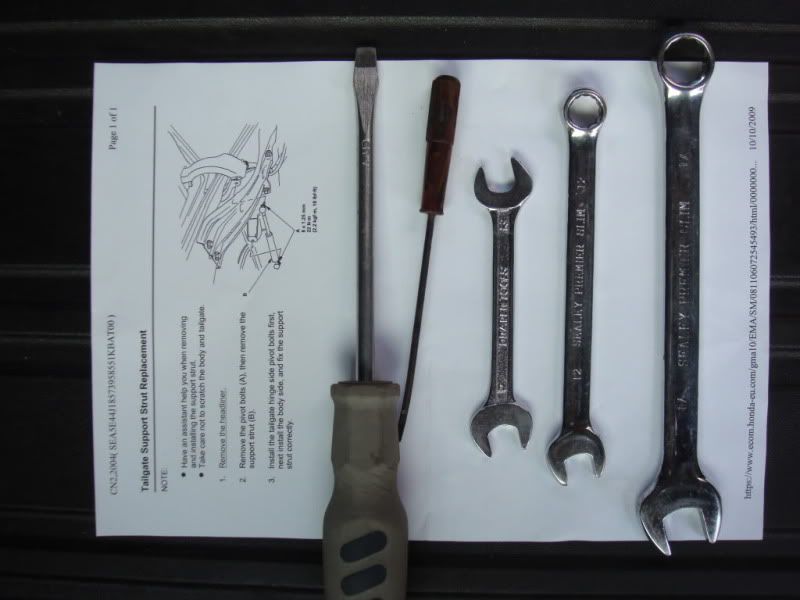
The Tools I Used
Definitely needed…
• Large Flat Screwdriver
• Small Flat Screwdriver
• 12mm Spanner (fairly thin)
• Girlfriend (not entirely essential as anyone over 5 foot tall will do)
Not necessarily needed…
• 12mm Spanner (slightly more substantial)
• 17mm Spanner
The dealer (Johnsons Honda of Milton Keynes) was very helpful and printed me a diagram of the right rear strut ***embly from the workshop manual. This helped to put my mind at ease as it was clear where the strut attached. The underlined part, “Remove the headliner,” was a bit scary though!
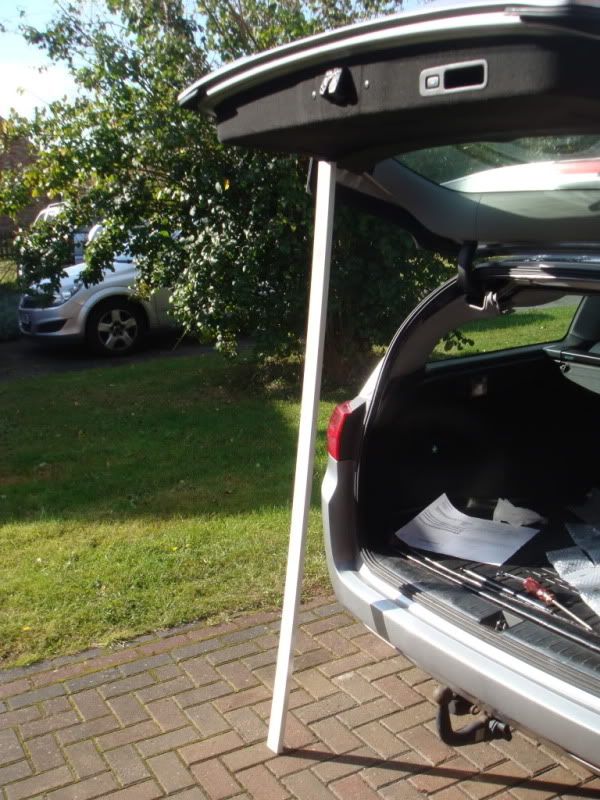
1. Supporting the tailgate
I used a handy piece of wood for this job. I was going to attempt the right hand side first as this was pictured in the diagram from the dealer and the motor is located on the left hand side, so I thought that may prove to be more difficult. I would have a go at the easier side first!
2. Removing the plastic headliner edge trims
As there were no visible screws or clips, I started by removing the rubber seal around the top and sides of the boot opening.
I could then see the clips holding the central plastic trim and was able to gently release them with the large flat ended screwdriver. The central trim came off quite easily but you do need to be gentle so as not to break any clips. Once the clips were released, a small twist of the front edge of the trim down and towards the rear was enough to unclip it from the side trims and remove it completely.
The clips for the side trims were now visible, and here they are… (left hand side)
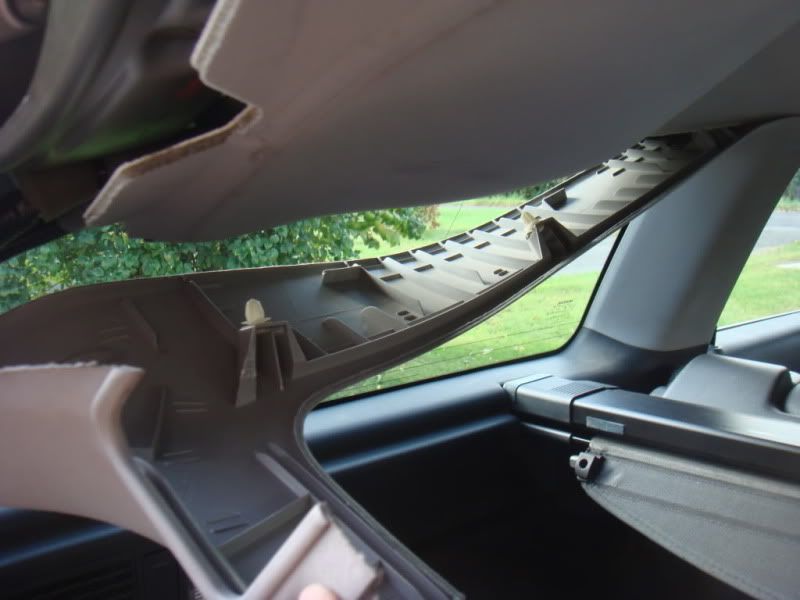
They can be released more easily if you gently pull the trim diagonally away from both the window and the roof, whilst using a large flat screwdriver close to the clips to help lever them out.
I also released the clips on the plastic trim below the rear windows, near the rear lights, but I do not think this was necessary.
The final clip on the left side by the top of the rear door pillar…
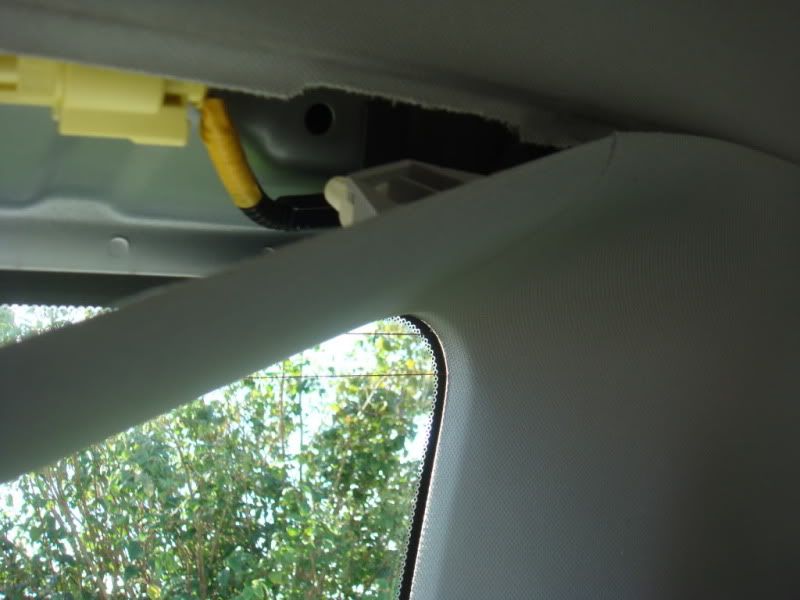
The right hand side is exactly the same, except you probably do not need to release the final clip, as the right strut is easier to reach.
3. Release the headliner clip
This was easy, but be careful not to break the head of the clip or tear the headliner.
4. Removing and Refitting the Right Hand Strut
After removing the headliner plastic trims and rear headliner clip, I was able to see the tailgate struts more clearly and came to the conclusion that I could flex the headliner enough to reach in with a small spanner and give it a go!
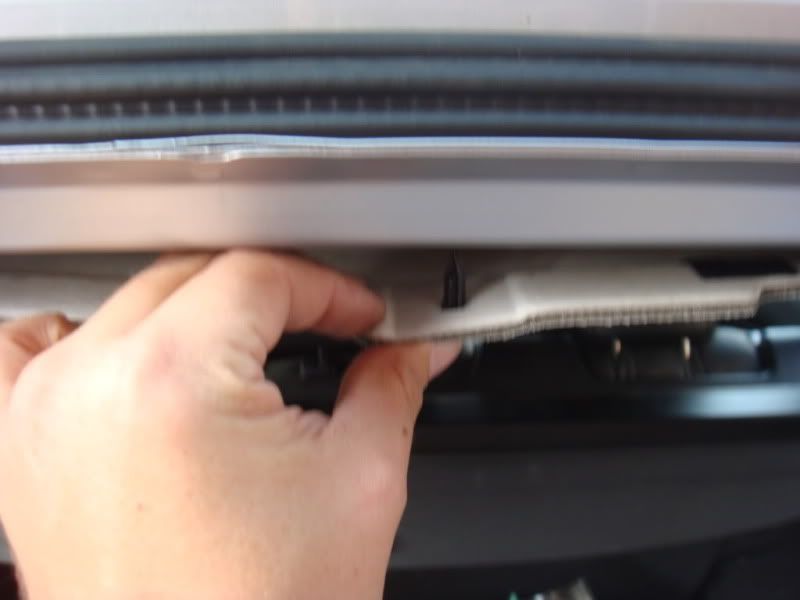
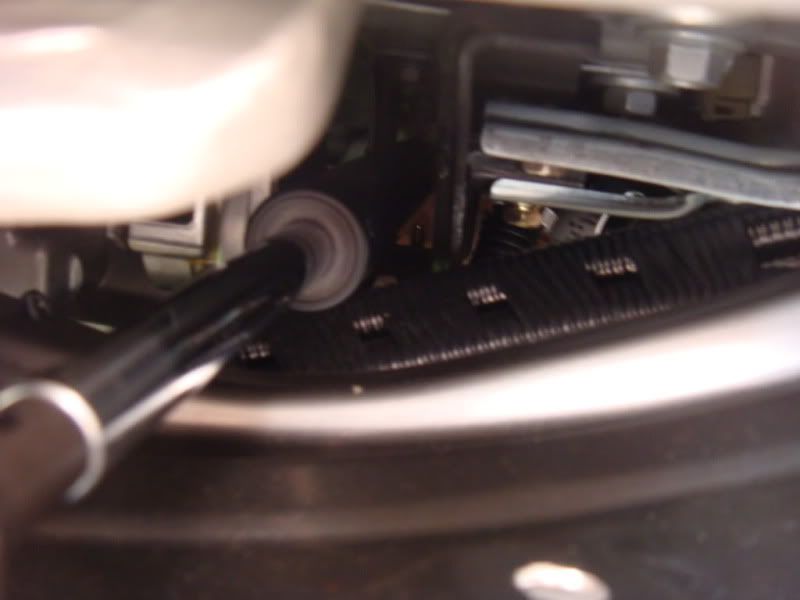
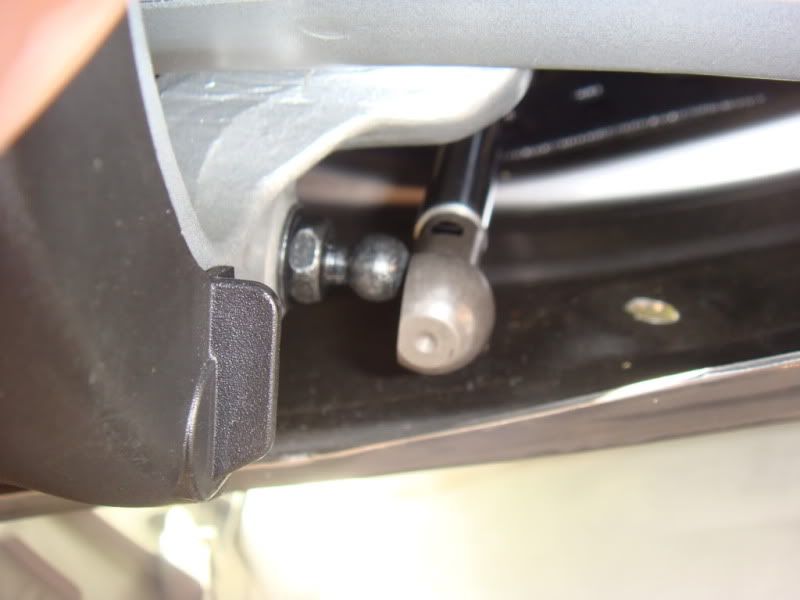
The right strut attached to the tailgate arm…

Remove the end attached to the tailgate arm first! (Fairly thin 12mm spanner needed)
Make sure the tailgate is still well supported, as it is more likely to fall on your head, or crush your fingers at this point!
I am glad I removed this end first, as it released the pressure on the fixing at the other end of the strut, making the harder to reach part, easier to undo.
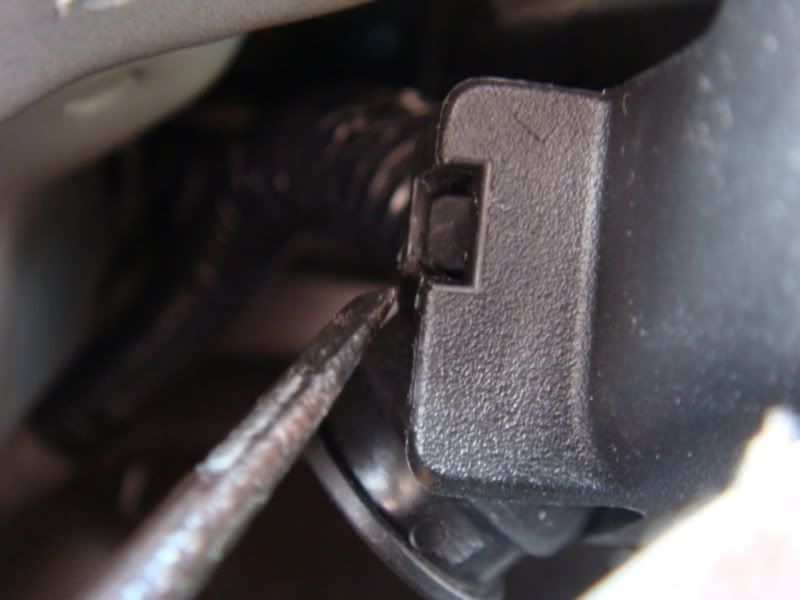
The other end of the right hand strut, just about reachable…

After removing the strut from the tailgate arm, I could get the thin 12mm spanner on the bolt at the other end…
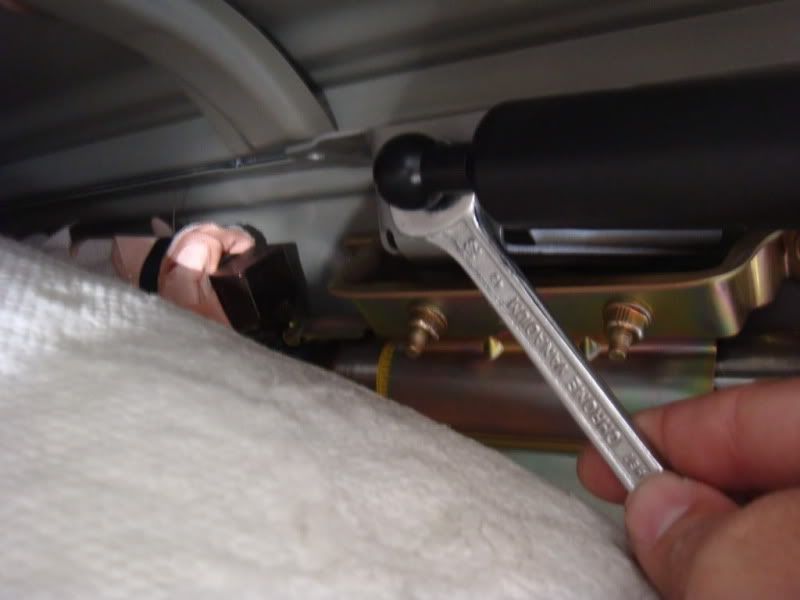
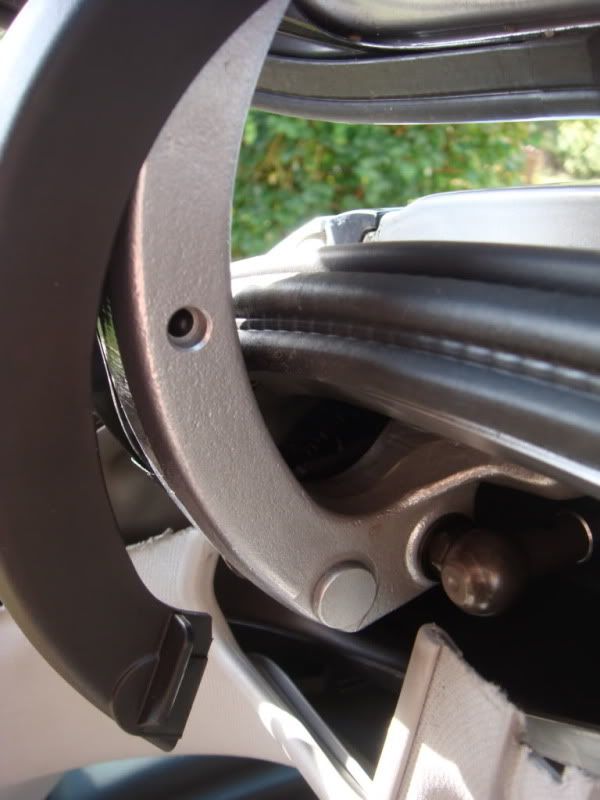
I was able to undo the bolt slightly with the spanner and could then use my fingers to undo it completely.
Take care when working close to the airbag!
Old and new… (Old strut at the top)
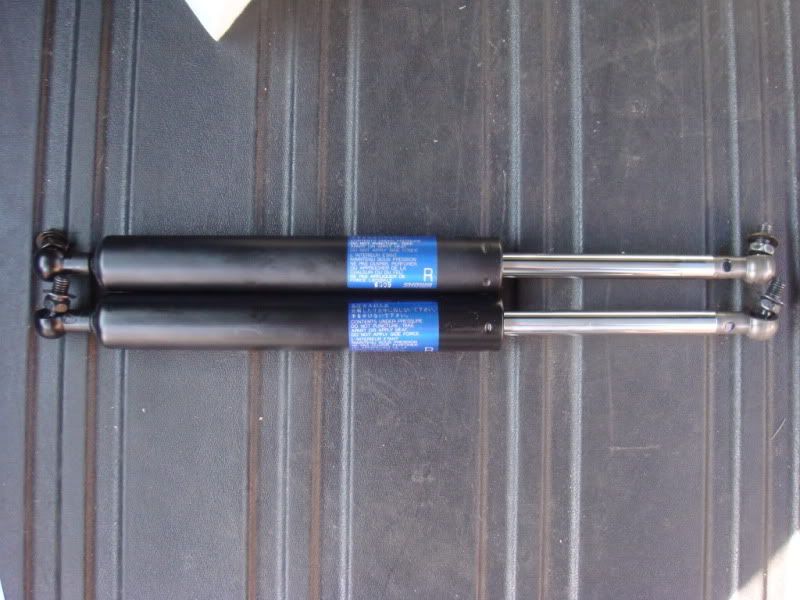
I couldn’t spot any difference? Just thought I would include the picture to show that I used genuine Honda parts.
Note the strut is labelled with an “R” for the right hand side. I couldn’t spot any difference between the left and the right strut, but I fitted them accordingly.
As mentioned in a well known DIY manual, “Fitting the new strut is a reversal of removal.”
Do not clip the strut to the mounting bolts before fitting, as I did! This makes it more difficult to tighten the bolts.
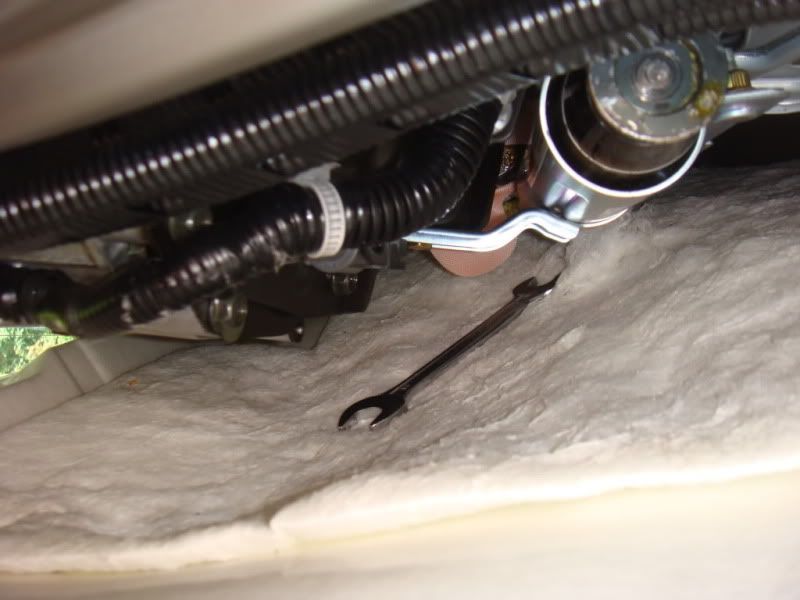
Start with the front mounting bolt (the last one you removed) tightening it fully with the 12mm spanner. The new strut can then be clipped onto the ball head quite easily. I found this more difficult because I had already clipped the strut to the bolt and it took longer to reach round the end of the strut to get the bolt in place.
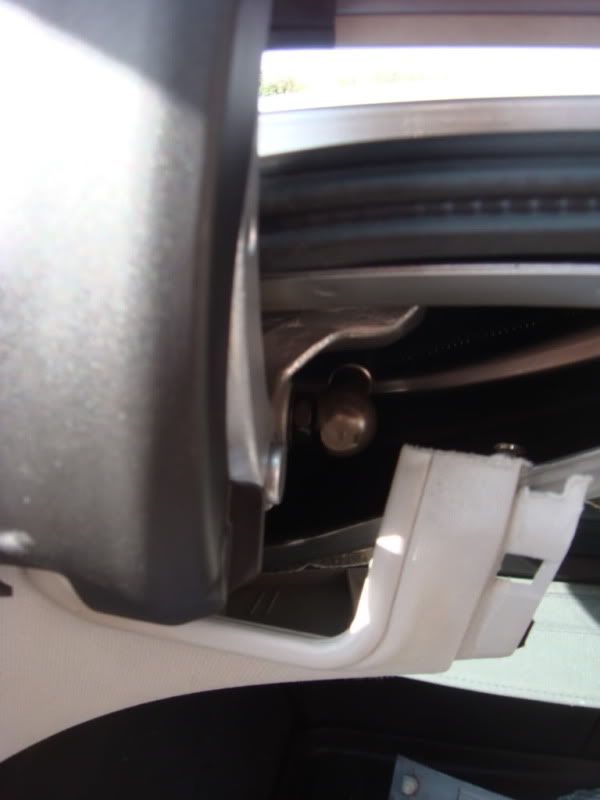
The tailgate arm end is even easier as it can be reached and seen with ease.
One down, one to go!
Welcome to my guide on how to replace the gas struts on a Honda Accord Tourer 2004. This may also apply to other model years 2003 to 2008. This is a guide on how I replaced the struts on my own car due to the tailgate not holding open on its own. I thought this was dangerous as it would just fall on someone’s head without warning! Some people had reported being quoted over £400 for supply and fitting of new struts. I did buy genuine replacements from Honda (fantastic service – ordered 17:00 on Friday, picked them up at 08:30 on Saturday!), at a cost of £70 each, but I saved on labour and was finished in about an hour!
You undertake this replacement at your own risk and I will not be held responsible for any damage or injury that may occur when following this guide.
Important safety tips
• You will be working very close to the rear airbags so there is a chance you may disturb them, so be very careful!
• There is a risk of the tailgate falling and injuring body parts (Head and Fingers), so support the tailgate well and keep all mad animals away!
• Do not try to operate the power tailgate while following this guide, as severe injury may result!
• There is a considerable risk of minor injury to fingers in the form of minor abrasions and cuts!
Tools Used
The Tools I Used
Definitely needed…
• Large Flat Screwdriver
• Small Flat Screwdriver
• 12mm Spanner (fairly thin)
• Girlfriend (not entirely essential as anyone over 5 foot tall will do)
Not necessarily needed…
• 12mm Spanner (slightly more substantial)
• 17mm Spanner
The dealer (Johnsons Honda of Milton Keynes) was very helpful and printed me a diagram of the right rear strut ***embly from the workshop manual. This helped to put my mind at ease as it was clear where the strut attached. The underlined part, “Remove the headliner,” was a bit scary though!
1. Supporting the tailgate
I used a handy piece of wood for this job. I was going to attempt the right hand side first as this was pictured in the diagram from the dealer and the motor is located on the left hand side, so I thought that may prove to be more difficult. I would have a go at the easier side first!
2. Removing the plastic headliner edge trims
As there were no visible screws or clips, I started by removing the rubber seal around the top and sides of the boot opening.
I could then see the clips holding the central plastic trim and was able to gently release them with the large flat ended screwdriver. The central trim came off quite easily but you do need to be gentle so as not to break any clips. Once the clips were released, a small twist of the front edge of the trim down and towards the rear was enough to unclip it from the side trims and remove it completely.
The clips for the side trims were now visible, and here they are… (left hand side)
They can be released more easily if you gently pull the trim diagonally away from both the window and the roof, whilst using a large flat screwdriver close to the clips to help lever them out.
I also released the clips on the plastic trim below the rear windows, near the rear lights, but I do not think this was necessary.
The final clip on the left side by the top of the rear door pillar…
The right hand side is exactly the same, except you probably do not need to release the final clip, as the right strut is easier to reach.
3. Release the headliner clip
This was easy, but be careful not to break the head of the clip or tear the headliner.
4. Removing and Refitting the Right Hand Strut
After removing the headliner plastic trims and rear headliner clip, I was able to see the tailgate struts more clearly and came to the conclusion that I could flex the headliner enough to reach in with a small spanner and give it a go!
The right strut attached to the tailgate arm…
Remove the end attached to the tailgate arm first! (Fairly thin 12mm spanner needed)
Make sure the tailgate is still well supported, as it is more likely to fall on your head, or crush your fingers at this point!
I am glad I removed this end first, as it released the pressure on the fixing at the other end of the strut, making the harder to reach part, easier to undo.
The other end of the right hand strut, just about reachable…
After removing the strut from the tailgate arm, I could get the thin 12mm spanner on the bolt at the other end…
I was able to undo the bolt slightly with the spanner and could then use my fingers to undo it completely.
Take care when working close to the airbag!
Old and new… (Old strut at the top)
I couldn’t spot any difference? Just thought I would include the picture to show that I used genuine Honda parts.
Note the strut is labelled with an “R” for the right hand side. I couldn’t spot any difference between the left and the right strut, but I fitted them accordingly.
As mentioned in a well known DIY manual, “Fitting the new strut is a reversal of removal.”
Do not clip the strut to the mounting bolts before fitting, as I did! This makes it more difficult to tighten the bolts.
Start with the front mounting bolt (the last one you removed) tightening it fully with the 12mm spanner. The new strut can then be clipped onto the ball head quite easily. I found this more difficult because I had already clipped the strut to the bolt and it took longer to reach round the end of the strut to get the bolt in place.
The tailgate arm end is even easier as it can be reached and seen with ease.
One down, one to go!
")