If like a few others your tailgate opens a little bit but then closes its self then this is the fix! Please be aware it isn’t for the faint hearted and requires stripping down the motor to component parts.
After A LOT of reading and A LOT of pulling my car to pieces over a few weekends we discovered the electric clutch in the motor was to blame. Infact if you dig deep enough you’ll find Honda extended the warranty of the tailgate motor due clutch failure.
First off we need to remove the motor unit its self, please follow the steps in this guide http://typeaccord.co.uk/forum/topic/19519-diy-for-tailgate-motor-removal/
Once we have the unit out the fun begins.
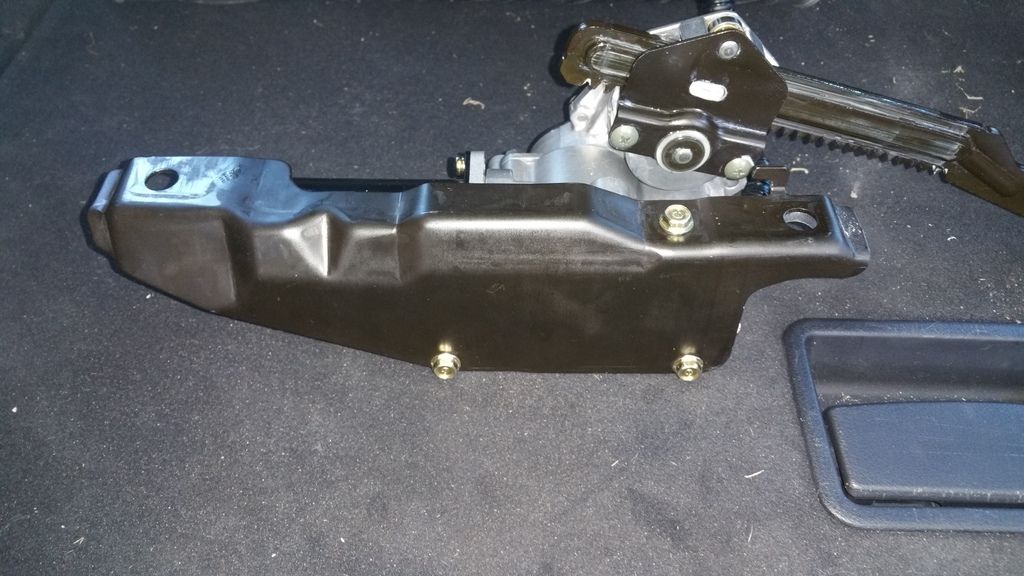
We need to remove the arm mechanism its only 3 10mm bolts
We need to remove the bracket that held the unit to the roof of the car. Just 3 10mm bolts
This uncovers where the 2 pulses are picked up by the ECU to check the motor isn’t spinning too fast. Remove the 2 screws holding this PCB in place.
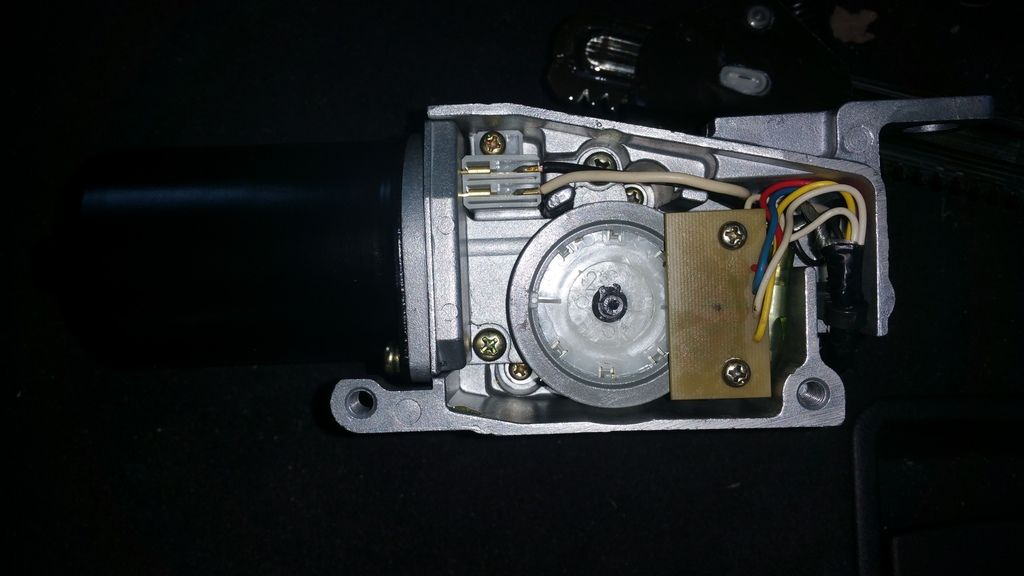
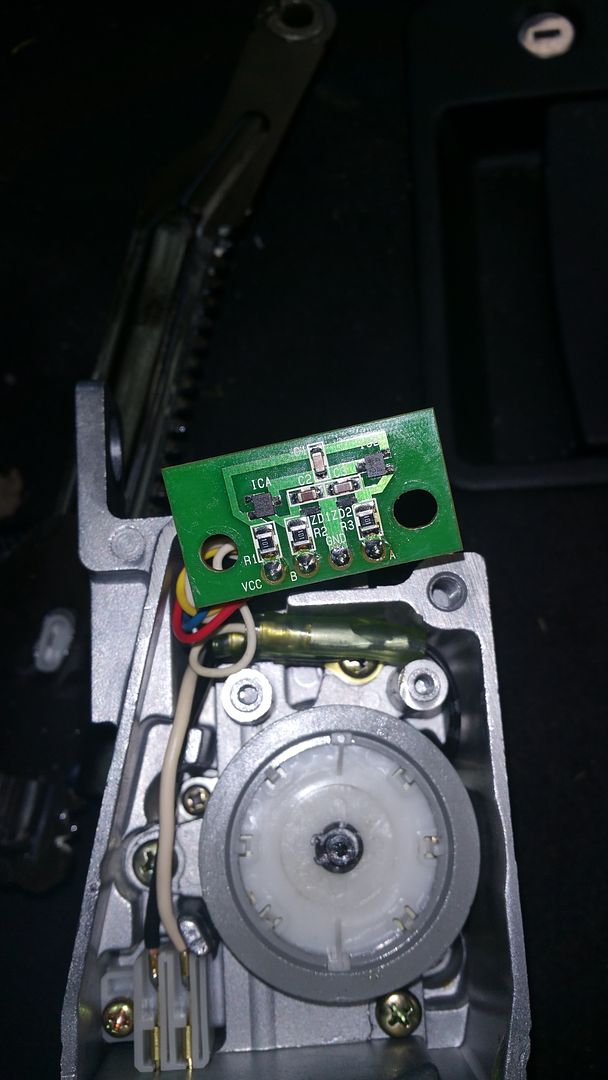
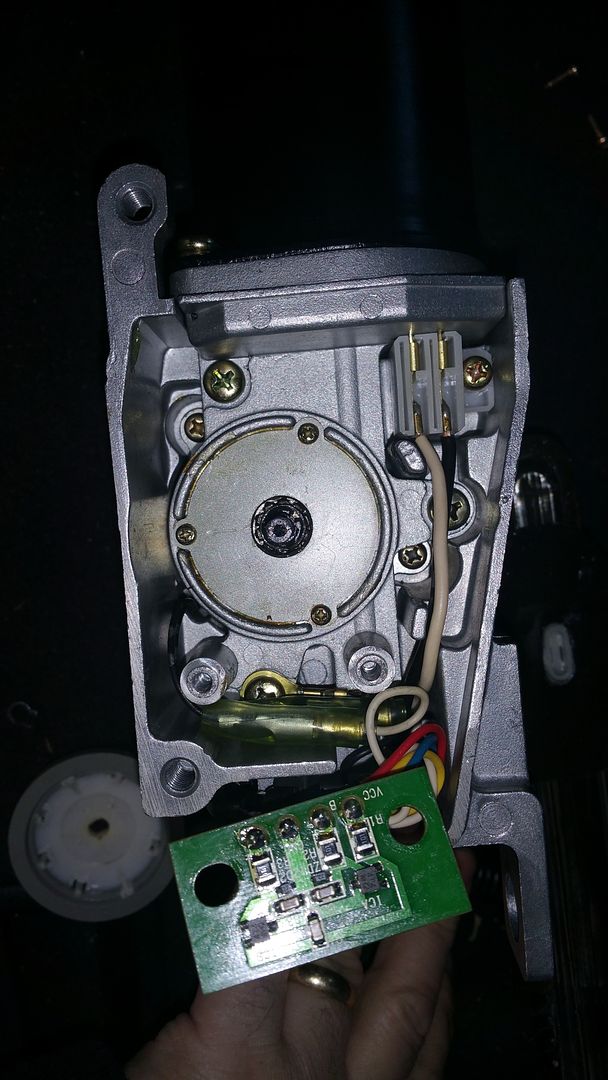
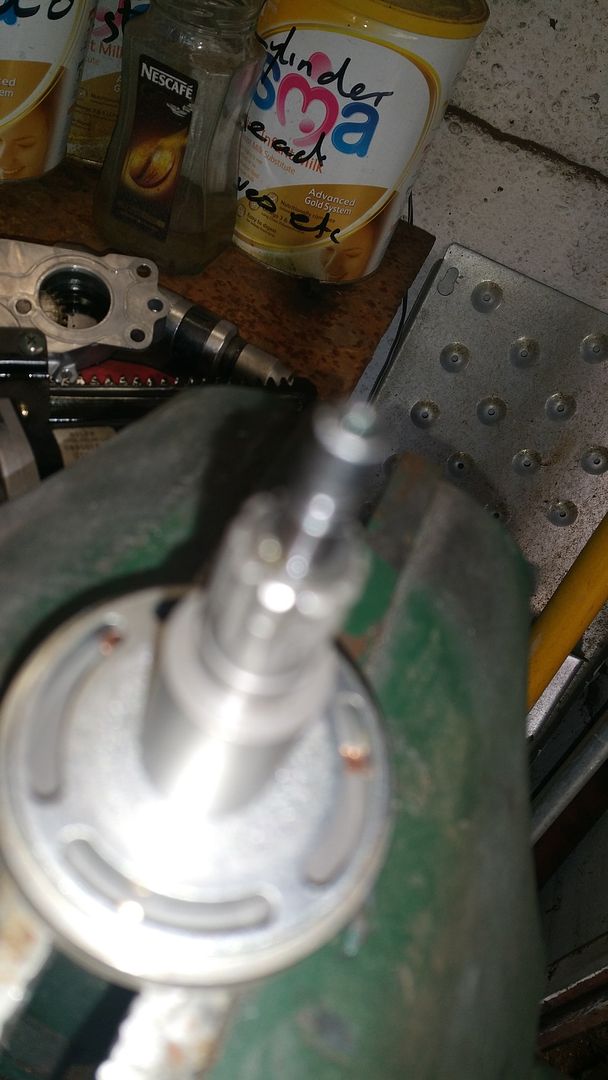
Next we need to remove the plastic wheel. This is held on by a small circlip with a wavy washer underneath and then it should lift right off.
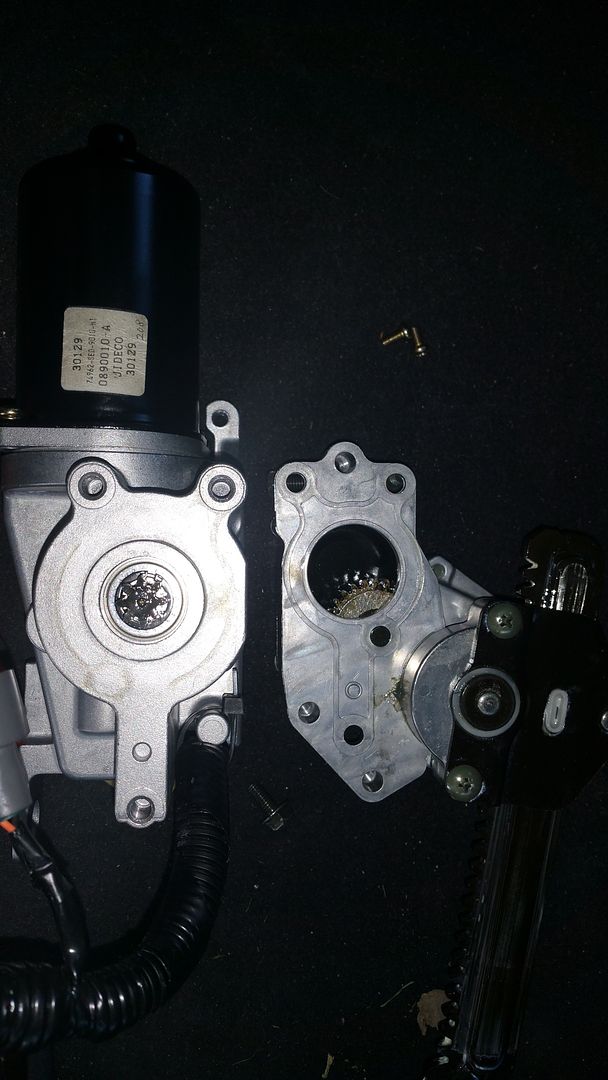
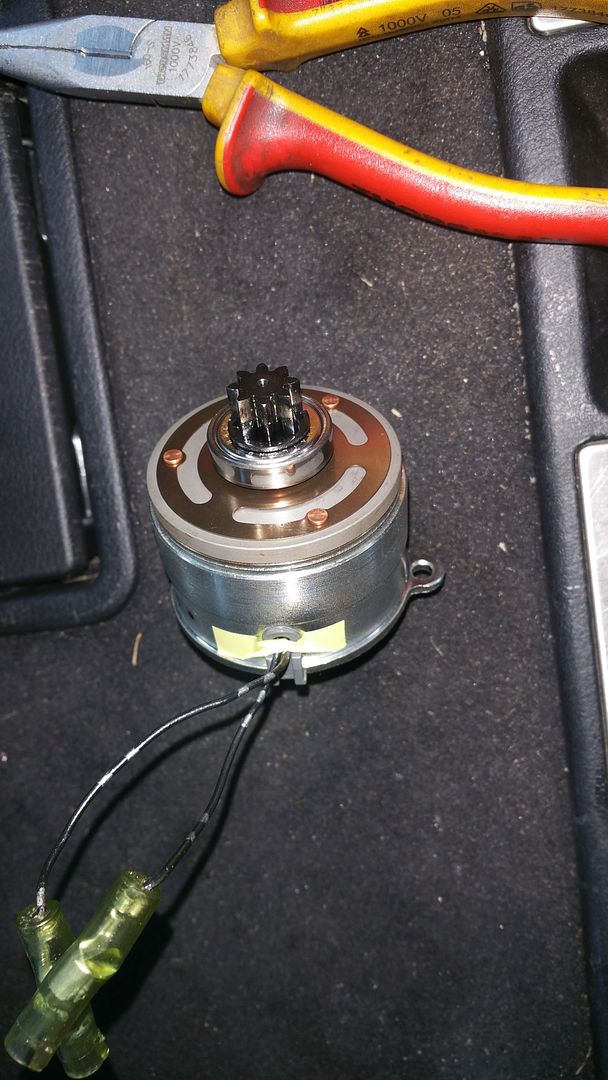
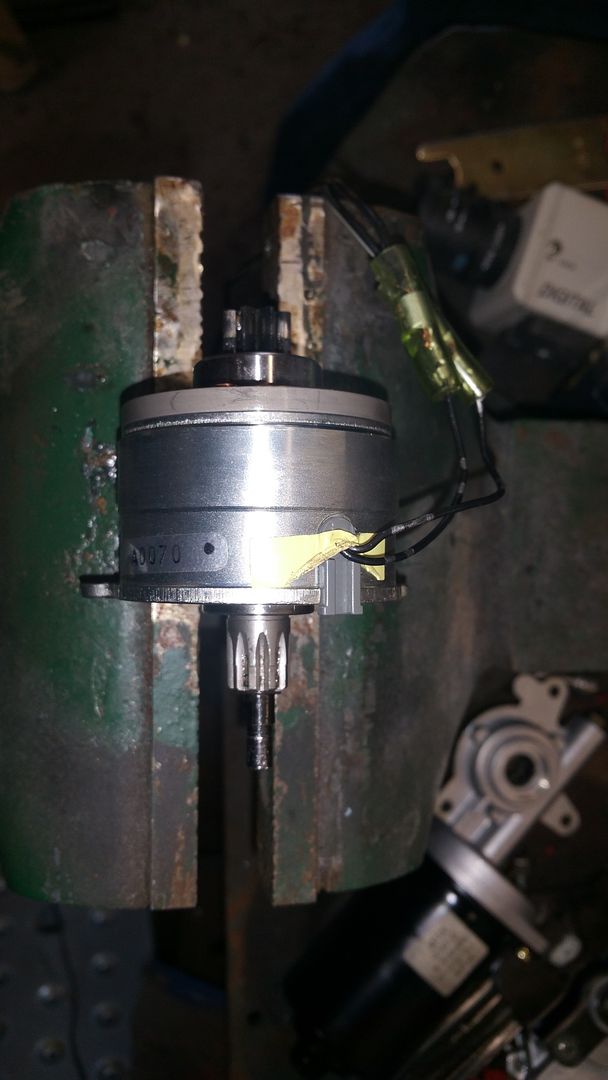
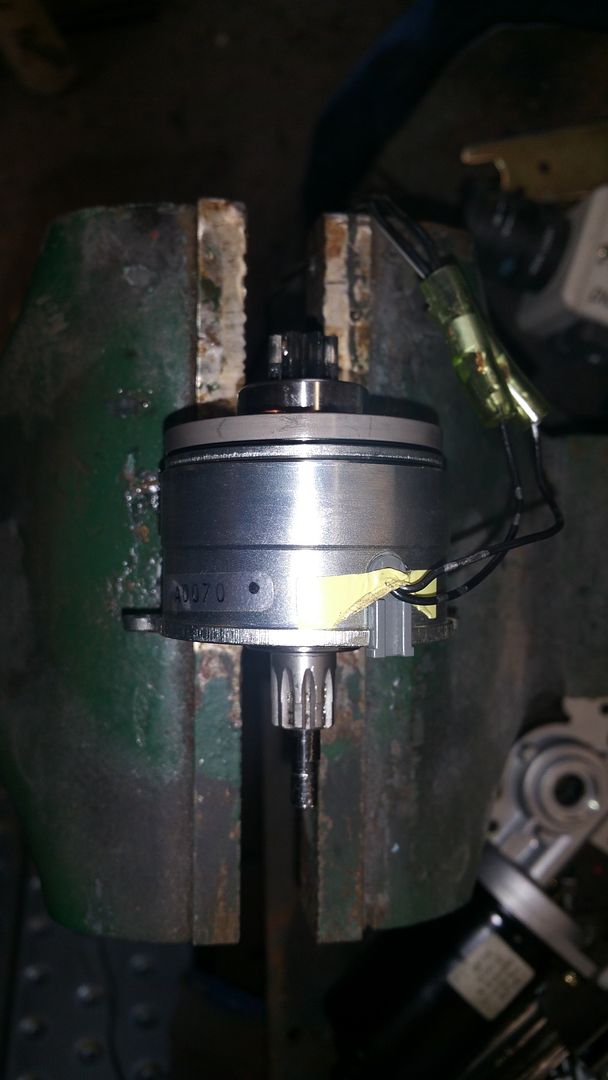
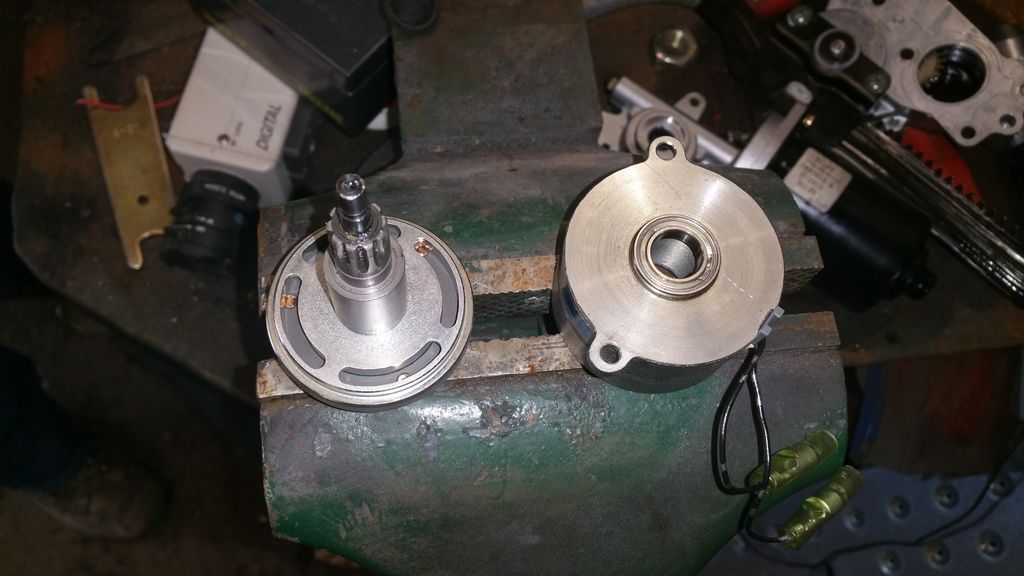
Luckily for this fix we do not need to remove the motor from the housing which saves us a lot of time. We need to remove the 4 bolts holding the unit together. There are 3 slightly bigger bolts 1 has a ring crimp underneath for a negative and the 4th smaller is in the top right corner holding down plastic connections.
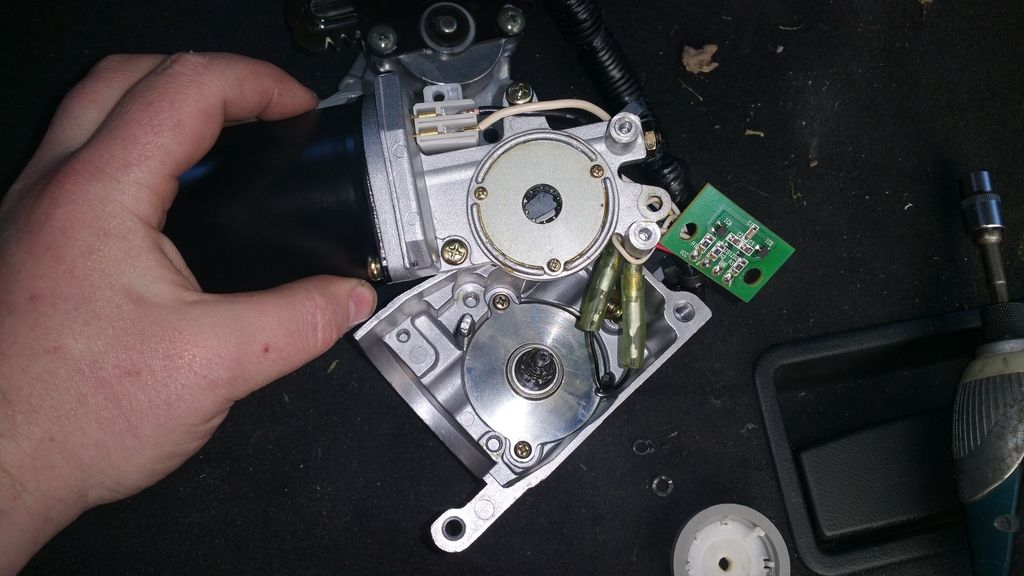
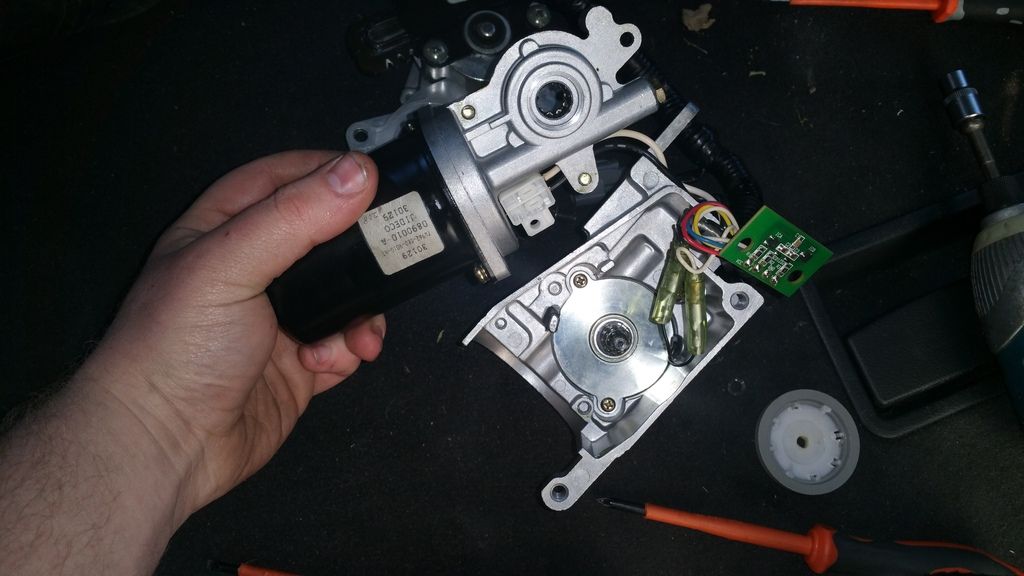
Other Side
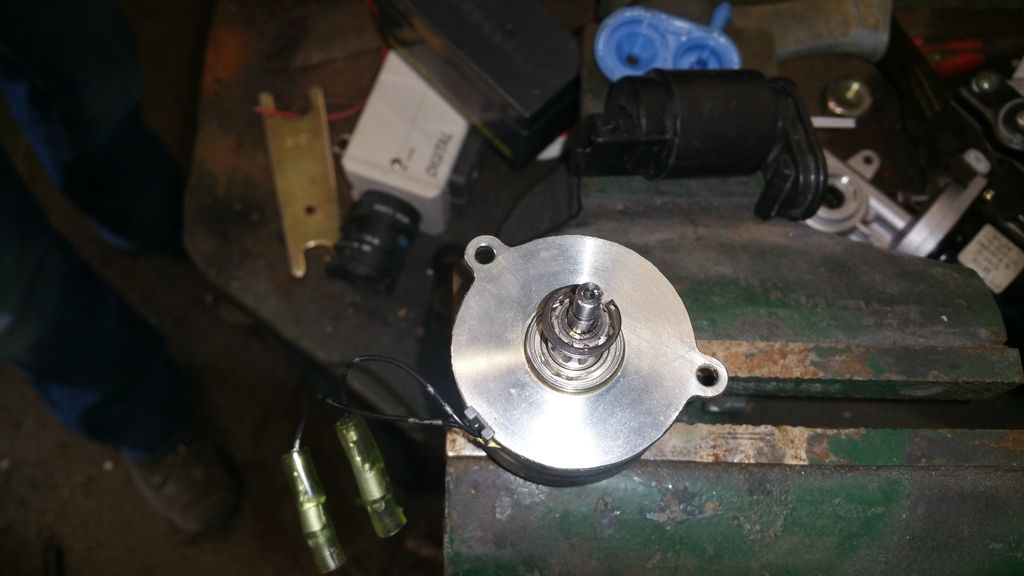
In the picture above you can see the clutch held in by 2 screws and on 2 bullet connectors. Remove these and the clutch pulls right out.
So that’s the easy part.
I hooked up a 12v feed to clutch and worked fantastically so over engineered its ridiculous. However we noticed it isn’t the clutch its self sticking but the friction plate sticking.
Clutch engaged
Clutch disengaged
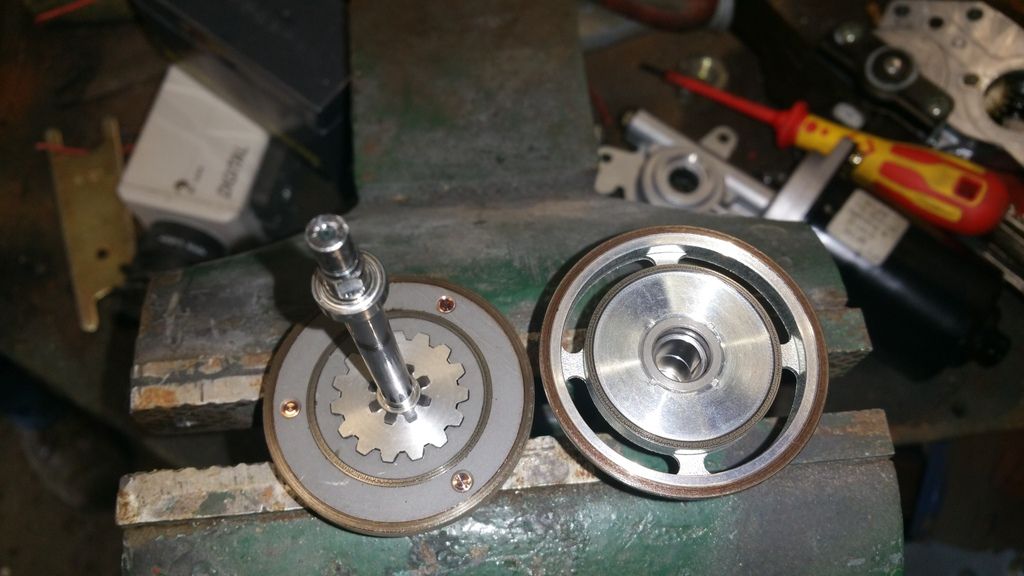
Every few times the clutch was disengaged the friction plate would stick. So we had to take apart the clutch its self.
If you remove this circlip the unit will pull apart
On top of this shaft is a very tiny circlip, we need to remove this so we can separate the friction plates, I couldn’t get the camera to focus
Once that clip is off we can separate the 2 plates
http://i1297.photobucket.com/albums/ag32/Adam_Hodson/Mobile%20Uploads/20150411_133552_zpsh3loxyro.jpg
And then we uncover the problem, the smallest amount of grease works its way in between these 2 plates. We need to degrease these heavily! I used a lot of contact cleaner and kitchen roll. At first I put the unit back together and it stuck again so I separate the plates and carried on cleaning removing all traces of grease, muck and anything that shouldn’t of been there. Put the clutch back together and it didn’t stick after around 20minutes of on/off switching so im happy that’s fixed it. Then we need to degrease everything else we have taken apart and then re apply an absolute minimal amount of grease to the necessary parts when we put it back together.
After A LOT of reading and A LOT of pulling my car to pieces over a few weekends we discovered the electric clutch in the motor was to blame. Infact if you dig deep enough you’ll find Honda extended the warranty of the tailgate motor due clutch failure.
First off we need to remove the motor unit its self, please follow the steps in this guide http://typeaccord.co.uk/forum/topic/19519-diy-for-tailgate-motor-removal/
Once we have the unit out the fun begins.
We need to remove the arm mechanism its only 3 10mm bolts

We need to remove the bracket that held the unit to the roof of the car. Just 3 10mm bolts

This uncovers where the 2 pulses are picked up by the ECU to check the motor isn’t spinning too fast. Remove the 2 screws holding this PCB in place.


Next we need to remove the plastic wheel. This is held on by a small circlip with a wavy washer underneath and then it should lift right off.
Luckily for this fix we do not need to remove the motor from the housing which saves us a lot of time. We need to remove the 4 bolts holding the unit together. There are 3 slightly bigger bolts 1 has a ring crimp underneath for a negative and the 4th smaller is in the top right corner holding down plastic connections.


Other Side

In the picture above you can see the clutch held in by 2 screws and on 2 bullet connectors. Remove these and the clutch pulls right out.

So that’s the easy part.
I hooked up a 12v feed to clutch and worked fantastically so over engineered its ridiculous. However we noticed it isn’t the clutch its self sticking but the friction plate sticking.
Clutch engaged

Clutch disengaged

Every few times the clutch was disengaged the friction plate would stick. So we had to take apart the clutch its self.
If you remove this circlip the unit will pull apart


On top of this shaft is a very tiny circlip, we need to remove this so we can separate the friction plates, I couldn’t get the camera to focus

Once that clip is off we can separate the 2 plates
http://i1297.photobucket.com/albums/ag32/Adam_Hodson/Mobile%20Uploads/20150411_133552_zpsh3loxyro.jpg
And then we uncover the problem, the smallest amount of grease works its way in between these 2 plates. We need to degrease these heavily! I used a lot of contact cleaner and kitchen roll. At first I put the unit back together and it stuck again so I separate the plates and carried on cleaning removing all traces of grease, muck and anything that shouldn’t of been there. Put the clutch back together and it didn’t stick after around 20minutes of on/off switching so im happy that’s fixed it. Then we need to degrease everything else we have taken apart and then re apply an absolute minimal amount of grease to the necessary parts when we put it back together.