Ok, so at 75,000 miles or 8 years, it's time to change the drive belt in your Accord.
Now, this has been called a drive belt, Aux (auxilary) belt and even a fan belt for the older die hards. It basically the belt that drives from the engine the coolant (water) pump, a/c compressor, power steering pump and Alternator, so it's pretty important to have in good condition. When shopping for a new belt, I found the Honda one too expensive, so I purchased a Gates one instead and it seems to fit perfectly. The cost for the belt was €18, so it's a small amount for something important. You can look up your belt here: http://www.gates.com/part_locator/index.cfm?go=part_locator&location_id=3598
Anyhow, onto the DIY - this is a pretty easy one.
** APOLOGIES ** The photos are terrible. I've just uploaded them from my camera and the look awful. Hopefully, it will give you an idea.
Step 1: Gather the necessary tools and equipment.
In this image we have:
The new Belt!")
14mm Spanner ring-ended spanner (important) - open ended spanners seem to ring the tensioner nut
A Mole Grips (aka Vise-Grips)
A Pen and Paper

Step 2: Take a sketch of your belt route
I cannot state this enough. When you are fiddling with putting the belt back you will start to second-guess yourself. If you have your sketch, you'll be able to refer to this to ensure proper belt routing

Step 3: Create your Tensioner Release Tool!!
The Honda manual calls for a specific tool, some people make their own tools, while other user a cheater bar. The ultimate aim to to have a tool that will create enough leverage to that you can twist back the tensioner to create slack on the drive belt. To do this, I took my 14mm spanner and using the Vise-Grip gripped the open ended side of the spanner. This allowed me to utilise the Law of the Levers to create more torque

Step 4: Force back the tensioner
Using your Frankenstein tool, attach the ring-end of the spanner to the nut in centre of the tensioner and then pull the level towards the front of the car. The tensioner will move away from the belt and create slack.

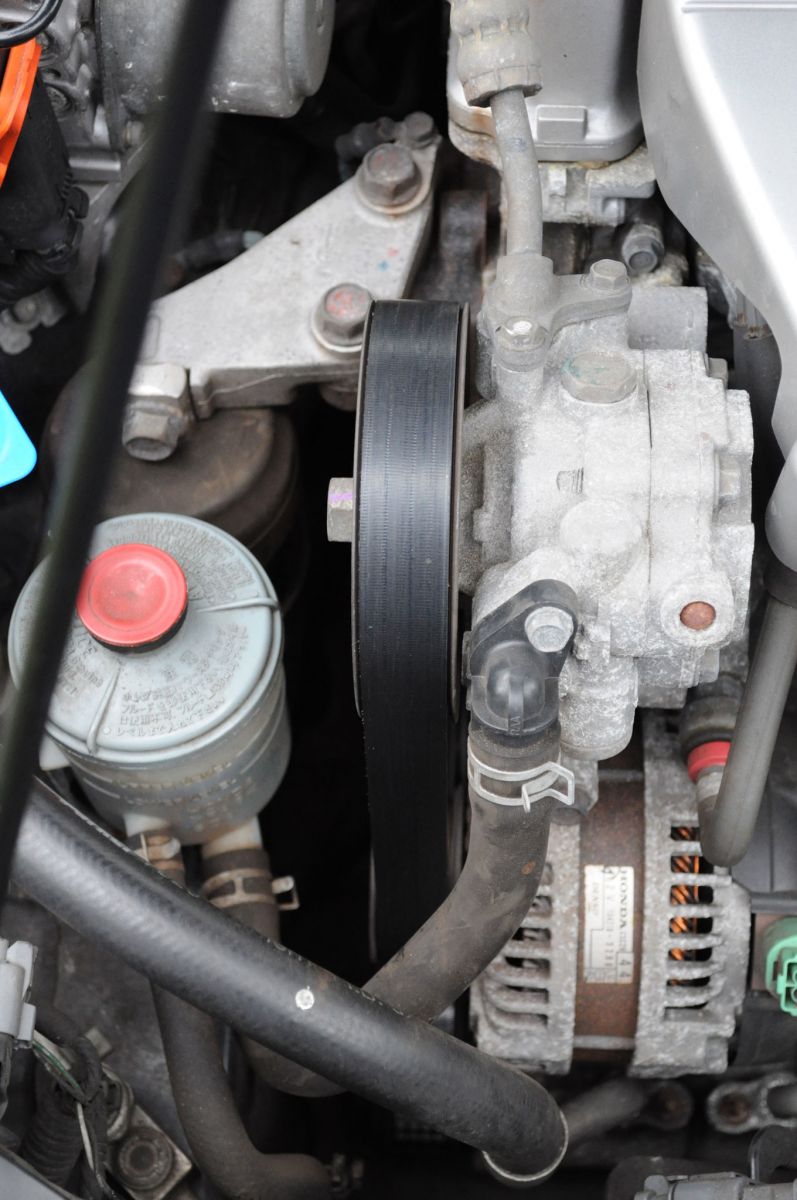
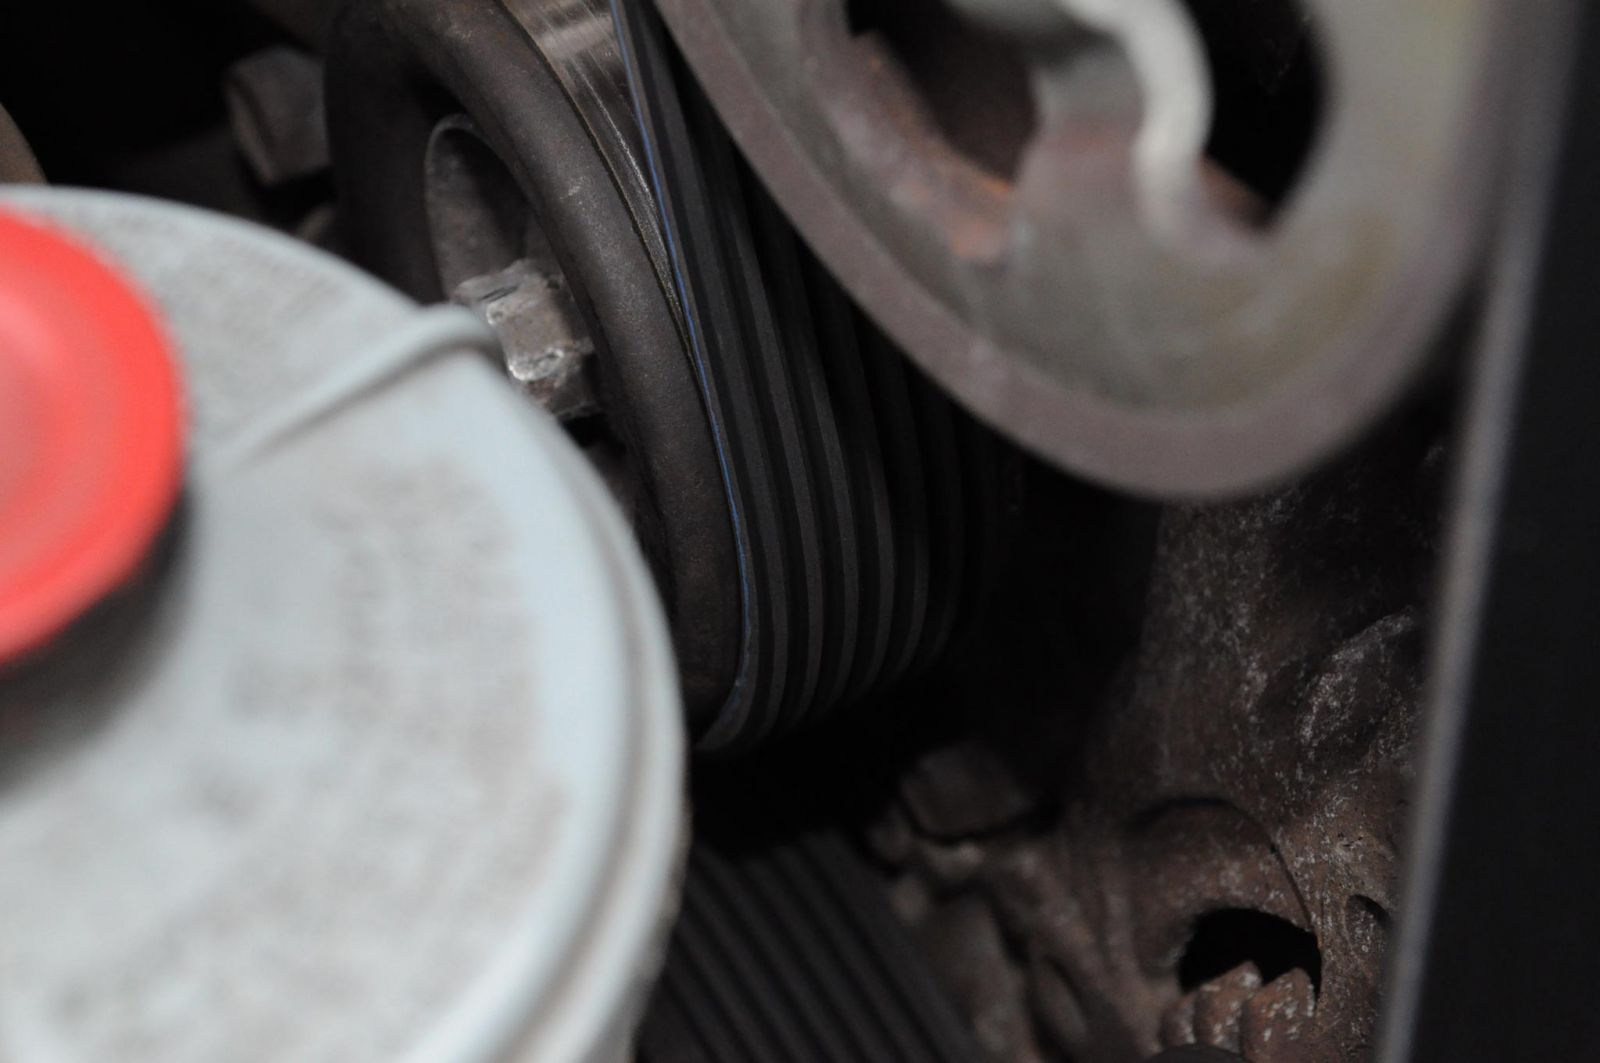
Step 5: Remove the Belt
Starting at the Power Steering Pump, pop the drive belt off the Pulley and, then gently return the tensioner to the rest position. The belt is now free from the drive path and can be removed.
Some notes:
1. Now this is a little tricky as the belt seems to catch everything as you remove it, but persist and it will come off.
2. I've seen people just cut the belt with the tension off and then just pull it out. However, I tend not to do this incase the new belt is wrong and I'm stuck without a car!!
3. When the old belt is off the engine, compare it to the new belt and it should be the same width and approx length (you shouldn't really see a difference as the old one)
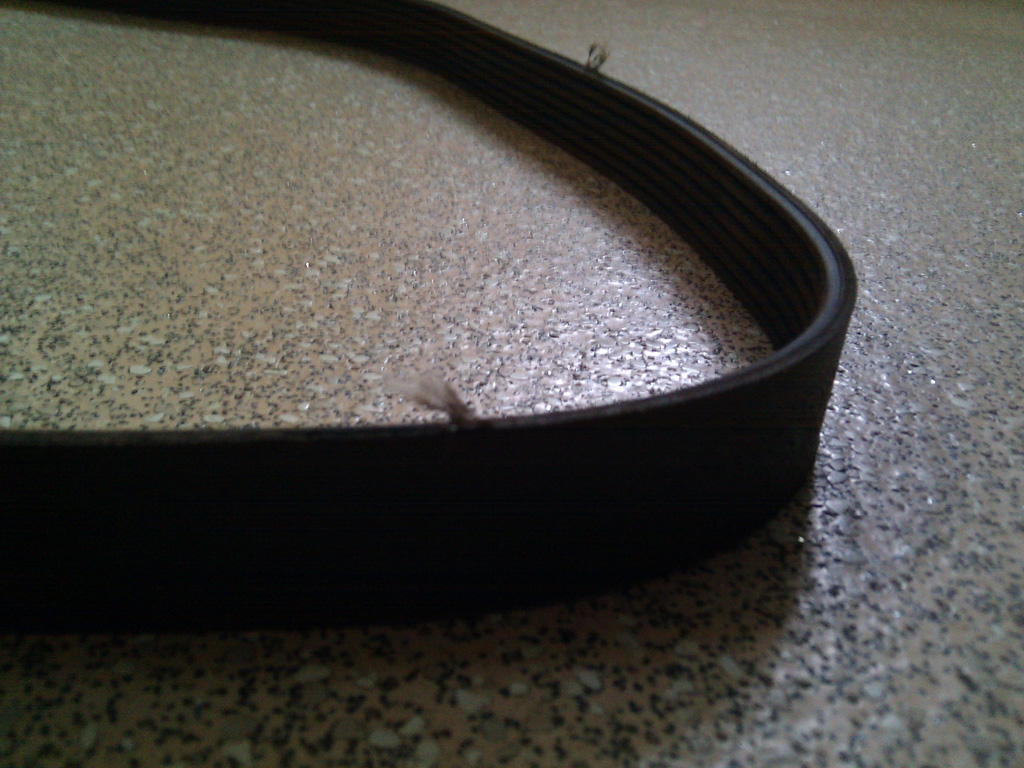
You can see the Belt Wear, some loose strings popping out of it

Now, this has been called a drive belt, Aux (auxilary) belt and even a fan belt for the older die hards. It basically the belt that drives from the engine the coolant (water) pump, a/c compressor, power steering pump and Alternator, so it's pretty important to have in good condition. When shopping for a new belt, I found the Honda one too expensive, so I purchased a Gates one instead and it seems to fit perfectly. The cost for the belt was €18, so it's a small amount for something important. You can look up your belt here: http://www.gates.com/part_locator/index.cfm?go=part_locator&location_id=3598
Anyhow, onto the DIY - this is a pretty easy one.
** APOLOGIES ** The photos are terrible. I've just uploaded them from my camera and the look awful. Hopefully, it will give you an idea.
Step 1: Gather the necessary tools and equipment.
In this image we have:
The new Belt!
14mm Spanner ring-ended spanner (important) - open ended spanners seem to ring the tensioner nut
A Mole Grips (aka Vise-Grips)
A Pen and Paper
Step 2: Take a sketch of your belt route
I cannot state this enough. When you are fiddling with putting the belt back you will start to second-guess yourself. If you have your sketch, you'll be able to refer to this to ensure proper belt routing
Step 3: Create your Tensioner Release Tool!!
The Honda manual calls for a specific tool, some people make their own tools, while other user a cheater bar. The ultimate aim to to have a tool that will create enough leverage to that you can twist back the tensioner to create slack on the drive belt. To do this, I took my 14mm spanner and using the Vise-Grip gripped the open ended side of the spanner. This allowed me to utilise the Law of the Levers to create more torque
Step 4: Force back the tensioner
Using your Frankenstein tool, attach the ring-end of the spanner to the nut in centre of the tensioner and then pull the level towards the front of the car. The tensioner will move away from the belt and create slack.
Step 5: Remove the Belt
Starting at the Power Steering Pump, pop the drive belt off the Pulley and, then gently return the tensioner to the rest position. The belt is now free from the drive path and can be removed.
Some notes:
1. Now this is a little tricky as the belt seems to catch everything as you remove it, but persist and it will come off.
2. I've seen people just cut the belt with the tension off and then just pull it out. However, I tend not to do this incase the new belt is wrong and I'm stuck without a car!!
3. When the old belt is off the engine, compare it to the new belt and it should be the same width and approx length (you shouldn't really see a difference as the old one)
You can see the Belt Wear, some loose strings popping out of it