It's a common misconception that modern cars need to go to the main dealer for everything..
The whole purpose of our community is to help our members diagnose and rectify faults themselves where possible, and try and undertake most maintenance jobs with the basic of skills.
I'm not a trained mechanic at all, and have really only the basic of DIY skills. However I am really interested in learning new skills all the time, and would rather invest the money I would pay a mechanic into tools for myself.. that way I have invested in tools I can re-use.
So.. when the first big service was due in early 2009, I called CJ over and we decided to give it a go.
The service included:
Clutch and Brake Fluid were excluded as they were done seperately and I wasn't confident in doing this at home and possibly introducing air into the system.
In our experience, it's absolutely vital you are using genuine quality parts for your Accord - especially where the fuel filter is concerned. Nearly every single engine problem we are seeing with the diesel Accord is down to the fuel filter.
It's a fiddly job on the fuel filter, due to it's location and the rear bolts - so a lot of dealers tend to skip it and only drain it from the bottom. I've seen member cars where the filter hasn't obviously been done in 5 years!!
A clogged filter will restrict fuel pressure and cause a whole host of engine management problems including, missing, restricted power and even cutting out.
So back to the service.
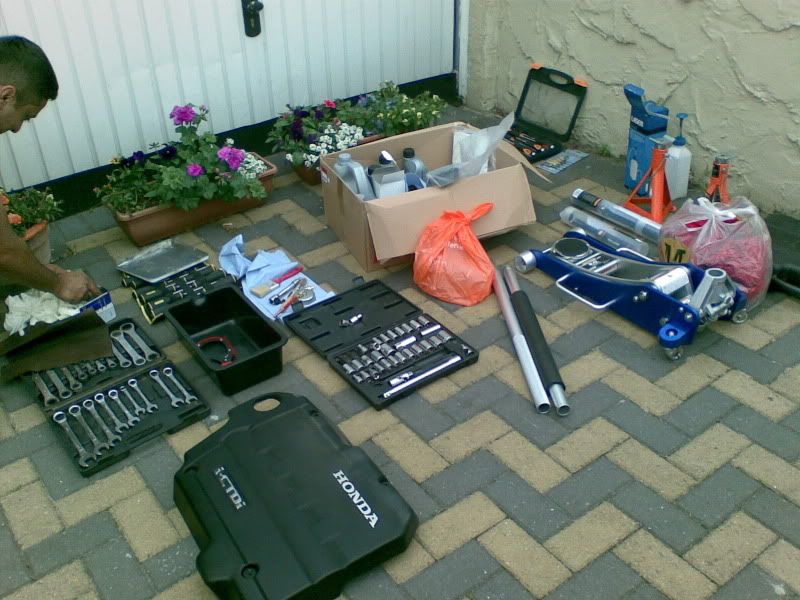
Safety is absolutely vital, you need to ensure you are working safely in everything you do. Use good quality axle stands (don't rely just on the jack) and use wheel chocks at the back.
You need to raise the front of the vehicle to drain the gearbox and oil fluids.
So first thing to do is remove the engine cover, held on with 4 10mm bolts. Ensure you don't lose the washers under the bolts and the rubber mounts are seated correctly otherwise your cover will rattle on refitting.
Anyone recognise him") (no it's not me lol)
(no it's not me lol)
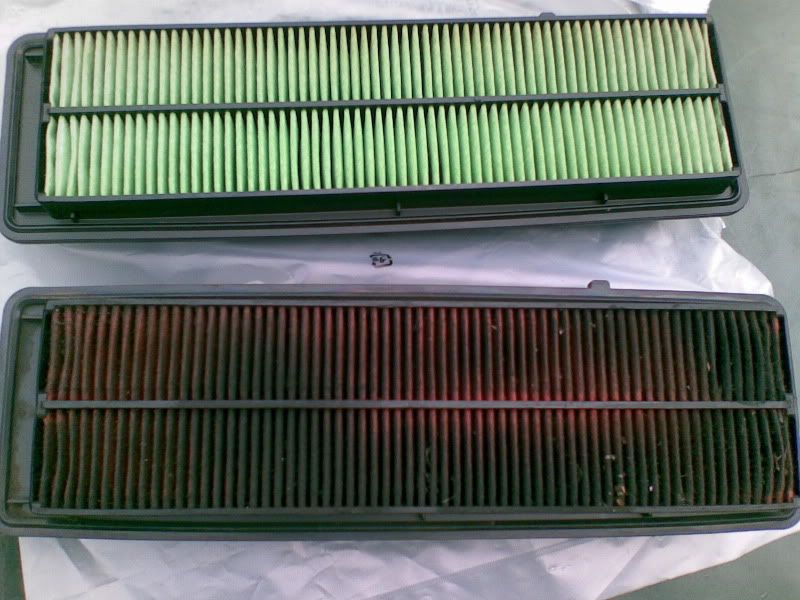
We started with the easy stuff first and first thing changed was the air filter. The air filter is inside the black box on the n/s of the vehicle (if you can't locate this then maybe you shouldn't be attempting this service)
It's held on with 4 8mm bolts. The filter only goes in one way and one direction.
Notice old vs new (my old one was a Blueprint part from when the company serviced it as a company car)
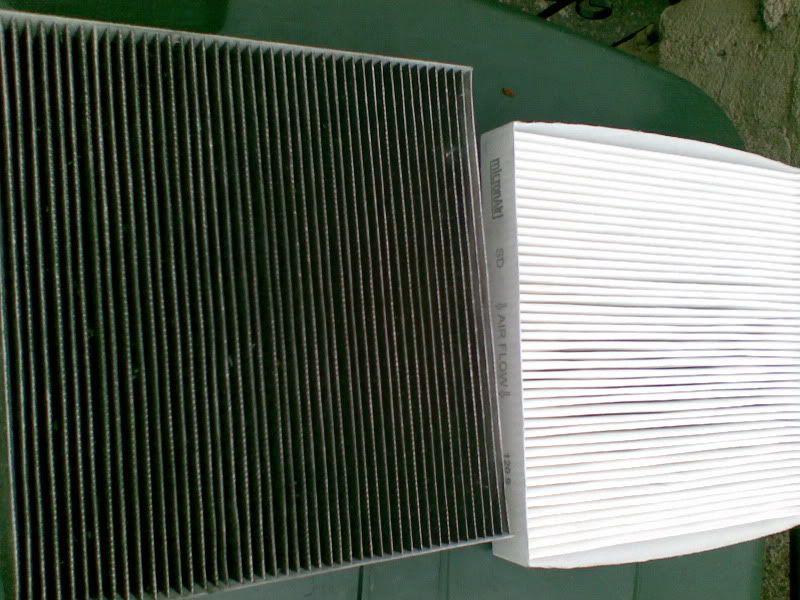
The Pollen filter was next. This is located behind the glovebox. (your owners manual tells you how to renew this, again very easy). Remove the single phillips screw from the glovebox arm and lower it, and the black tray behind it unclips and slides out - remove the old filter, clean any debris etc and fit the new filter and refit the tray and glovebox.
Again notice old vs new
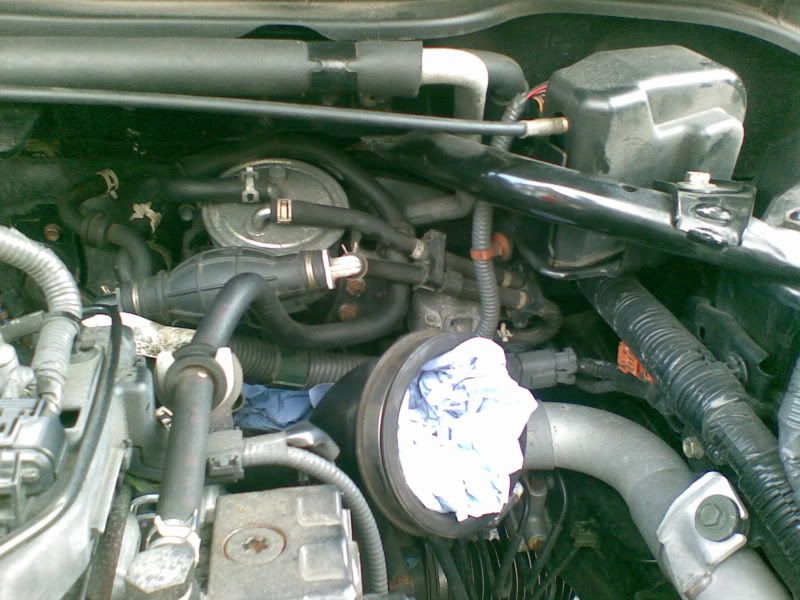
Then we move onto the big stuff. Fuel filter first.
I wish I had more pics, but it's hard to get the camera in - you'll just have to try and follow your instincts. Effectively what you are doing is removing the filter housing and priming bulb, and then slipping off the supply and return pipes from the filter. Once the filter is on, you need to ensure it's been bled properly - this is done via the little nut on the top of the filter - once the air has stopped expelling and fuel is coming out - it's bled.
You need to use the priming bulb to keep priming the filter until the bulb goes hard. My advice would be to prime it until it goes hard, then bleed it - then do it again to be sure. Any air in the system will give you problems later on.
It's perfectly normal for the car to take a few extra cranks on restart, and sometimes the engine management light comes on for a few seconds, but will go off when you restart if the fuel pressure is correct.
This is the filter (note the black housing has been removed - it's held on with 10mm bolts)
Here we're working on the bolts
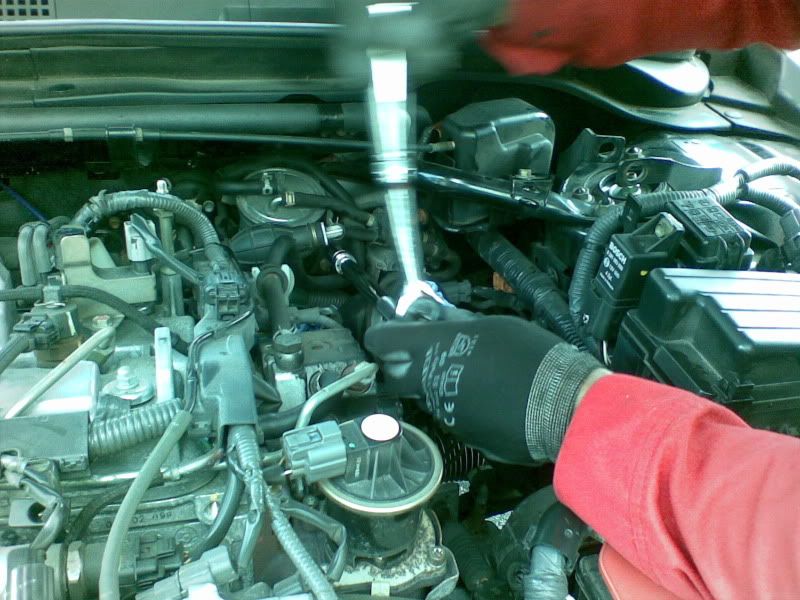
The hardest bit is the rear 10mm bolt at the back of the filter bracket. It's a pain as you can't easily access it and have enough room to swing a spanner. I've seen Holdcroft do this and they use a special 90 degree pneumatic tool which just whips it off in seconds. I've done this job a few times now and the best way to do it is to get hold of a small (the smallest you can get) ratchet knuckle (wobbly bit or whatever you call it) with a 10mm socket on it. Just be patient, it will come loose.
Don't remove it, just loosen it enough to get the filter off.
Old filter vs new
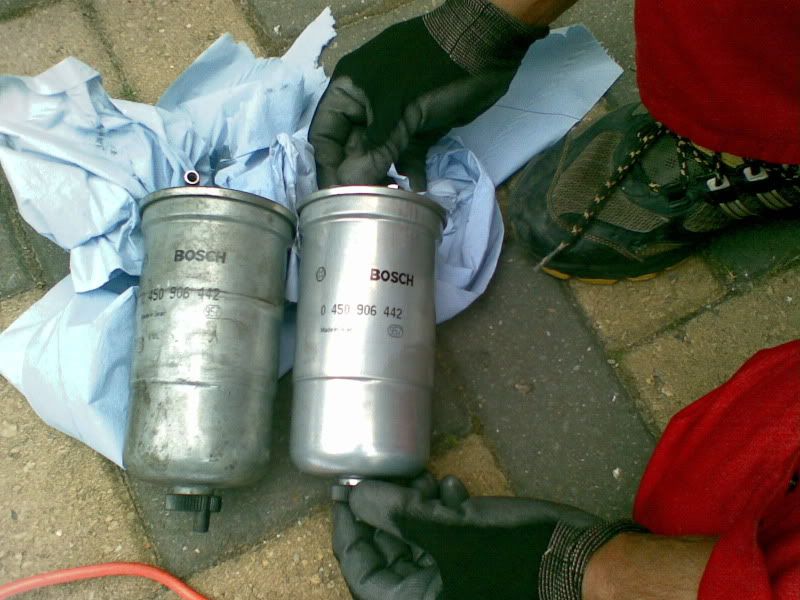
Please note, I've said this before and will say it again and again and again till I'm blue in the face.. USE A GENUINE HONDA FUEL FILTER ON THE DIESEL ACCORD.
Do not give into the temptation to save money and buy from a motor factor. The filter is a Bosch item and yes you can buy Bosch filters from Euro Car Parts and everywhere else but the genuine item is the only one to go for if you want trouble free motoring. The engine management system is very sensitive on the diesel Accord and it has sensors to check for fuel pressure at the rail - if they are even slightly out, to prevent engine damage, your car will go into limp mode.
Simple as, please don't complain if you buy a non genuine item and then have problems.
Right that's enough on the fuel filter... it should take you no longer than an hour on the first attempt if you follow my advice (took us over an hour but we really struggled with the rear bolt) - use anti seize on any bolts you remove.
Next was the gearbox oil. Again this is described and explained in the owners manual. It's really quite straightforward.
You need to remove the undertray to do this job. The undertray has plastic removable clips, from memory there's 4 on the front section and some at the back, plus one on each corner of the arch liner. There's also a couple of bolts (might be 13mm) on each front corner of the undertray. I've since done this job on a mates car and did it without removing the undertray completely from the car, just enough to get the bucket underneath to catch the oil.
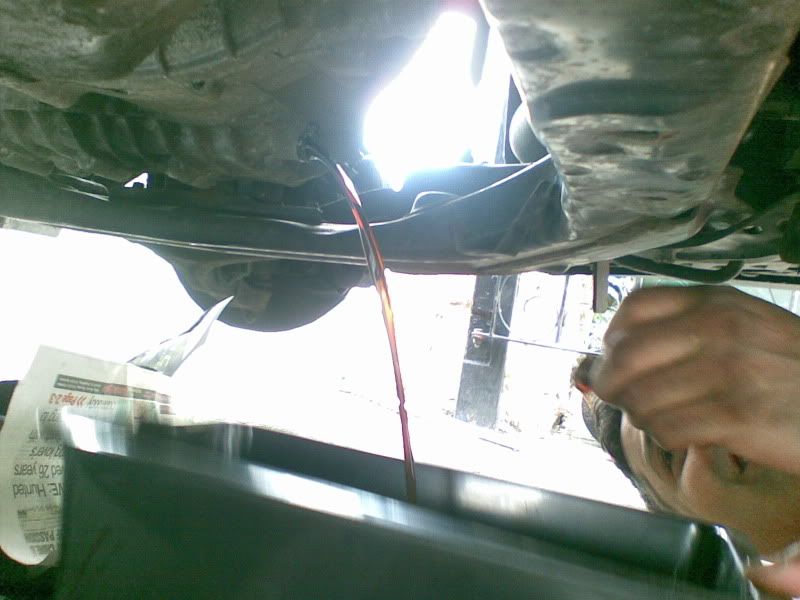
The drain bolt is on the front of the gearbox - you can see the fluid coming out in this picture. You need a special key, any LASER or other gearbox plug key set will have the size on it.
The fill plug is on the top of the gearbox. CJ and I really struggled as we didn't think to check the owners manual and spent ages looking for it. As always it was the last place we looked!! And was in the owners manual. Just look down from the top between the battery and the front of the airbox and you'll see it.
Please also note that the fill plug has a washer on the plug so don't lose it. A magnetic picker tool comes in useful for these jobs.
You need to fill with 2.2 litres of Honda MTF3 Gearbox oil - dont' use anything else. Also note that Honda recommend something lik 75k intervals but I noticed an immediate improvement at 50k miles.
Finally, the engine oil.
ONLY USE 0W/30 FULLY SYNTHETIC OIL IN THE ACCORD DIESEL
Forget everything the manual tells you. I don't doubt Honda ever, but really in the UK climate, and the sensitive nature of the alloy block and internals on the i-CTDI engine, you need to use the best oil money can buy.
Again, the procedure is in the owners manual.
Drain the oil from the bottom (if you already have the undertray off for the gearbox oil then that's fine, otherwise there's a small hatch for the sump plug in the undertray meaning you don't need to remove the tray altogether).
Drain the oil completely and renew the washer on the sump plug and refit.
The Oil filter is at the top, a black plastic cannister at the front of the engine.
Use an oil filter removal tool. Remove the paper oil fitler and all 3 rubber washers, and renew the washers with the items you get in your new filter box. Renew the filter and refit.
Ensure you torque the filter cannister to the correct setting - it's marked on the top of the housing. Or if you dont' have a torque wrench, then before removal, mark it with some tipex to know where it sat on full tight.
The oil quantity is actually 5.9 litres in this engine. But don't just stick 5.9 litres in straight away.
I would say pop in about 5.2 litres, and then just keep topping it bit by bit, checking with the dipstick each time.
The minimum and maximum markers on your dipstick represent 1 litre of oil, so don't be mistaken into thinking that the minimum marker means there's no oil!!
And that's it. Remember to refit your engine tray and the top cover, and ensure you double check every bolt you've been over.
You've just saved yourself a couple of hundred quid in labour charges at the dealer, and have the satisfaction of knowing you did it yourself.
Do spend some time and check everything else indicated on the service inspection sheet, or if you're like me you're probably regularly checking the mechanicals anyway :lol:
Hope that helps some of you.
Fahad.
The whole purpose of our community is to help our members diagnose and rectify faults themselves where possible, and try and undertake most maintenance jobs with the basic of skills.
I'm not a trained mechanic at all, and have really only the basic of DIY skills. However I am really interested in learning new skills all the time, and would rather invest the money I would pay a mechanic into tools for myself.. that way I have invested in tools I can re-use.
So.. when the first big service was due in early 2009, I called CJ over and we decided to give it a go.
The service included:
- Oil and Oil Filter Change
- Pollen Filter
- Air Filter Change
- Fuel Filter Change
- Transmission Fluid Change
- Full visual inspection following the Honda Service Inspection Notes
Clutch and Brake Fluid were excluded as they were done seperately and I wasn't confident in doing this at home and possibly introducing air into the system.
In our experience, it's absolutely vital you are using genuine quality parts for your Accord - especially where the fuel filter is concerned. Nearly every single engine problem we are seeing with the diesel Accord is down to the fuel filter.
It's a fiddly job on the fuel filter, due to it's location and the rear bolts - so a lot of dealers tend to skip it and only drain it from the bottom. I've seen member cars where the filter hasn't obviously been done in 5 years!!
A clogged filter will restrict fuel pressure and cause a whole host of engine management problems including, missing, restricted power and even cutting out.
So back to the service.
Safety is absolutely vital, you need to ensure you are working safely in everything you do. Use good quality axle stands (don't rely just on the jack) and use wheel chocks at the back.
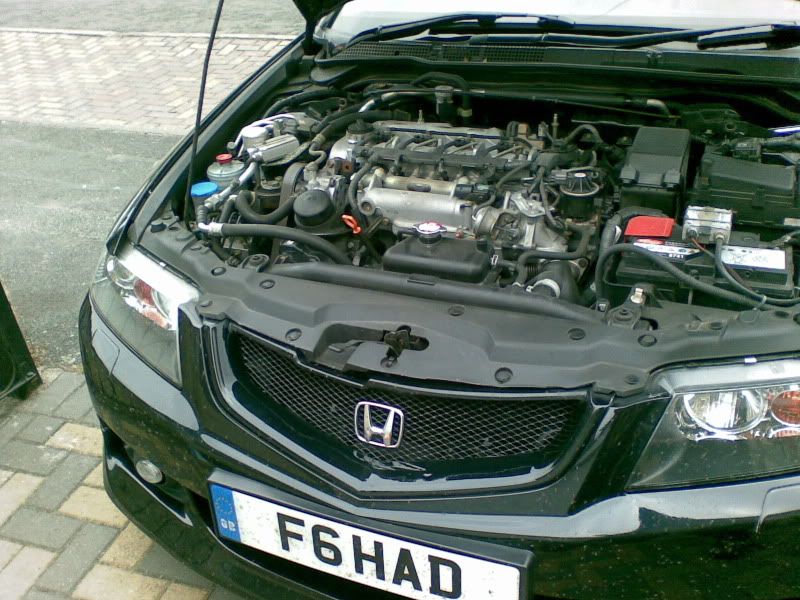
You need to raise the front of the vehicle to drain the gearbox and oil fluids.
So first thing to do is remove the engine cover, held on with 4 10mm bolts. Ensure you don't lose the washers under the bolts and the rubber mounts are seated correctly otherwise your cover will rattle on refitting.
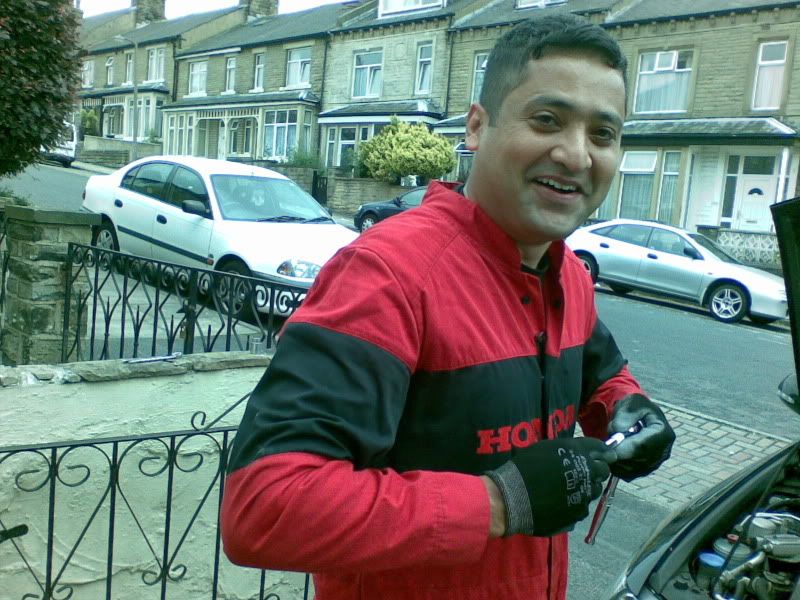
Anyone recognise him
(no it's not me lol)
We started with the easy stuff first and first thing changed was the air filter. The air filter is inside the black box on the n/s of the vehicle (if you can't locate this then maybe you shouldn't be attempting this service)
It's held on with 4 8mm bolts. The filter only goes in one way and one direction.
Notice old vs new (my old one was a Blueprint part from when the company serviced it as a company car)
The Pollen filter was next. This is located behind the glovebox. (your owners manual tells you how to renew this, again very easy). Remove the single phillips screw from the glovebox arm and lower it, and the black tray behind it unclips and slides out - remove the old filter, clean any debris etc and fit the new filter and refit the tray and glovebox.
Again notice old vs new
Then we move onto the big stuff. Fuel filter first.
I wish I had more pics, but it's hard to get the camera in - you'll just have to try and follow your instincts. Effectively what you are doing is removing the filter housing and priming bulb, and then slipping off the supply and return pipes from the filter. Once the filter is on, you need to ensure it's been bled properly - this is done via the little nut on the top of the filter - once the air has stopped expelling and fuel is coming out - it's bled.
You need to use the priming bulb to keep priming the filter until the bulb goes hard. My advice would be to prime it until it goes hard, then bleed it - then do it again to be sure. Any air in the system will give you problems later on.
It's perfectly normal for the car to take a few extra cranks on restart, and sometimes the engine management light comes on for a few seconds, but will go off when you restart if the fuel pressure is correct.
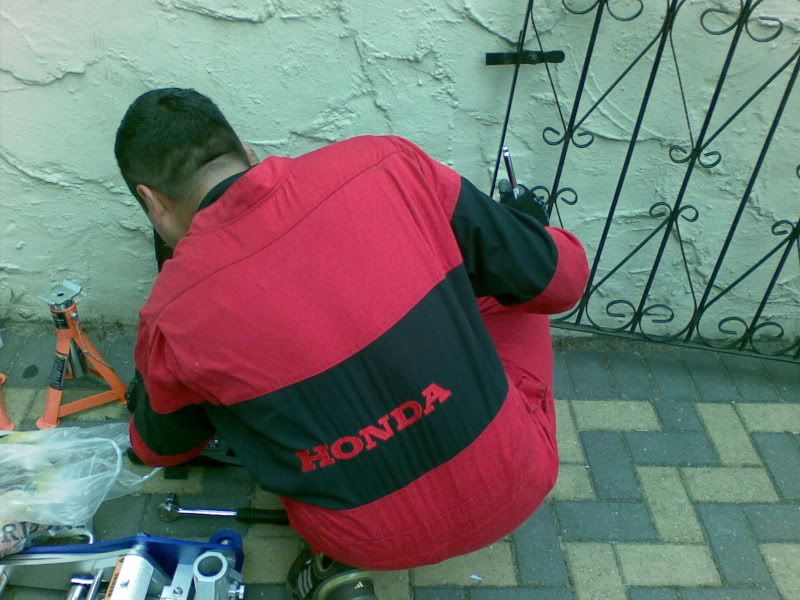
This is the filter (note the black housing has been removed - it's held on with 10mm bolts)
Here we're working on the bolts
The hardest bit is the rear 10mm bolt at the back of the filter bracket. It's a pain as you can't easily access it and have enough room to swing a spanner. I've seen Holdcroft do this and they use a special 90 degree pneumatic tool which just whips it off in seconds. I've done this job a few times now and the best way to do it is to get hold of a small (the smallest you can get) ratchet knuckle (wobbly bit or whatever you call it) with a 10mm socket on it. Just be patient, it will come loose.
Don't remove it, just loosen it enough to get the filter off.
Old filter vs new
Please note, I've said this before and will say it again and again and again till I'm blue in the face.. USE A GENUINE HONDA FUEL FILTER ON THE DIESEL ACCORD.
Do not give into the temptation to save money and buy from a motor factor. The filter is a Bosch item and yes you can buy Bosch filters from Euro Car Parts and everywhere else but the genuine item is the only one to go for if you want trouble free motoring. The engine management system is very sensitive on the diesel Accord and it has sensors to check for fuel pressure at the rail - if they are even slightly out, to prevent engine damage, your car will go into limp mode.
Simple as, please don't complain if you buy a non genuine item and then have problems.
Right that's enough on the fuel filter... it should take you no longer than an hour on the first attempt if you follow my advice (took us over an hour but we really struggled with the rear bolt) - use anti seize on any bolts you remove.
Next was the gearbox oil. Again this is described and explained in the owners manual. It's really quite straightforward.
You need to remove the undertray to do this job. The undertray has plastic removable clips, from memory there's 4 on the front section and some at the back, plus one on each corner of the arch liner. There's also a couple of bolts (might be 13mm) on each front corner of the undertray. I've since done this job on a mates car and did it without removing the undertray completely from the car, just enough to get the bucket underneath to catch the oil.
The drain bolt is on the front of the gearbox - you can see the fluid coming out in this picture. You need a special key, any LASER or other gearbox plug key set will have the size on it.
The fill plug is on the top of the gearbox. CJ and I really struggled as we didn't think to check the owners manual and spent ages looking for it. As always it was the last place we looked!! And was in the owners manual. Just look down from the top between the battery and the front of the airbox and you'll see it.
Please also note that the fill plug has a washer on the plug so don't lose it. A magnetic picker tool comes in useful for these jobs.
You need to fill with 2.2 litres of Honda MTF3 Gearbox oil - dont' use anything else. Also note that Honda recommend something lik 75k intervals but I noticed an immediate improvement at 50k miles.
Finally, the engine oil.
ONLY USE 0W/30 FULLY SYNTHETIC OIL IN THE ACCORD DIESEL
Forget everything the manual tells you. I don't doubt Honda ever, but really in the UK climate, and the sensitive nature of the alloy block and internals on the i-CTDI engine, you need to use the best oil money can buy.
Again, the procedure is in the owners manual.
Drain the oil from the bottom (if you already have the undertray off for the gearbox oil then that's fine, otherwise there's a small hatch for the sump plug in the undertray meaning you don't need to remove the tray altogether).
Drain the oil completely and renew the washer on the sump plug and refit.
The Oil filter is at the top, a black plastic cannister at the front of the engine.
Use an oil filter removal tool. Remove the paper oil fitler and all 3 rubber washers, and renew the washers with the items you get in your new filter box. Renew the filter and refit.
Ensure you torque the filter cannister to the correct setting - it's marked on the top of the housing. Or if you dont' have a torque wrench, then before removal, mark it with some tipex to know where it sat on full tight.
The oil quantity is actually 5.9 litres in this engine. But don't just stick 5.9 litres in straight away.
I would say pop in about 5.2 litres, and then just keep topping it bit by bit, checking with the dipstick each time.
The minimum and maximum markers on your dipstick represent 1 litre of oil, so don't be mistaken into thinking that the minimum marker means there's no oil!!
And that's it. Remember to refit your engine tray and the top cover, and ensure you double check every bolt you've been over.
You've just saved yourself a couple of hundred quid in labour charges at the dealer, and have the satisfaction of knowing you did it yourself.
Do spend some time and check everything else indicated on the service inspection sheet, or if you're like me you're probably regularly checking the mechanicals anyway :lol:
Hope that helps some of you.
Fahad.