Goodluckmonkey
TA Friends
What a pain.
Unfortunately without bleeding the filter first it's just going to try and pump air.
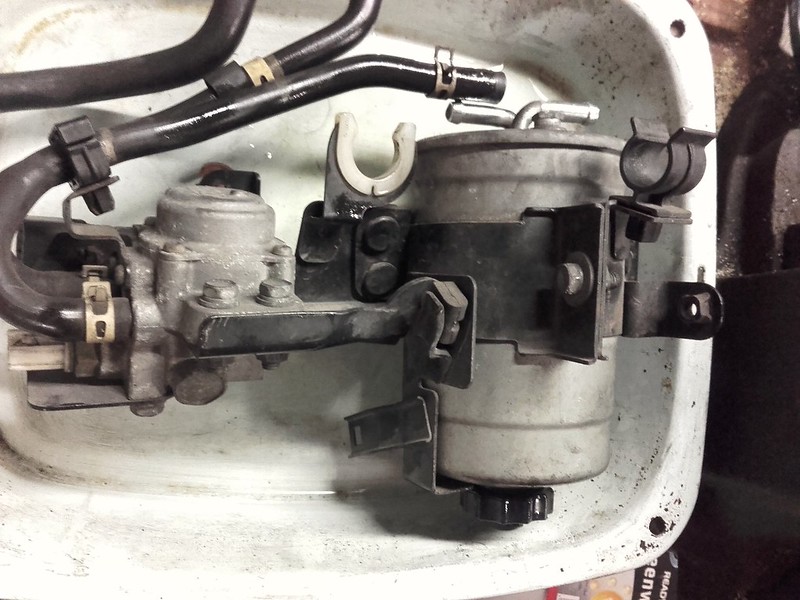
The way the guide's written in the first posts, it doesn't address the fact that you can potentially get a pocket of air trapped at the top of the filter, and that bolt's there to eliminate that too.
I used the banjo bolt on top of the diesel pump to bleed the line as well as I'd done a motor swap so everything was dry from the filter onwards.
Unfortunately without bleeding the filter first it's just going to try and pump air.
The way the guide's written in the first posts, it doesn't address the fact that you can potentially get a pocket of air trapped at the top of the filter, and that bolt's there to eliminate that too.
I used the banjo bolt on top of the diesel pump to bleed the line as well as I'd done a motor swap so everything was dry from the filter onwards.
")