RussellS
Members
Hi all, here are the details of my permanently fixed mobile phone holder bracket which is fitted to my 7th gen Accord Tourer. This was first posted on the original THAOC forums about 18 months ago and is still in my car today as good as ever.
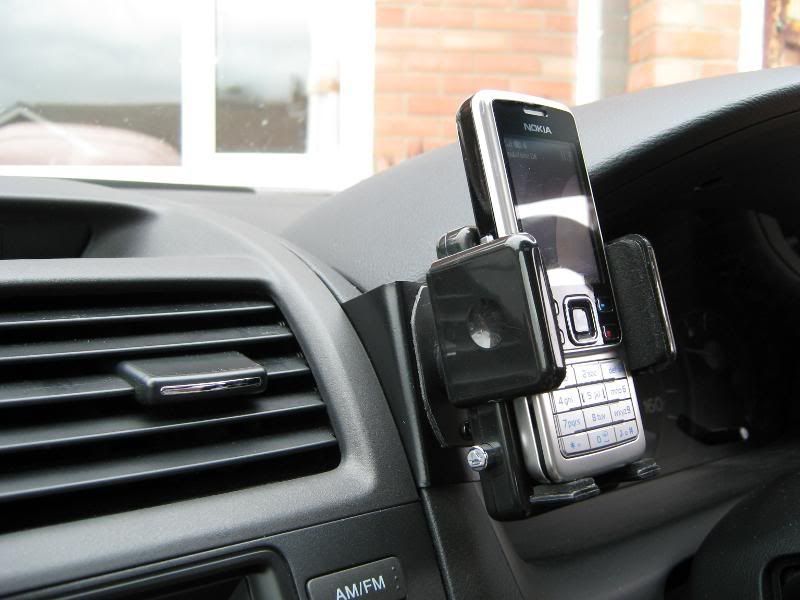
So, to start, this is what it looks like when finished.
and here are the steps I took to achieve it.
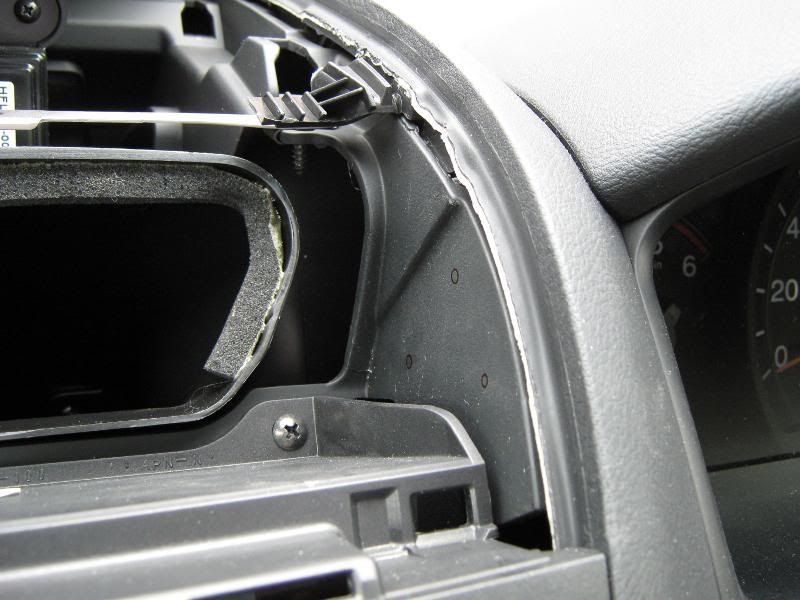
Firstly remove the top trim piece which contains the air vents and the top LCD display. I found the best removal tool was a plastic kitchen spatula to lever up the trim.
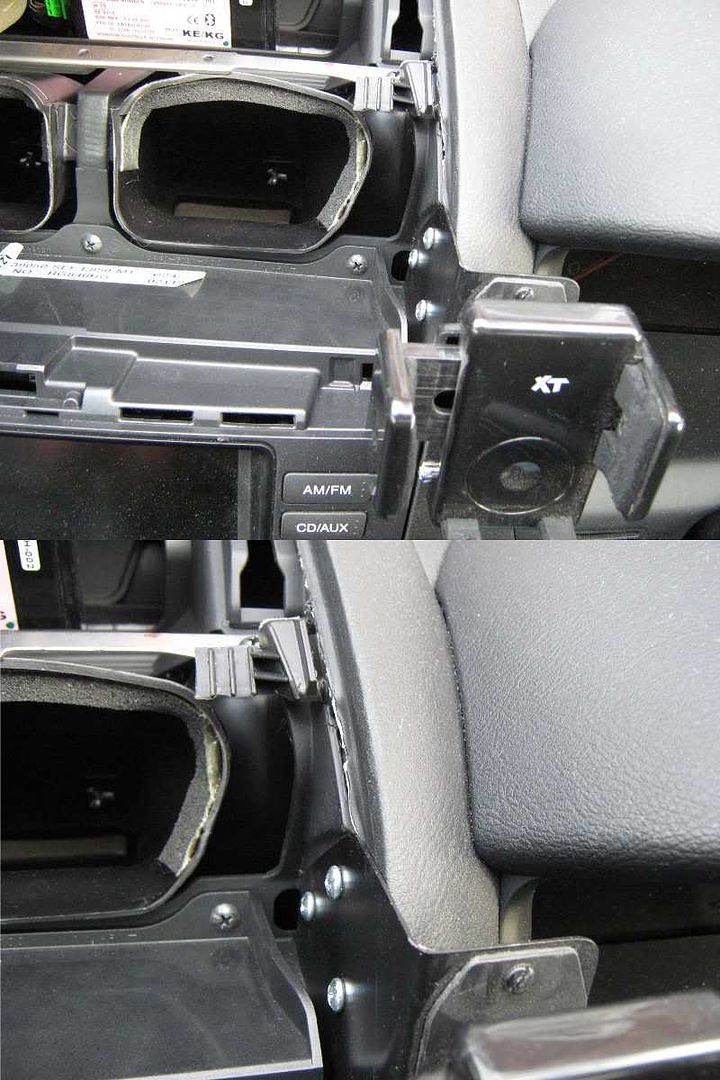
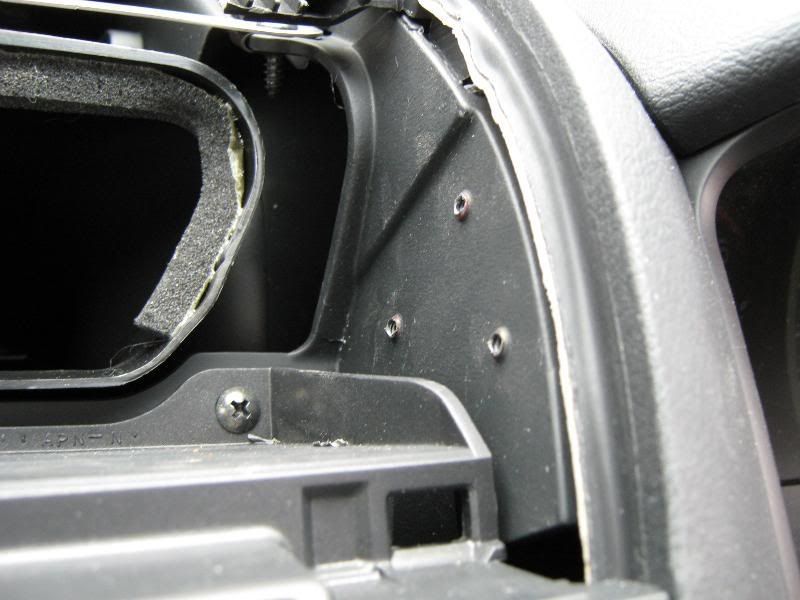
Here you can see the trim removed and where the bracket is to be mounted.
The three little circles are where the holes will be to screw the bracket in.
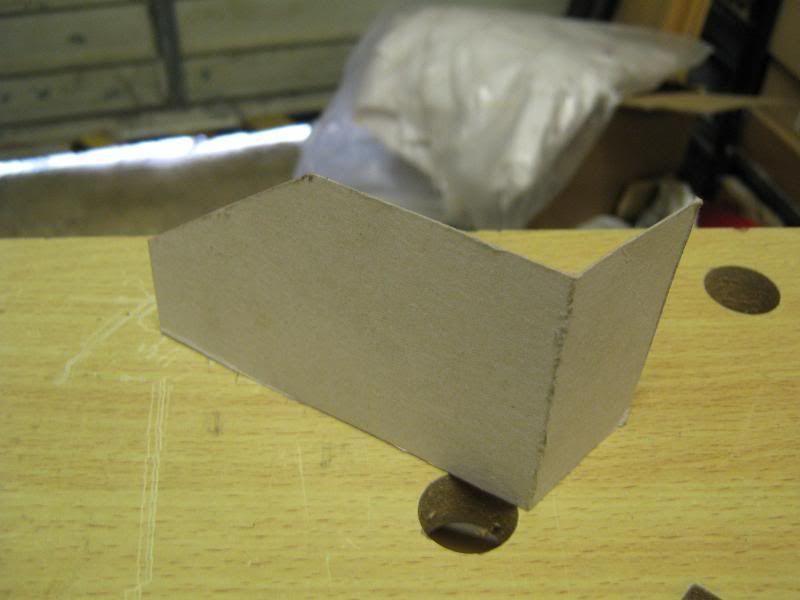
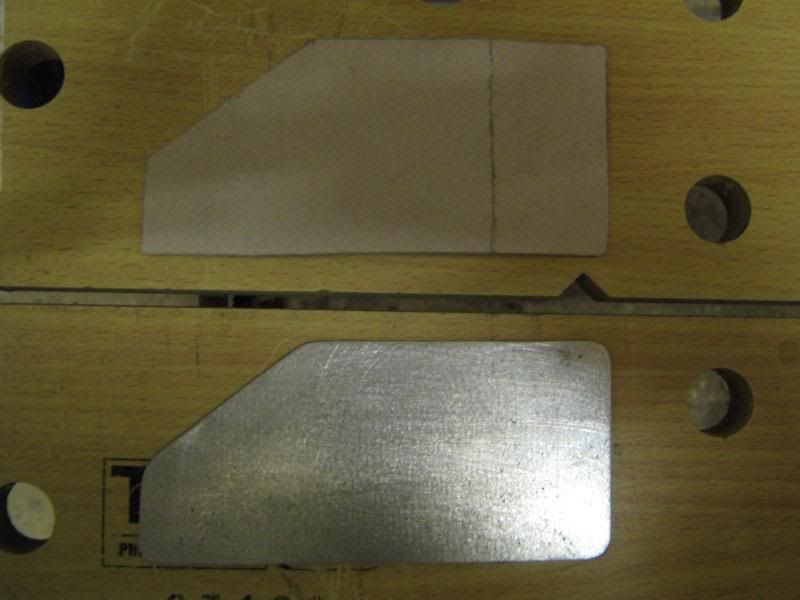
Use cardboard to make a template that will fit nicely. By using cardboard you can gradually trim bits off until you have the shape that will fit best.
Once you have the required shape you can transfer it to a sheet of metal. I used about 1mm thick galvanised steel.
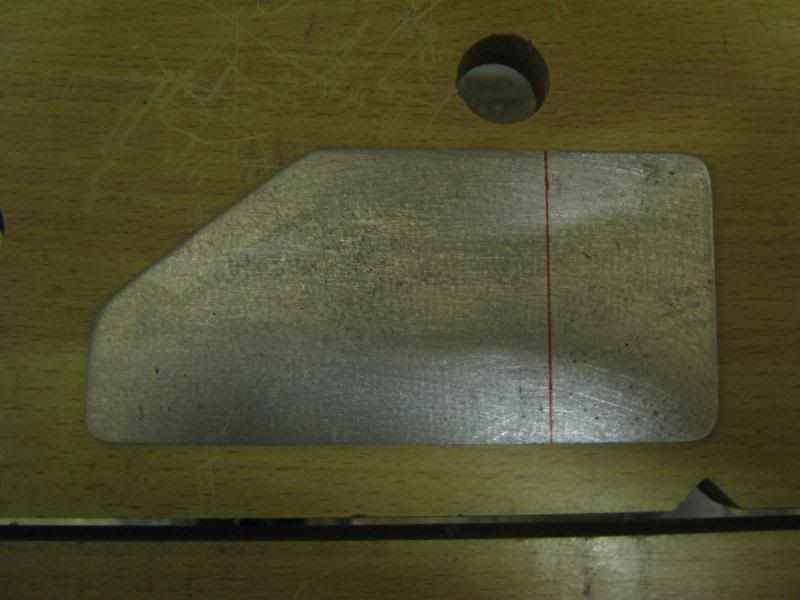
Polish all the edges and then mark where the bend needs to be.
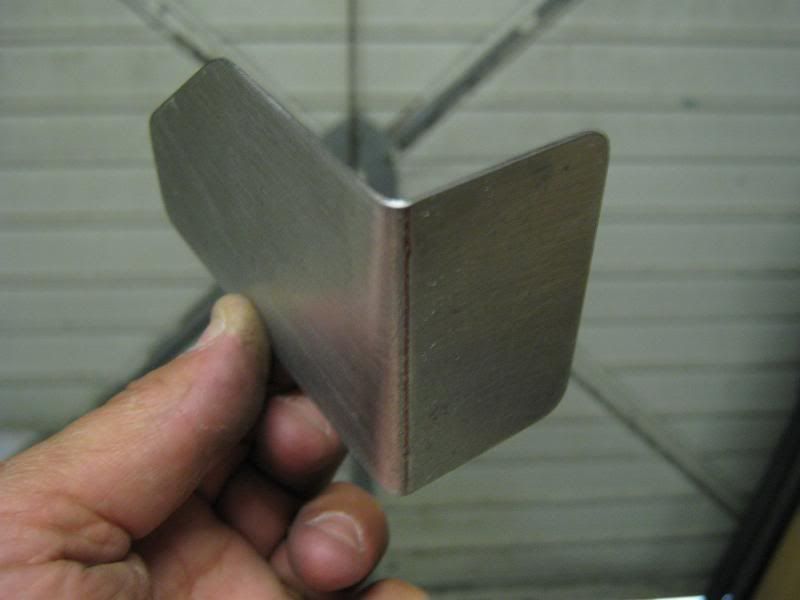
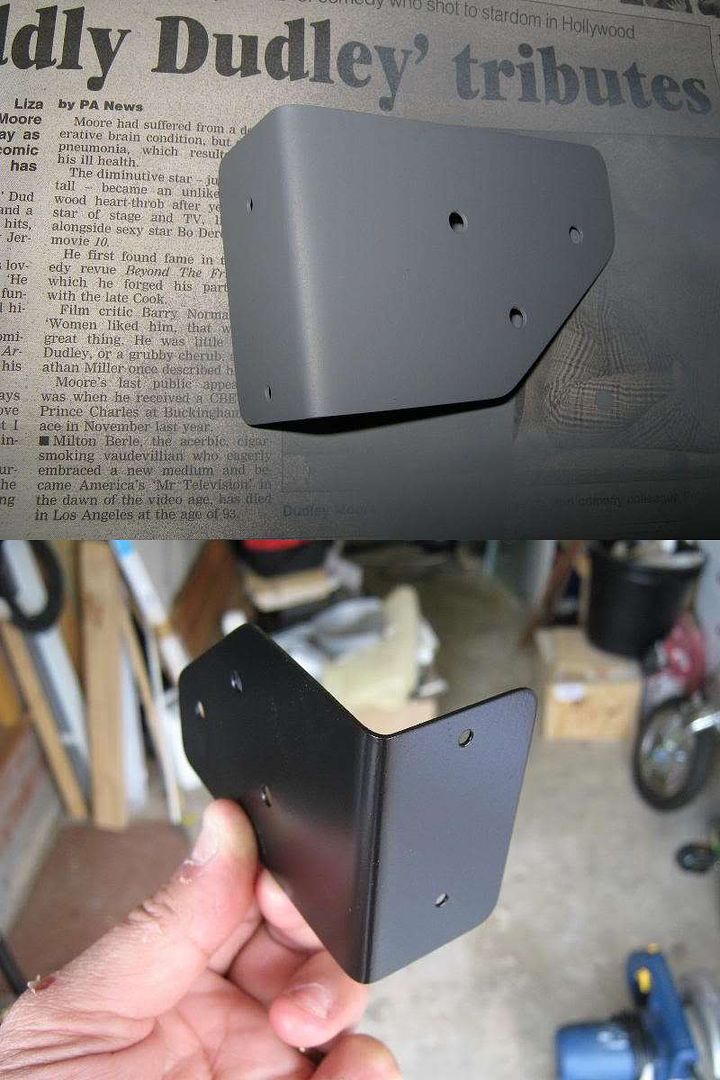
Bend the bracket in the required place
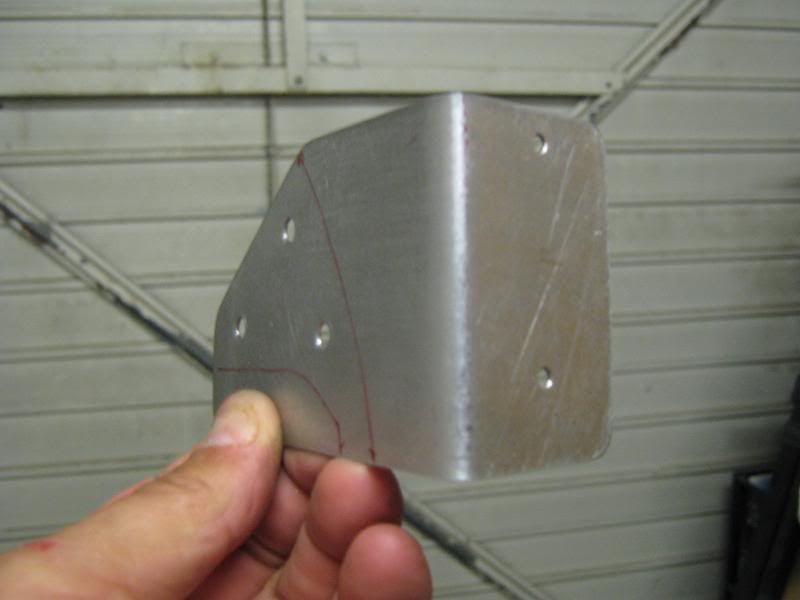
and then drill the mounting holes in the required place
Prime the metal with spray metal primer and then top coat with black satin spray paint. I used Halfords spray paint & primer.
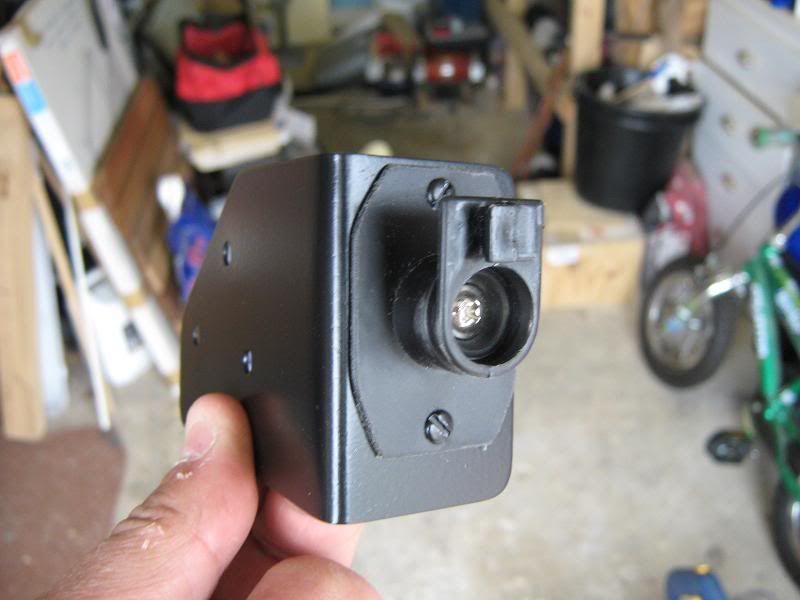
Then mount the base of the mobile phone holder onto the bracket. I used a universal mount from Halfords which, as well as the normal air vent clip mount, also had a flat bracket with a self adhesive pad to stick to the dashboard. I removed the self adhesive pad and then drilled the flat part to screw to my bracket.
Now, offer up the bracket to the mounting position and mark through the holes where to drill. Then drill small pilot holes into the dashboard. About 1mm - 1.5mm should be sufficient depending on the mounting screws to be used. I used 4mm x 12mm (No. 8 x 0.5 inch) self tapping screws.
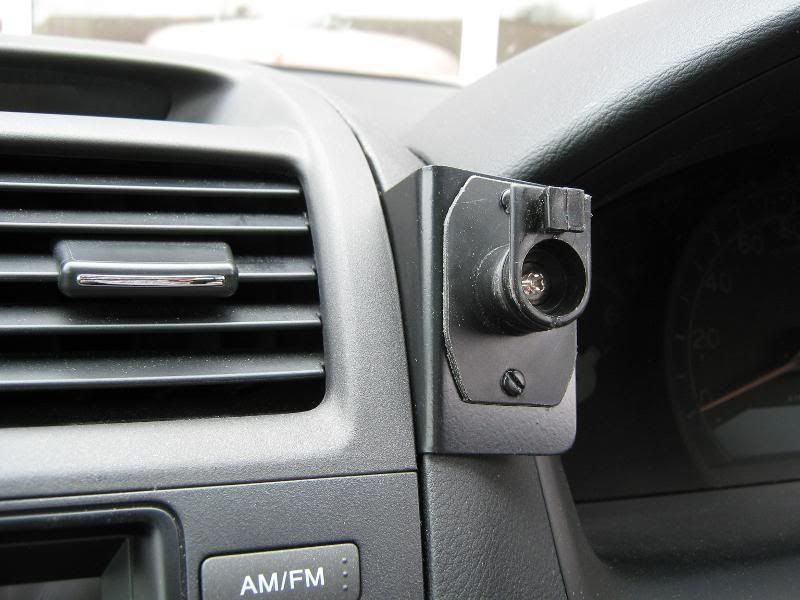
The bracket can then be screwed in
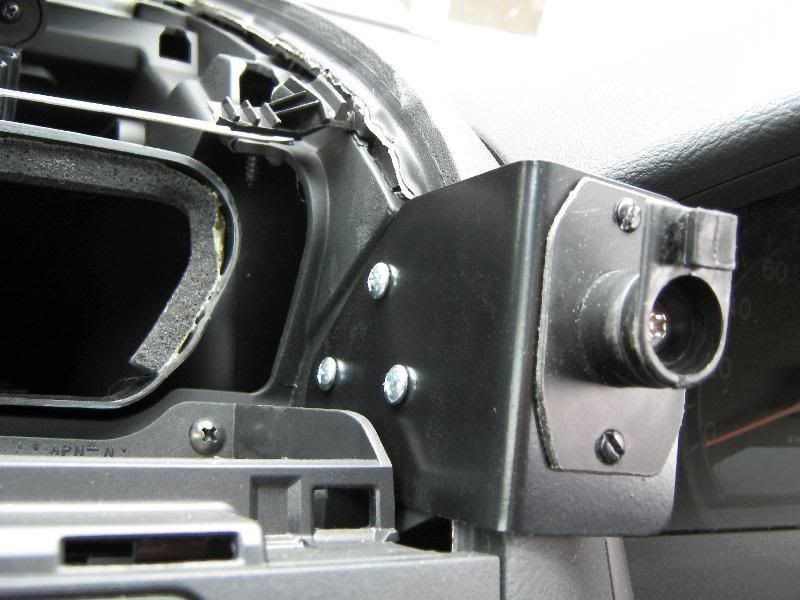
and the trim replaced
Fit the rest of the phone holder to the mount and you are done
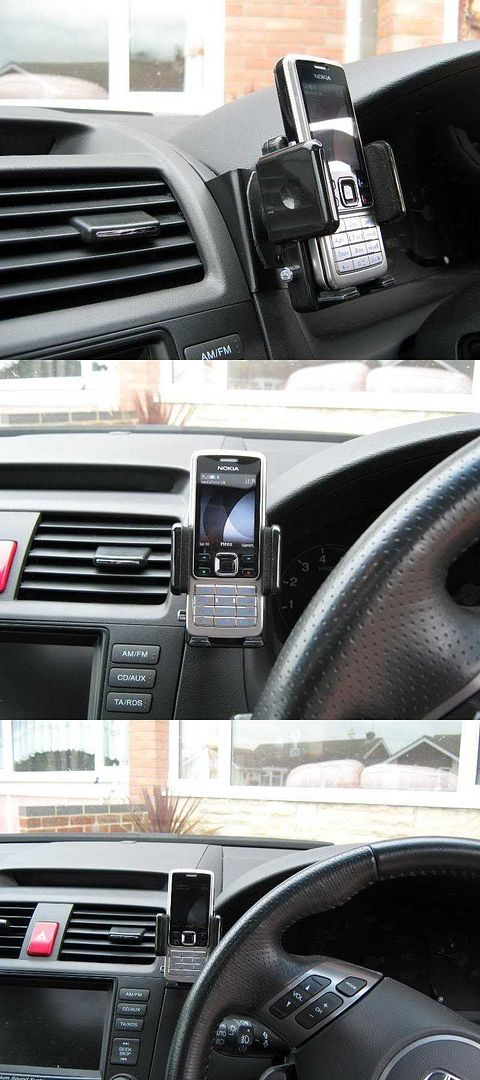
The phone is clearly visible and easily operated from the driving position.
I hope you find this useful and if anyone needs any points clarifying then please let me know.
Russell
So, to start, this is what it looks like when finished.
and here are the steps I took to achieve it.
Firstly remove the top trim piece which contains the air vents and the top LCD display. I found the best removal tool was a plastic kitchen spatula to lever up the trim.
Here you can see the trim removed and where the bracket is to be mounted.
The three little circles are where the holes will be to screw the bracket in.
Use cardboard to make a template that will fit nicely. By using cardboard you can gradually trim bits off until you have the shape that will fit best.
Once you have the required shape you can transfer it to a sheet of metal. I used about 1mm thick galvanised steel.
Polish all the edges and then mark where the bend needs to be.
Bend the bracket in the required place
and then drill the mounting holes in the required place
Prime the metal with spray metal primer and then top coat with black satin spray paint. I used Halfords spray paint & primer.
Then mount the base of the mobile phone holder onto the bracket. I used a universal mount from Halfords which, as well as the normal air vent clip mount, also had a flat bracket with a self adhesive pad to stick to the dashboard. I removed the self adhesive pad and then drilled the flat part to screw to my bracket.
Now, offer up the bracket to the mounting position and mark through the holes where to drill. Then drill small pilot holes into the dashboard. About 1mm - 1.5mm should be sufficient depending on the mounting screws to be used. I used 4mm x 12mm (No. 8 x 0.5 inch) self tapping screws.
The bracket can then be screwed in
and the trim replaced
Fit the rest of the phone holder to the mount and you are done
The phone is clearly visible and easily operated from the driving position.
I hope you find this useful and if anyone needs any points clarifying then please let me know.
Russell