Taffytim
Members
I've made this guide as my car is different to the guides that are on here. I hope it helps others, as you will see its quite an easy process but i came into trouble when removing the big panel so I'm not going to say that its a simple process.
You will need a philips screw driver, an extended socket set, something plastic thin and strong to prise out the panels (kitchen tools are useful), an extendable magnet to catch any screws that fall, a drill and some cable ties.
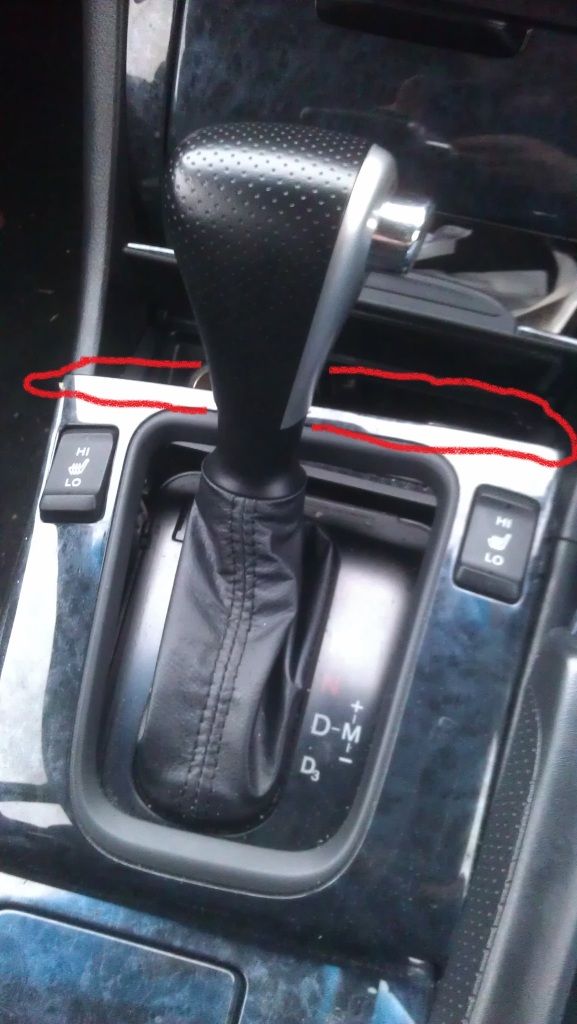
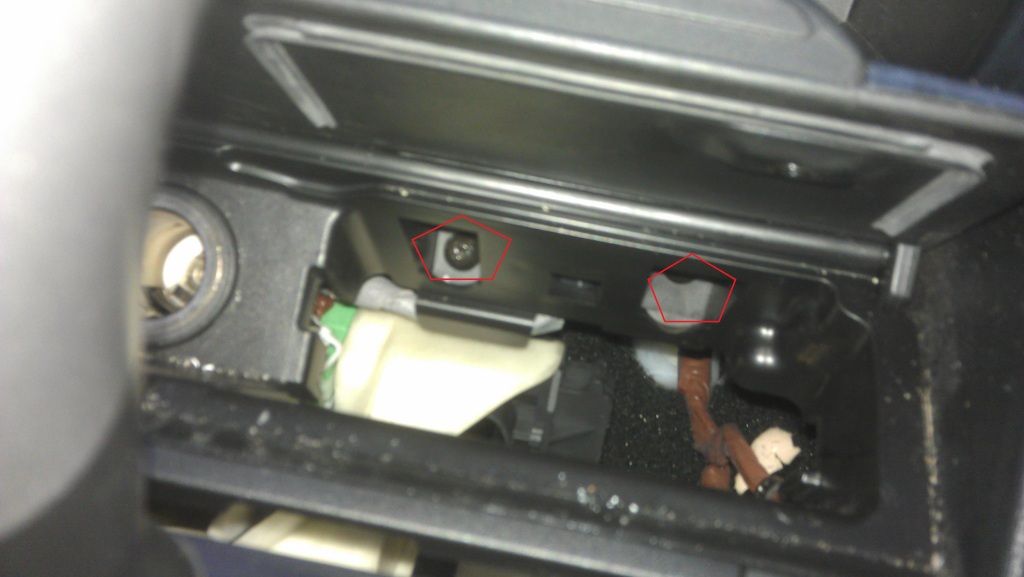
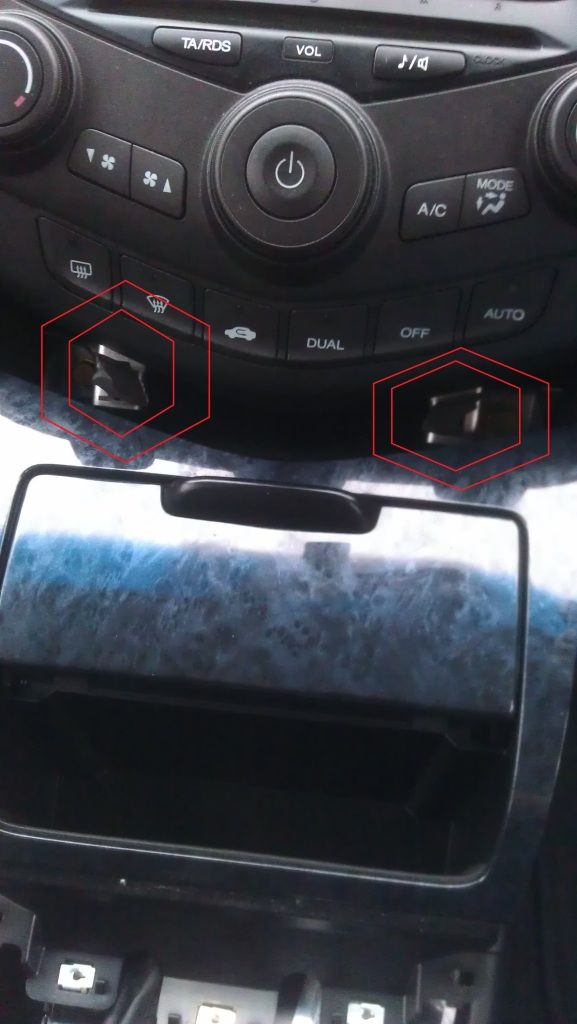
Start by prising the circled edge out then move around the panel doing the same, you may want to knock the stick into the towing gearing to give yourself some space for later on.
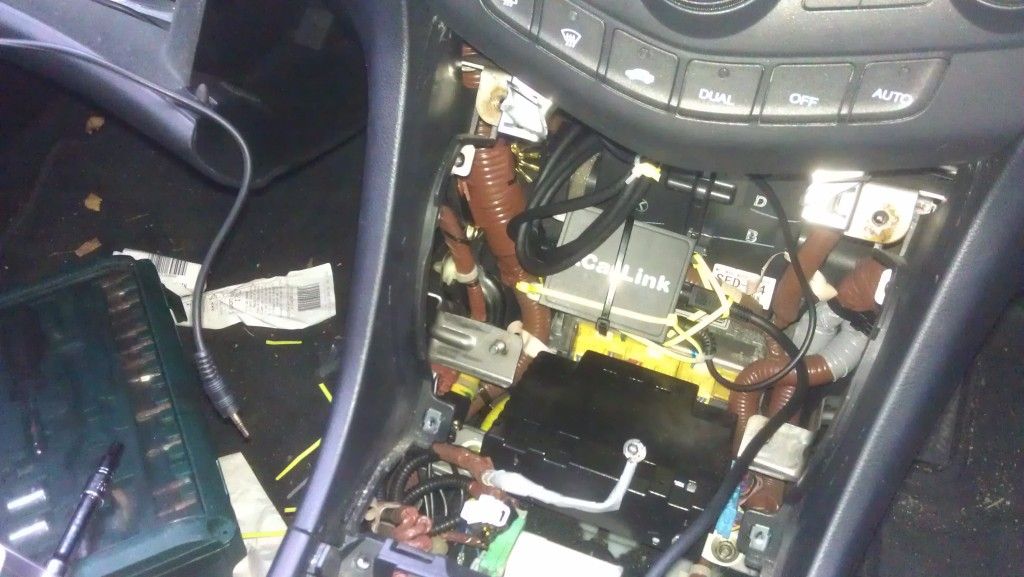
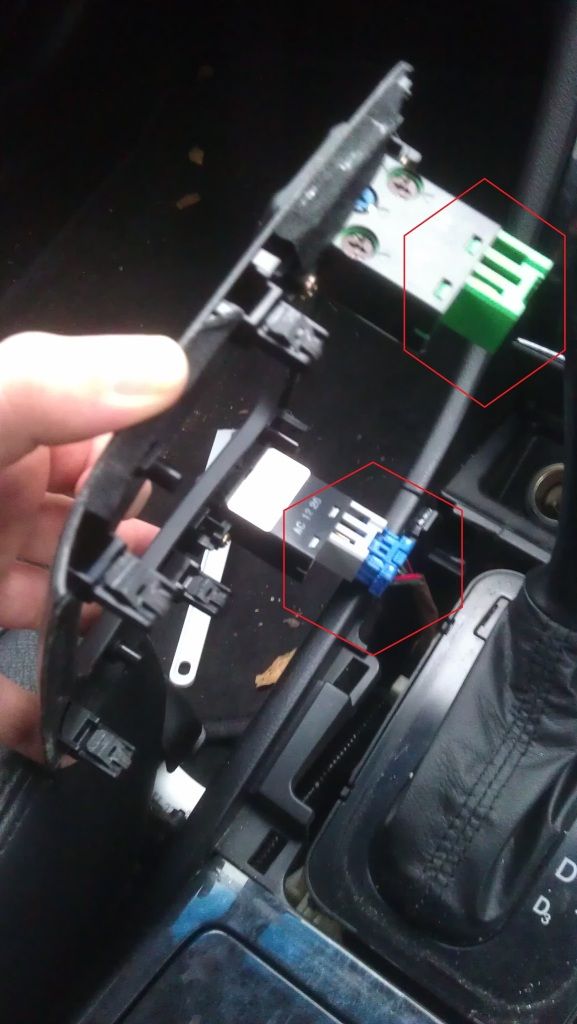
Disconnect the heated seat plugs, there is a little press in clip on each coloured plug, the panel will now be free.
Pull out the ash part of the ash tray.
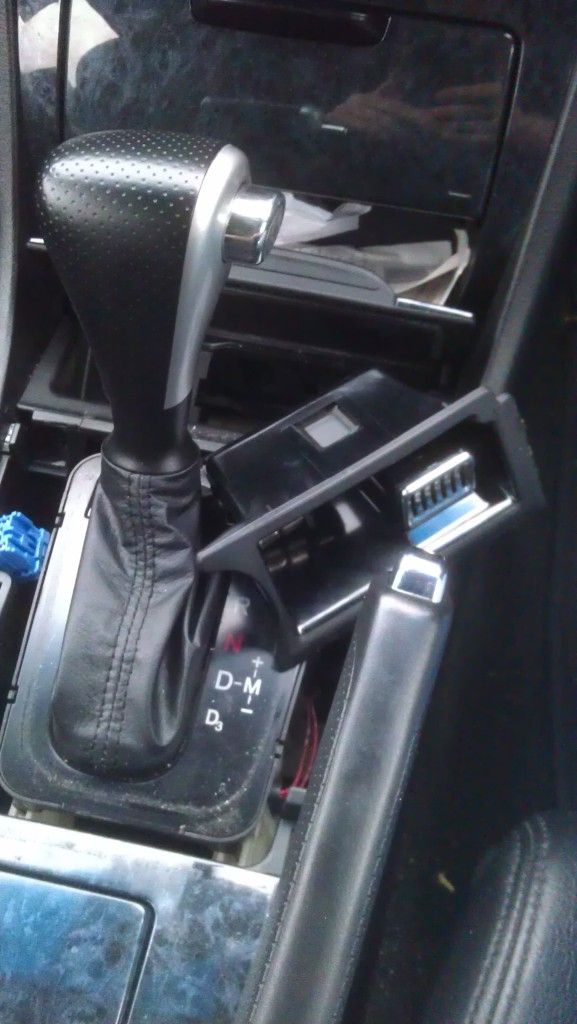
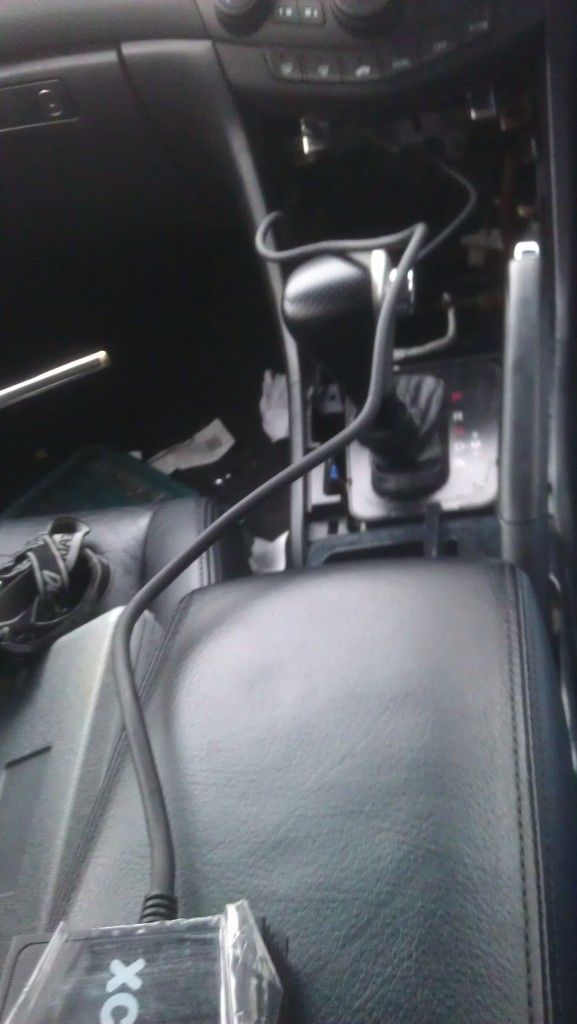
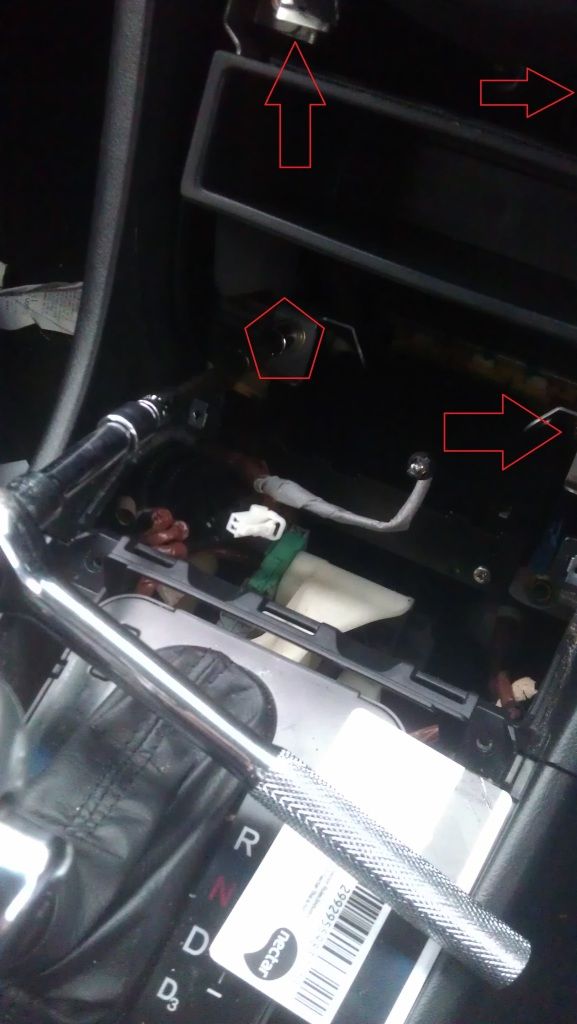
Undo the 2 screws in front of the gear stick.
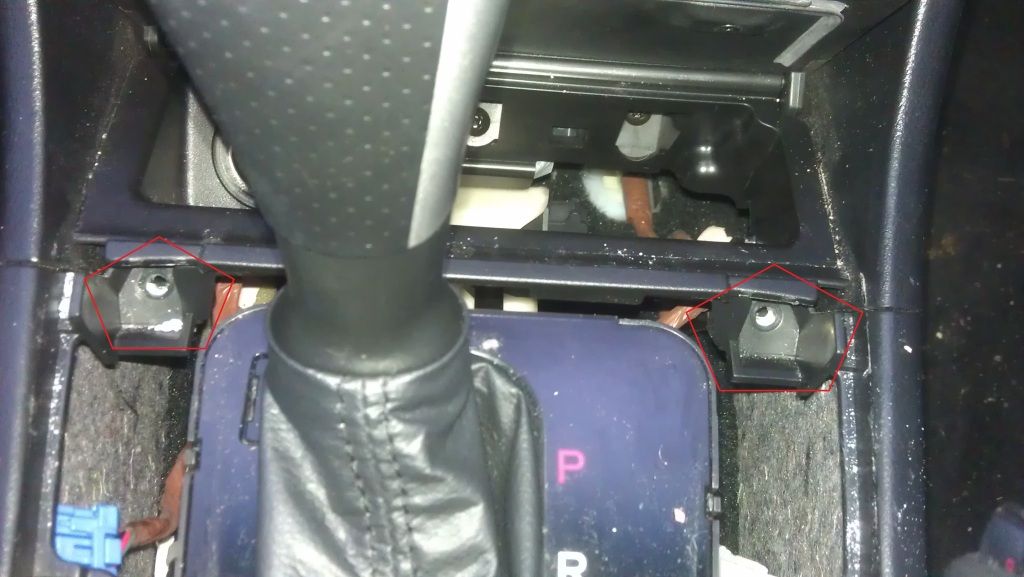
Undo the 2 Screws in the ash tray hole.
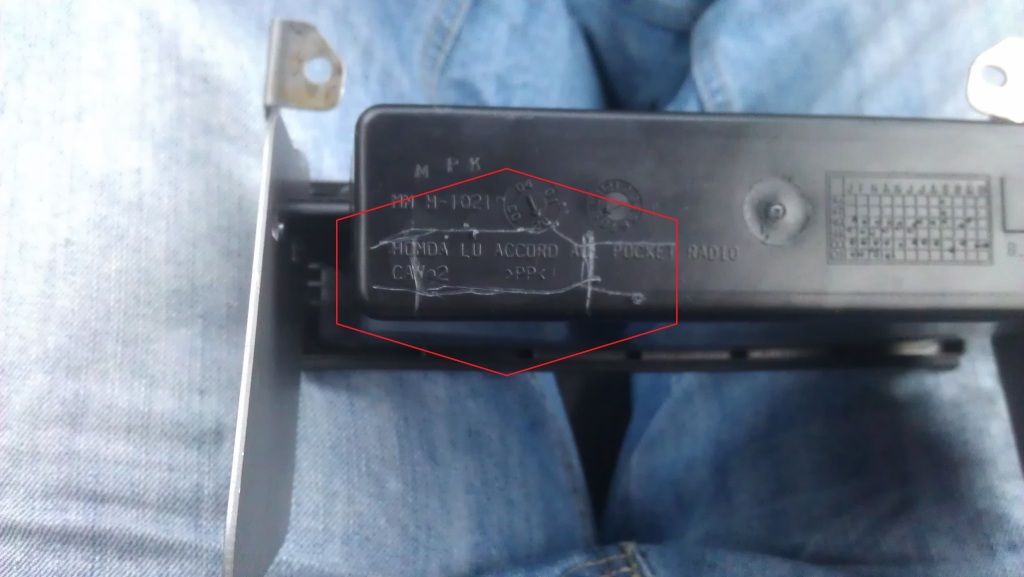
The Ashtray unit will now be free apart from the electrics. I think there are supposed to be some metal clips on the front of the unit too. I heard them ping off but i didn’t actually take them off properly when I pulled it out!
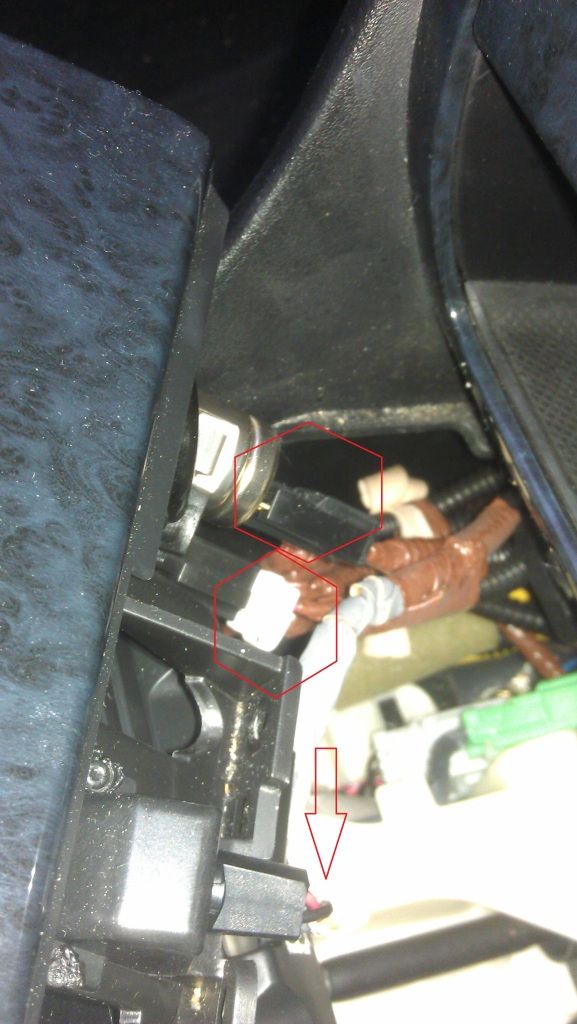
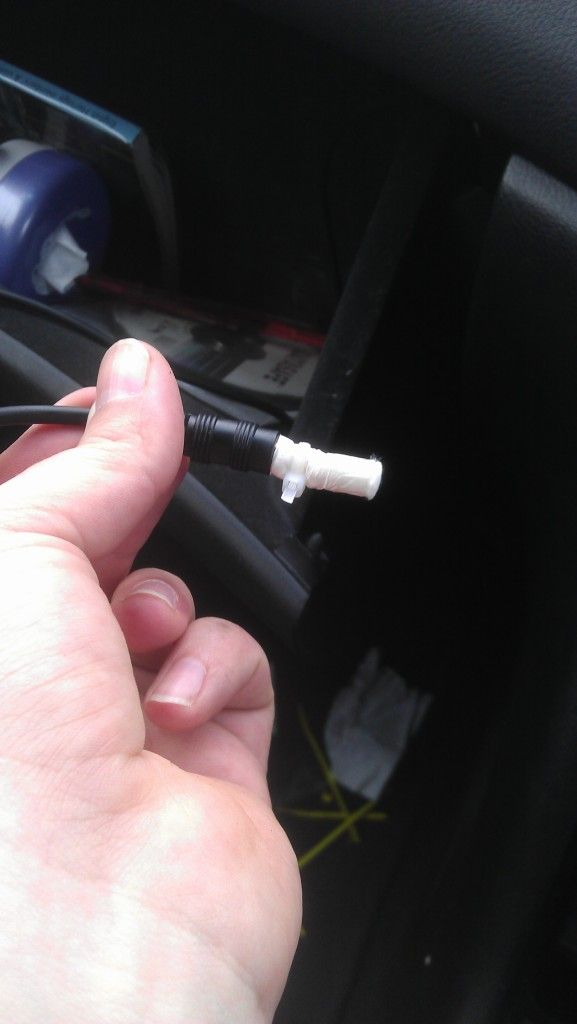
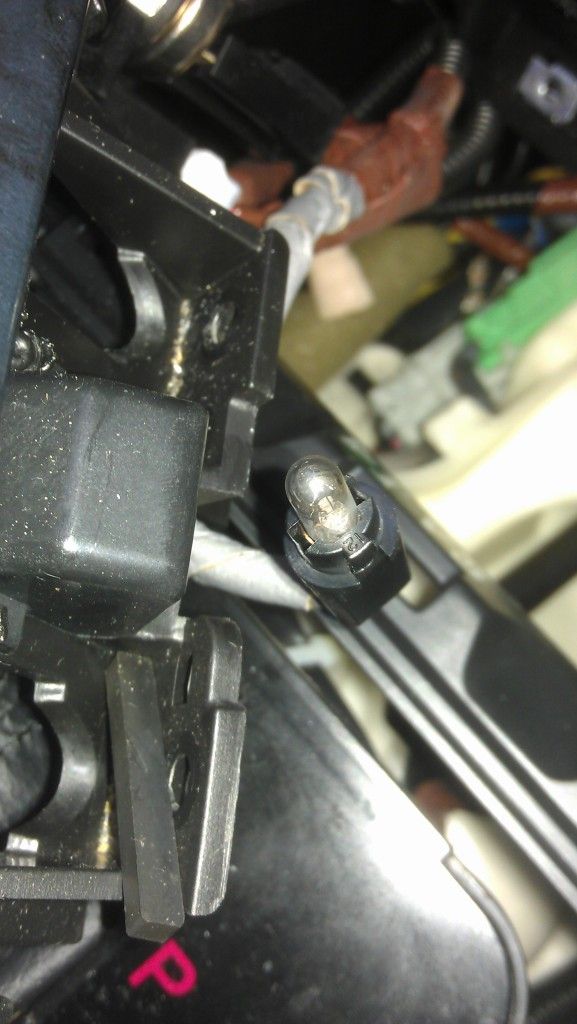
Twist and pull out the light bulb.
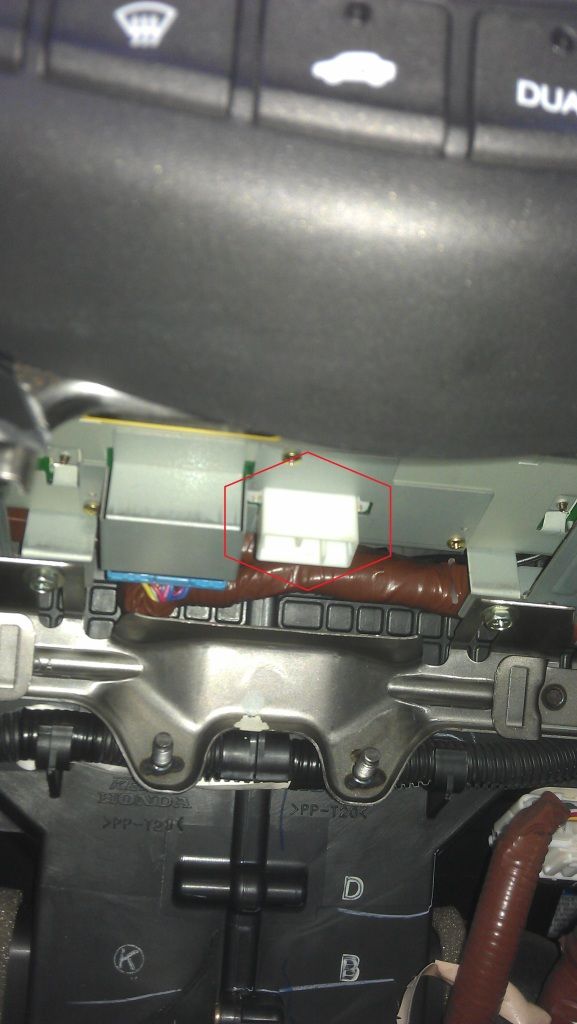
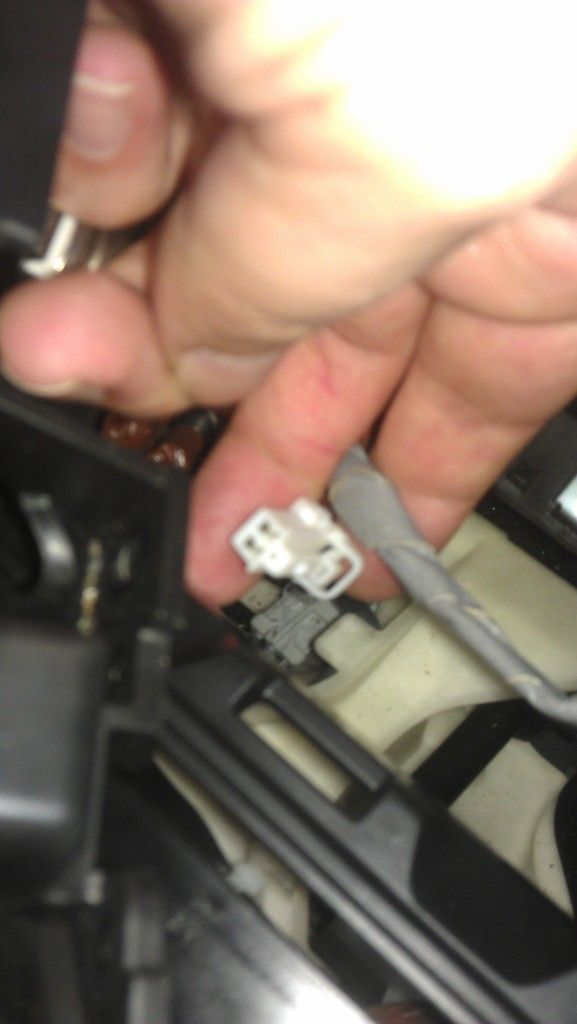
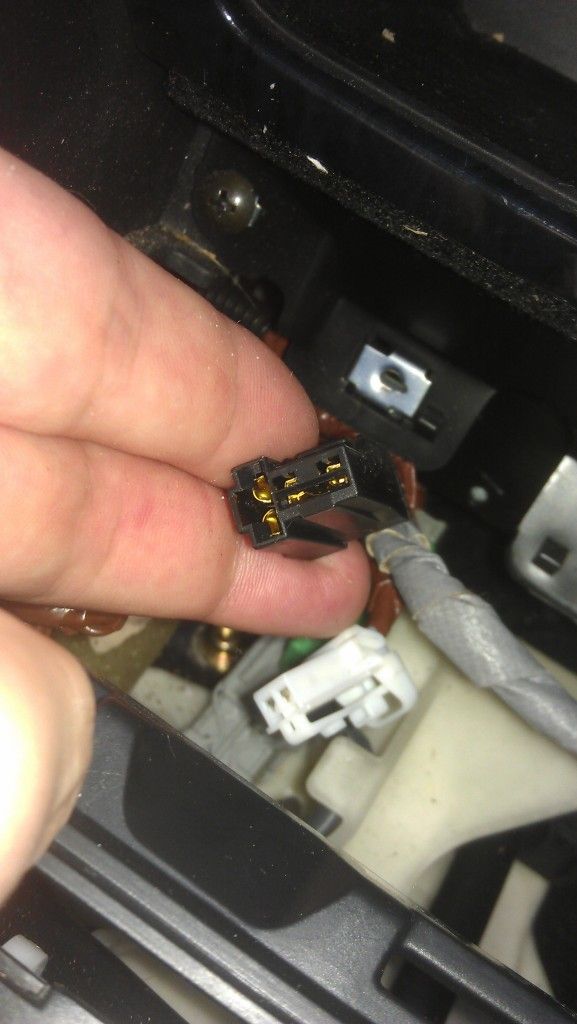
Push the clip and pull out the white plug.
Pull out the black plug.
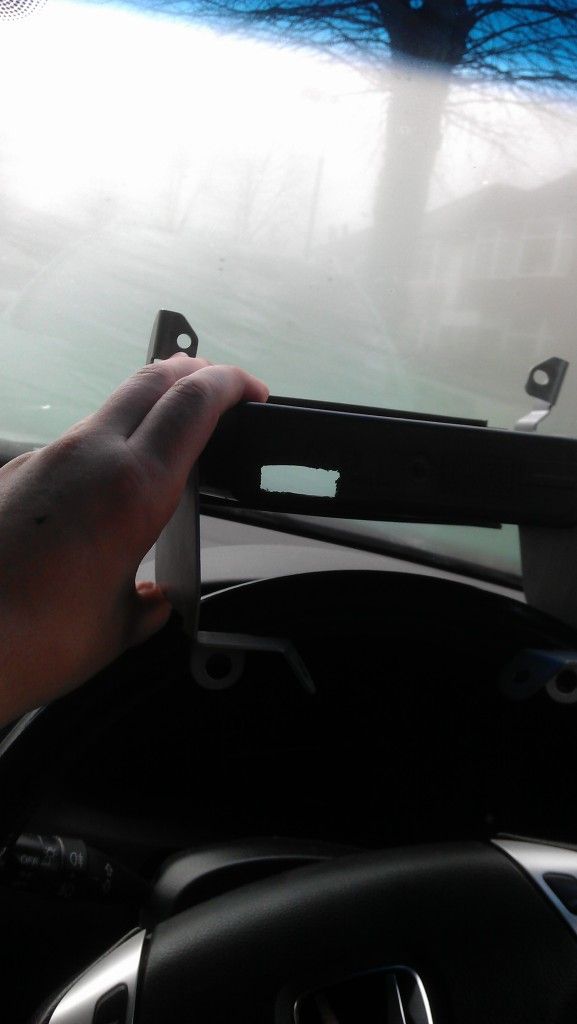
I failed at the next bit as I snapped the off some plastic from the panel heres how it should have been done (thanks Doc):
"When I fitted mine I slid a flat scraper in the side and prized the side up a bit to create a gap at the top, I then slid something in that gap too. I think I also got my fingers in between the top of the DVD drive and the dash trim. Then slowly worked at all 3 sides in turn to wiggle the trim clip out. There was a point where I nearly gave up because the trim was flexing a lot especially round where the clip was but I just kept applying the same pressure and with a lot of patience it slowly worked loose".
You are left with the pocket that needs to come out, on mine the 4 nuts were on really tightly. Use an extended socket set and use a sharp action to get the nuts lose in the first instance.
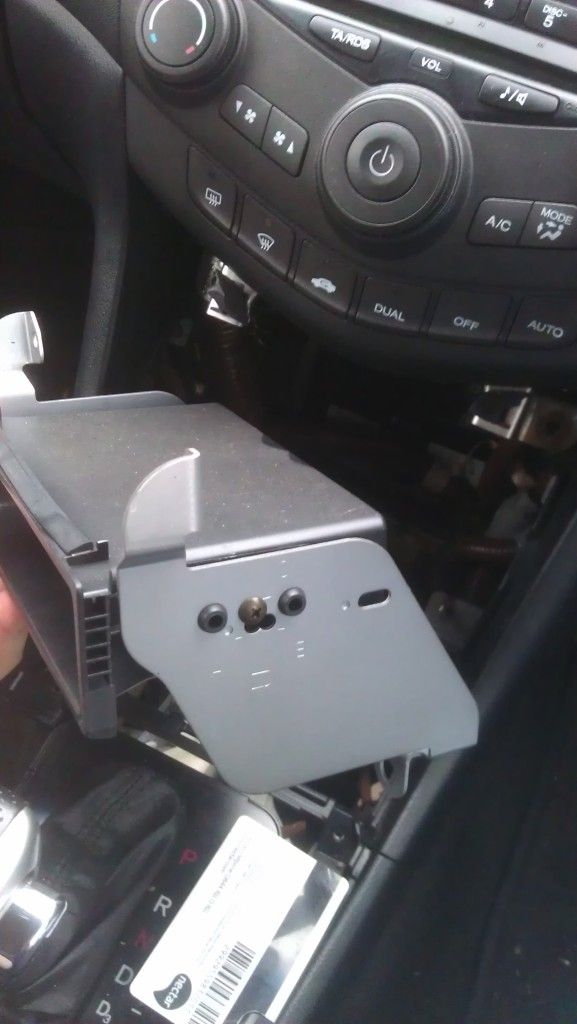
Remove the pocket and its support.
You will need a philips screw driver, an extended socket set, something plastic thin and strong to prise out the panels (kitchen tools are useful), an extendable magnet to catch any screws that fall, a drill and some cable ties.
Start by prising the circled edge out then move around the panel doing the same, you may want to knock the stick into the towing gearing to give yourself some space for later on.
Disconnect the heated seat plugs, there is a little press in clip on each coloured plug, the panel will now be free.
Pull out the ash part of the ash tray.
Undo the 2 screws in front of the gear stick.
Undo the 2 Screws in the ash tray hole.
The Ashtray unit will now be free apart from the electrics. I think there are supposed to be some metal clips on the front of the unit too. I heard them ping off but i didn’t actually take them off properly when I pulled it out!
Twist and pull out the light bulb.
Push the clip and pull out the white plug.
Pull out the black plug.
I failed at the next bit as I snapped the off some plastic from the panel heres how it should have been done (thanks Doc):
"When I fitted mine I slid a flat scraper in the side and prized the side up a bit to create a gap at the top, I then slid something in that gap too. I think I also got my fingers in between the top of the DVD drive and the dash trim. Then slowly worked at all 3 sides in turn to wiggle the trim clip out. There was a point where I nearly gave up because the trim was flexing a lot especially round where the clip was but I just kept applying the same pressure and with a lot of patience it slowly worked loose".
You are left with the pocket that needs to come out, on mine the 4 nuts were on really tightly. Use an extended socket set and use a sharp action to get the nuts lose in the first instance.
Remove the pocket and its support.