What's new

Upgrading the Accord iCDTi ICE. Many Questions (& hopefully Answers too!)

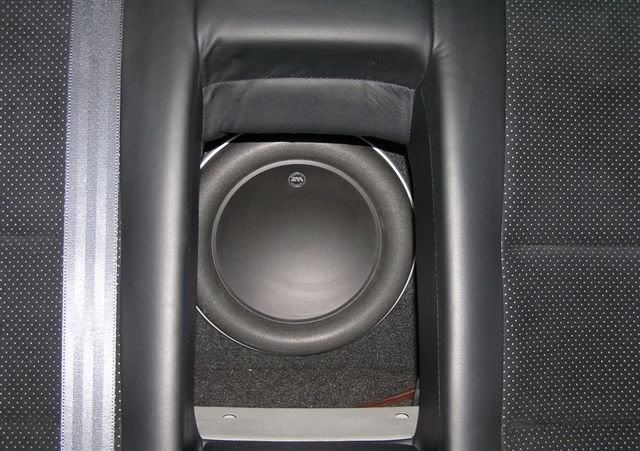
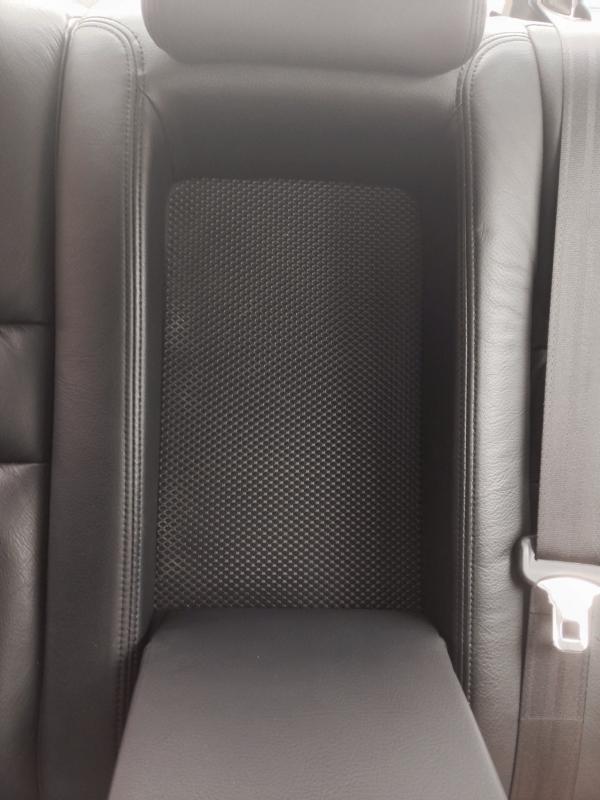
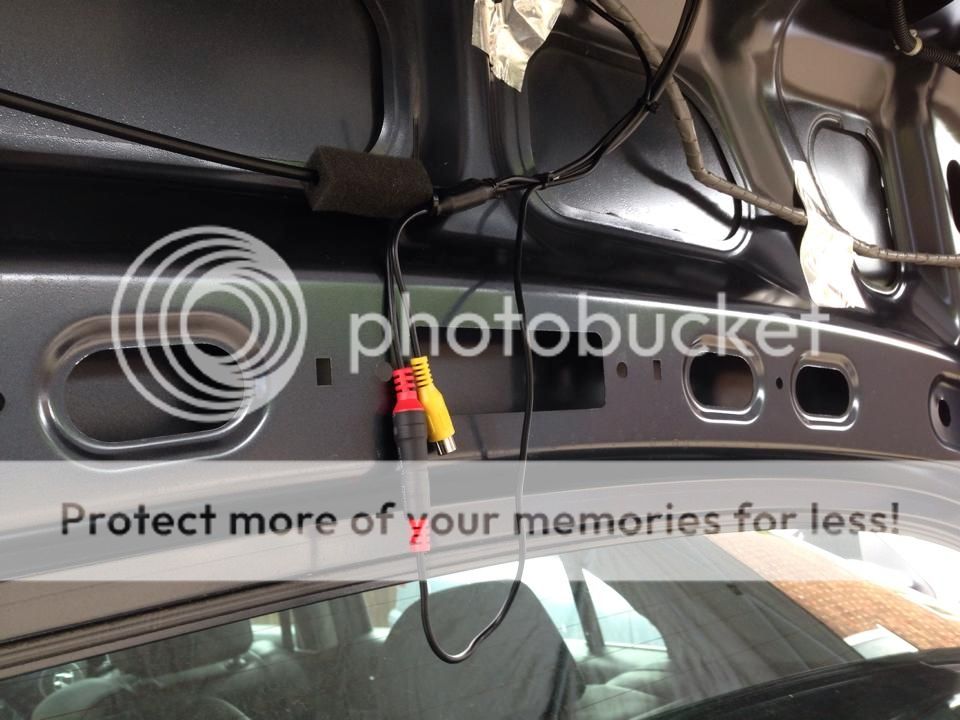
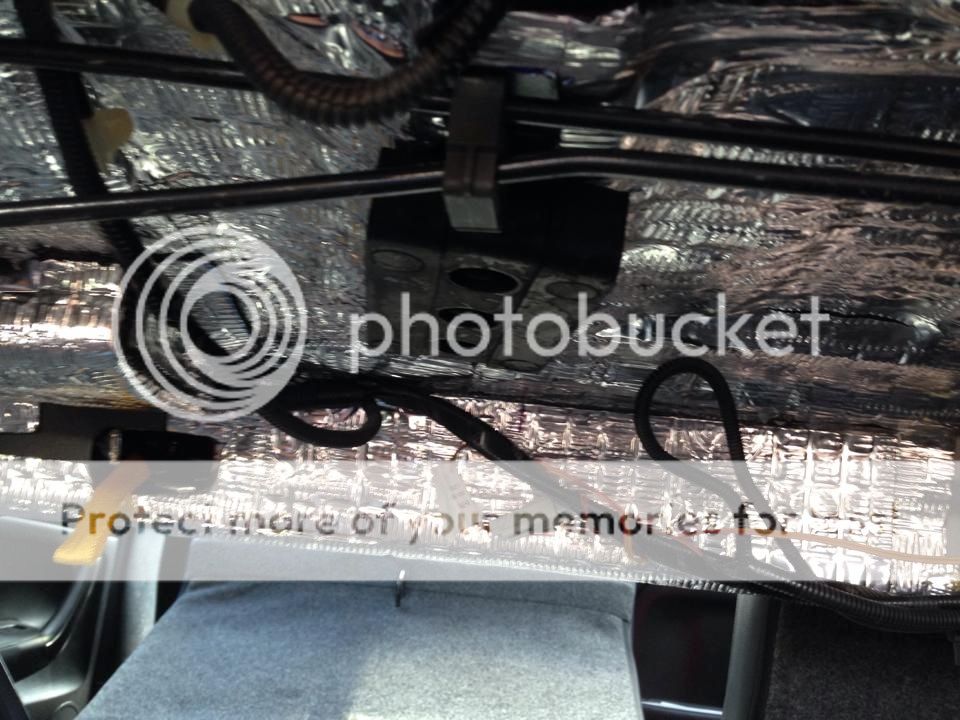
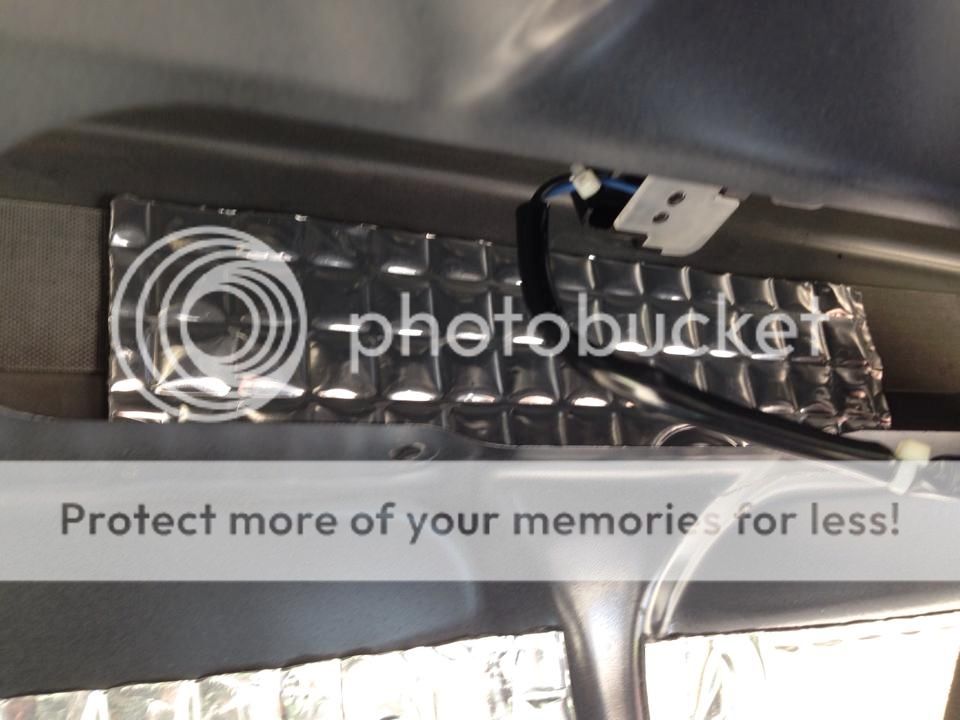
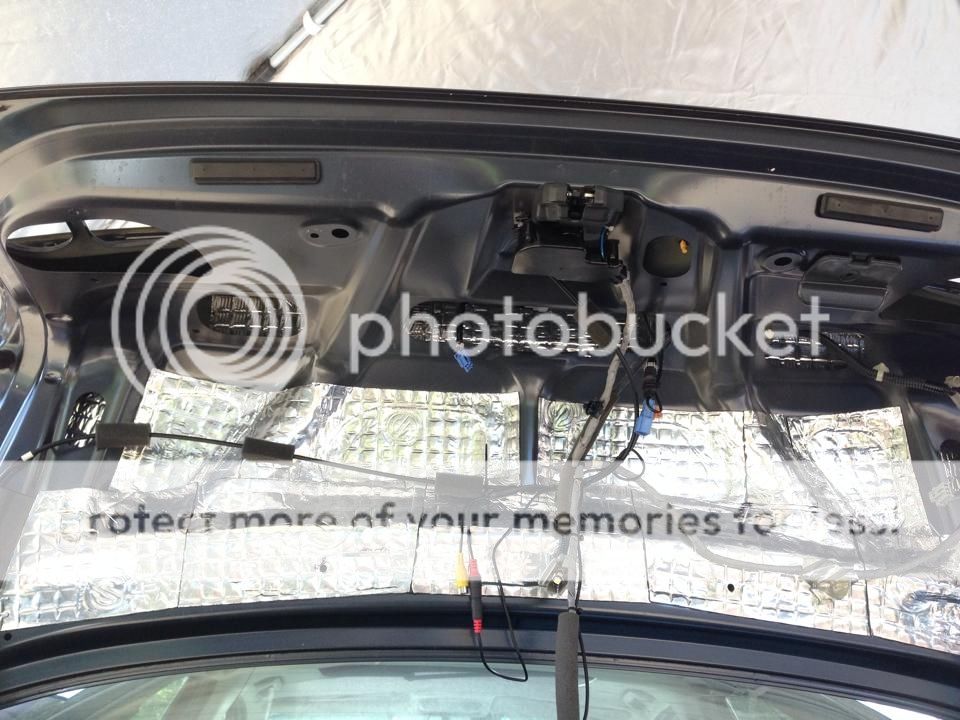
Finally back on track today. I think there are 3 full days left to go to completetion so should we should hopefully be 50% completed after today. Will be deadening the boot & bootlid, maybe fitting the reverse camera, and if enough time, installing the "Big Three" power & ground cabling in the engine bay etc.....

Still to do:
1) run 0awg power cables from engine bay to boot via conduit under the car.
2) install 2 new AGM type batteries (one in the boot)
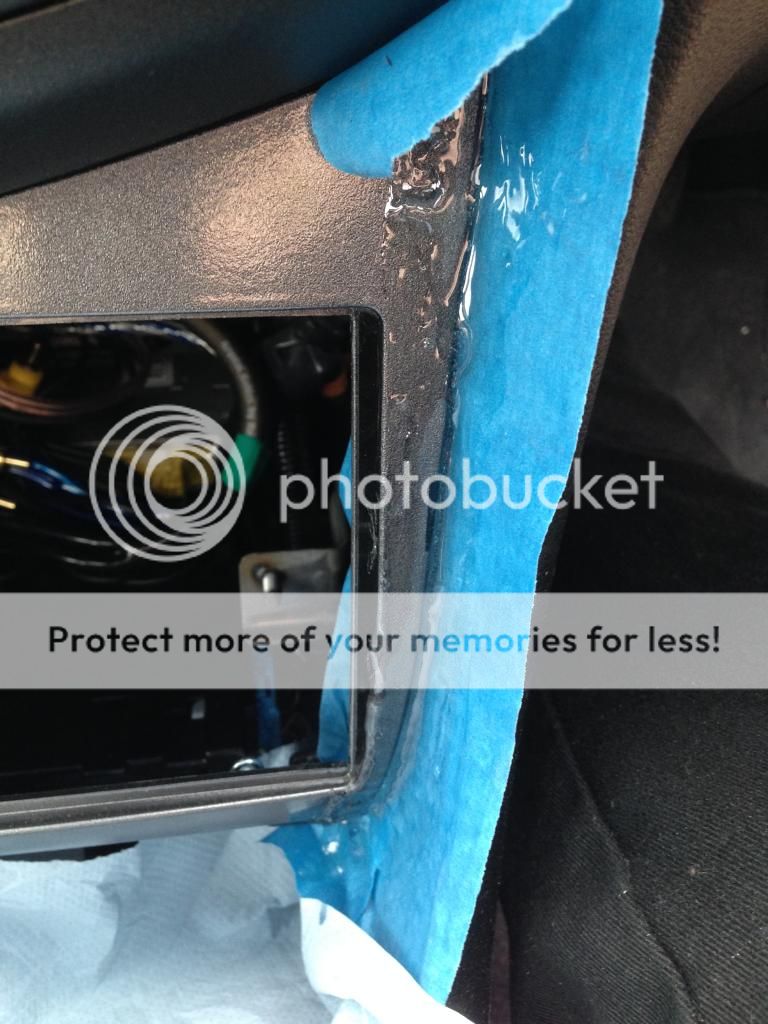
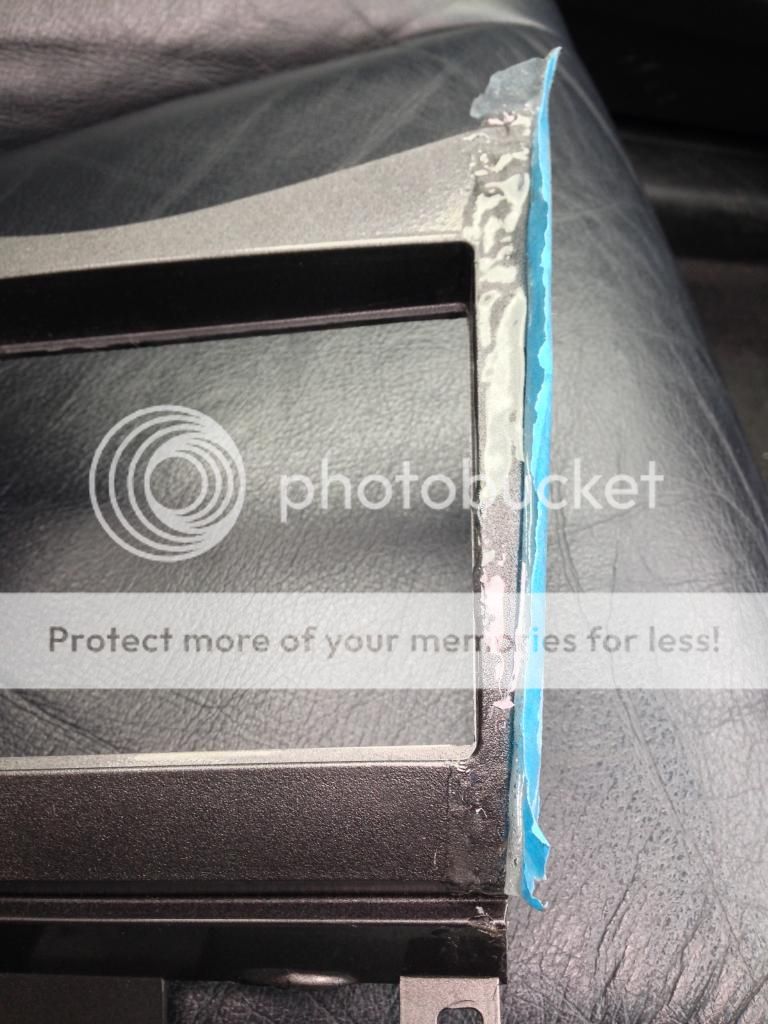
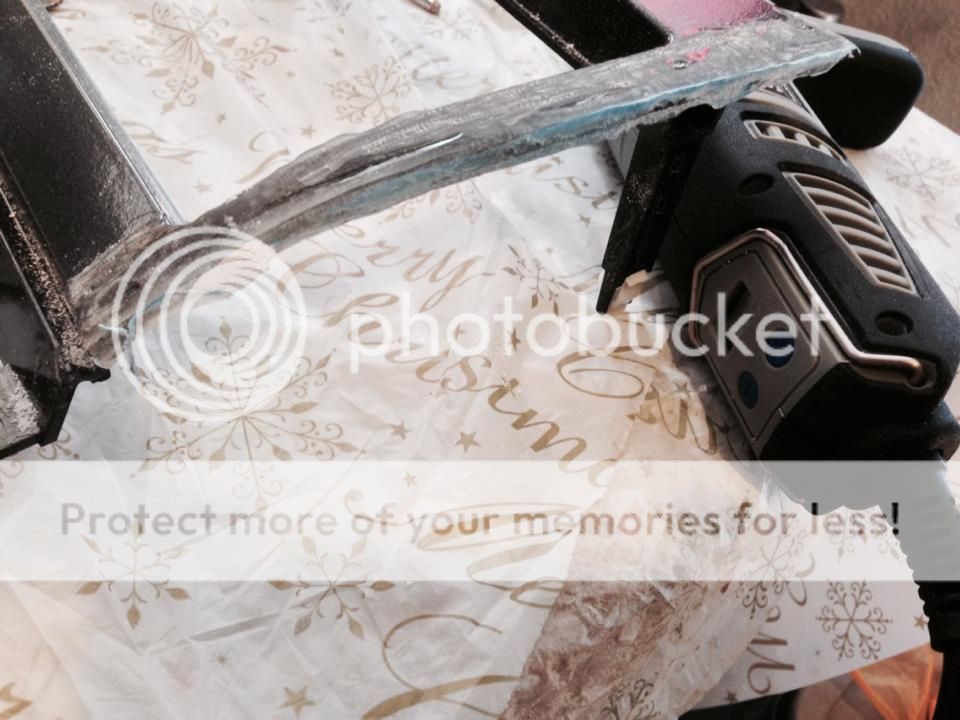
3) modify the aftermarket Double DIN facia so it actually fits
4) sound deaden the doors
5) install MDF speaker spacers in each door
6) install coaxial rear door speakers behind factory grills
7) install front components, woofers in doors & tweeters into stock locations in the dash
8) fit subwoofer to custom MDF box
9) fit Head Unit & modified facia to the dash
10) sound check & adjustment

Damn I can't wait for this to be finished!!!!
 
Here is a progress report. Nowhere near as much done as hoped yesterday, but a sharp shower cut the day short and I'm still recovering from my hospital stay so was pretty tired by then...


1 Boot Insulation removed
1BootInsulationremoved.jpg


2 New LED Bulb & Reverse camera
2LEDBulbampReversecamera.jpg


3 Dremel work on cover plate. Also some CCF to stop the cover panel from rattling. The camera cliped into position perfectly ( as it was designed specifically for this car), however the cover plate wasn't taken into consideration and when refitted bulged badly, & I really wasnt happy about that...
3Dremelworkoncoverplate.jpg


4 Camera fitted snug as a bug
4Camerafittedsnugasabug.jpg


5 Boot Badge layered up with double sided tape to stop rattles
5BootBadgelayeredupwithdoublesidedtapetostoprattles.jpg


6 Cover panel nice & flush with no rattles hopefully
6Coverpanelniceampflushwithnorattleshopefully.jpg
 
7 heat shrunk power connection. Takes a direct feed from the reverse light
7heatshrunkpowerconnectionTakesadirectfeedfromthereverselight.jpg


8 Rear shelf underside
8Rearshelfunderside.jpg


9 start to fill all small voids filled with small strips as best as possible, 2 layers minimum, 3 if possible
9starttofillallsmallvoidsfilledwithsmallstripsasbestaspossible2layersminimum.jpg

9allsmaillvoidsfilledwithsmallstripsasbestaspossible.jpg


10 then a double layer over the top
10thenadoublelayeroverthetop.jpg


11 continuing to fill voids including up and behing the number plate/rear boot light clusters. This was ridiculously tedious & time consuming, but my pal who was helping me is particularly **** about doing a really thorough job. TBH he was right as doing at least two small layers in the voids you can actually reach as made the boot have a uniform thud when you tap the panel.
11continuingtofillvoidsincludingupandbehingthenumberplate.jpg


12 more layers added to seal as much as possible, lesson to remember, poke the trim & cable retainer holes as you apply each layer, as its way harder to fins the hole under two or more layers of Silent Coat
12morelayersaddedtosealasmuchaspossible.jpg
12a.jpg


and finally
13 video cable connection heatshrunk then cable tied to existing cables
13videocableconnectionheatshrunkthencabletiedtoexistingcables.jpg


So much more to do but my pal is busy with overtime so no more progress for about 2 weeks, except for my modified Metra facia as I will begin work on that next week.....
 
Unfortunately not, my initial delay was due to a stay in hospital due to contracting viral meningitis, & been back in again since, due to a foot infection that started whilst I was in there, & has become massively serious. I am under strict instructions to stay off my foot as much as possible with antibiotic injections every day for the next four weeks.

On a brighter note, the Metra facia I bought from the US which turned out not to fit, will be my ongoing project over the next week. I have bought some plastic & just need some epoxy, wet n dry & a Dremel to make it fit as it should, so pics will follow. Hopefully I can get back to the main install in a couple of weeks as things heal & the swelling goes down.
 
I managed to get a little bit of work done on the install yesterday. Happy just to get a little bit done after all the time off with health issues. The Double DIN facia has been nothing but troublesome, but those who might know me back from LOC days understand facia modding is something I can do fairly well.

The Metra Facia supplied from the USA has small gaps at each side, and I just wasn't going to be happy with that. I hanted to test fit the Head Unit with the facia, then fit the lot into the dashboard to see excatly where we were before I decided exactly on a course of action...

Honda Facia removed
2014-07-08123737.jpg


RCA's, remote leads etc all in place.
2014-07-08131155HDR.jpg


This bracketry just gets in the way of the replacement facia so out it comes
2014-07-08124513HDR.jpg


The Gap. I know it's fairly small, and when painted black will show even less, but that isn't the point. It should fit perfectly in the first place...
2014-07-08124643HDR.jpg


Now it was decision time, Head Unit recessed into the Facia or with the Pioneer trim? Which do you prefer?

No trim
2014-07-08135327HDR.jpg


or trim piece?
2014-07-08135301HDR.jpg
 
Bearing in mind I have now decided to go with plain black or the facia front, I think with the trim was the best option. There were problems however, as the Metra facia has two curves. One from top to bottom, the other horizontally which you can't really see until you take the whole thing out....

2014-07-08145128.png


From the front you only know how bad it is fitting if someone point's it out, but I'm not having a dogs dinner ill fitting trim on my dash, especially with the top head unit pioneer currently make!!

Patient work with a dremel (several test fits & more trimming) the ill fitting top now countours to match the facia. Almost half it's thickness is gone in the middle, with less removed at the edges
2014-07-08151837.jpg

2014-07-08152047.jpg


The side required less trimming, but the facia isn't straight anywhere from top to nottom. Obviously becuase of how the Stereo fits & the shape of the dash, the bottom section will stick out, but when fitted this doesn't really notice at all, but I have considered bringing the curve at the base upwards to meet the trim panel. Undecided as yet how I will leave it.
2014-07-08151854.jpg


Looking a bit more like the real deal. Shame about the gap on the right which is about 3x bigger than the one on the left when everything is bolted securely in. In fact the one on the left is only about 1mm and when painted black and bolted in won't notice, but Mr Rightside needs attention.
2014-07-08152705HDR.jpg


Time for some masking tape.....
2014-07-08153850HDR.jpg


Clear plastic epoxy resin if the first thing to try, we shall see how it works out. Obviously it looks like ***** now, but I'm hopeful it will close the gap and harden sufficiently to allow sanding and painting. Fingers crossed eh?
2014-07-08160907.jpg


Time to dry and harden. More updates in a few days as and when I get time, lots of hospital ***** to contend with this week.
2014-07-08174412HDR.jpg
 
To have to pad the facia width out & trim the internal aperture to allow a standard brand name Double DIN size isn't really plug n play, but I guess in the US the dash might be slightly different. I can certainly see why there are very few ICE Honda Accord (7th Gen) in the UK, and nearly all of those I have seen use a Single DIN head unit.

The resin seems to have set and might well do the trick, notice the gap isn't uniform, it is even wider at the bottom, however this will be out of sight. The masking tape protected the dash and kinda acted as a mould for the resin & I will give it a bit more time to harden fully (just in case) before the Dremel comes out to tidy it up, and I will flat back the facia front ready for priming & painting.

faciabuildup.jpg
 
Ok a few pics of the facia work.

1) Next stage, trimmed off the tape
FaciaTruimmed1.jpg


2) a rough dremel
FaciaTruimmed2.jpg


3) trying to keep a straight edge
FaciaTruimmed3.jpg


4) The only way I know it is flat is when the paint is off & at the same level as the plastic epoxy resin....
FaciaTruimmed4.jpg


5) Pretty damn happy with that visually, but it isn't perfect to the touch so........
FaciaTruimmed5.jpg


a skim of fine grade P38. It might be overkill to some, but I want it looking as good as it can......
FaciaTruimmedFineP38.jpg


It just needs to dry, a quick sand, plastic primer, a quick sand, then a couple of top coats with a sand in between each one....
ETA next day or so.....
 
Good work mate.
 
Before shot
FaciaTruimmed2.jpg


After shot
It's never going to be perfect out of a spray can at home, but it's a pretty decent job in the end
Finished.jpg


There is now a delay as my pal is busy on overtime & i have docs/hospital appointments etc, but the last few stages are approaching.
Here is a list of what is left still to do when we can get time when we are both available...

1) Install 0awg Big 3 & run 0awg Power Cables from engine to boot via conduit under the car
2) install 2 new AGM type batteries (one in the boot)
3) sound deaden the remaining boot and under rear seat
4) sound deaden the doors & run all remaining control cables
(Bluetooth Mic, Epicentre Controller, JL Amp Cable, GPS receiver
5) install MDF speaker spacers in each door & run speaker cables
6) install coaxial rear door speakers behind factory grills
7) install front components, woofers in doors & tweeters into stock locations in the dash
8) fit subwoofer to custom MDF box & install LED's & Perspex
9) fit Head Unit & modified facia to the dash
10) sound check & adjustment

Will do this myself possibly tomorrow or Wednesday
1) Cut ski hatch grill mesh & paint

I have also ordered some small single LED's I will install discretely for courtesy effect lighting for the front door bins & the door handles like some later cars. They will be installed so you only see the effect of the light, not the actual light source itself. These will come on when the door is opened or the engine is running like the door window/central locking switch illumination etc. Also I have some front footwell courtesy lights for entry and exit. These are minor ***bits that will just add an air of quality to the install & are in keeping with a similar set up I installed on my IS200.
 
Wow!!!
 
I disagree. It completely deserves that reaction. In fact:

Give_That_Man_A_Cookie_meme.jpg
 
Here's another in honour of your avatar:

132430_o.gif
 
^ that's you dancing to music on your new car stereo...
 
None of this work would have been necessary had the Metra kit actually fitted perfectly. I just can't understand why is us so difficult for a UK based manufacturer like Autoleads etc to actually produce a Double DIN facia (rather than the trial & error of one from the USA or China) for the 7th Gen Accord. No wonder so few have been used for ICE as the car has pretty much fought me all the way do far. I refuse to be beaten tho, & this car will be at JAE in September & it will be finished.
 
Now that is a very nice install. Very impressed with your detail.
I've done this install before so know what ot entails.

Well done fella
 
Ski Hatch Grill done.

Firstly cut the aluminum mesh to shape
2014-07-15124921.jpg


A bit of colour so it doesn't look out of place
2014-07-15125126.jpg

2014-07-15125330.jpg


But the Honda doesn't have a Ski Hatch i hear you say? Well you are correct, but it will have one of sorts, or should I say bass port
in a similar way to the one in my old Lexus, but this black mesh grill will cover things more discretely when the armrest is down.....
JLAudio12W7SkiHatch.jpg


The rear 6x9's are removed so they are effectively bass ports, so once a ski hatch style aperture is cut into the armest back, there is pretty much no restriction on the subwoofer from flooding the cabin with big lows.....
 
Some great work here. Have you thought about hydro dipping your plastic trim? Im sure its quite cheap to do.

https://www.youtube.com/watch?v=MN4PS7ZJeYY
 
Top