Guys,
I decided to install HID 6000K units into my 8th Gen accord and can advise they work a treat so thought i would share with you all. Apologies as i couldnt take pictures all the way through as i sort of forgot or had my hands full.....
So to start you will need:
1. HID kit in H1 fitting (ebay best - http://www.ebay.co.u...=item4cec249814 )
2. philip screw driver
3. flat blade screw driver
4. 10mm socket and ratchet
5. old peice of carpet
6. a drill and a 25mm hole cutter or similar
So the easiest way for me to show this is in step format so here goes:
Step 1.
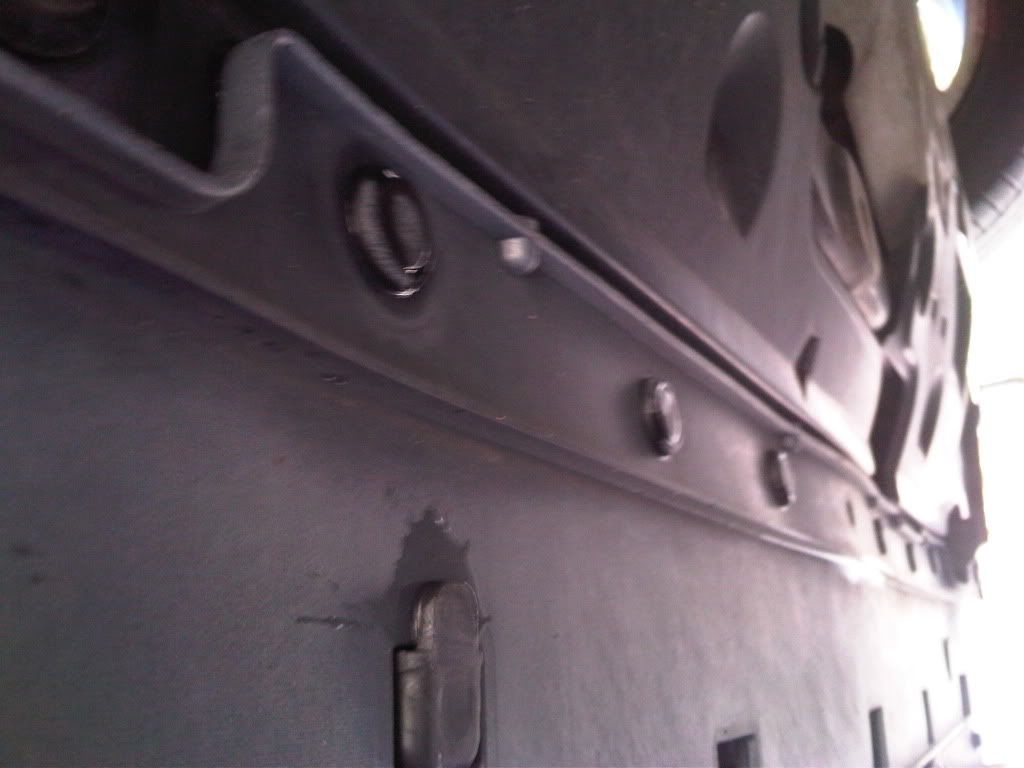
Locate all the plastic securing pins on the top trim within the engine bay and remove. Be gentle as they will break but do come out without to much effort.

Step 2.
Repeate same process for the lower fixing points under the car - there are lots of these!!!
Step 3.
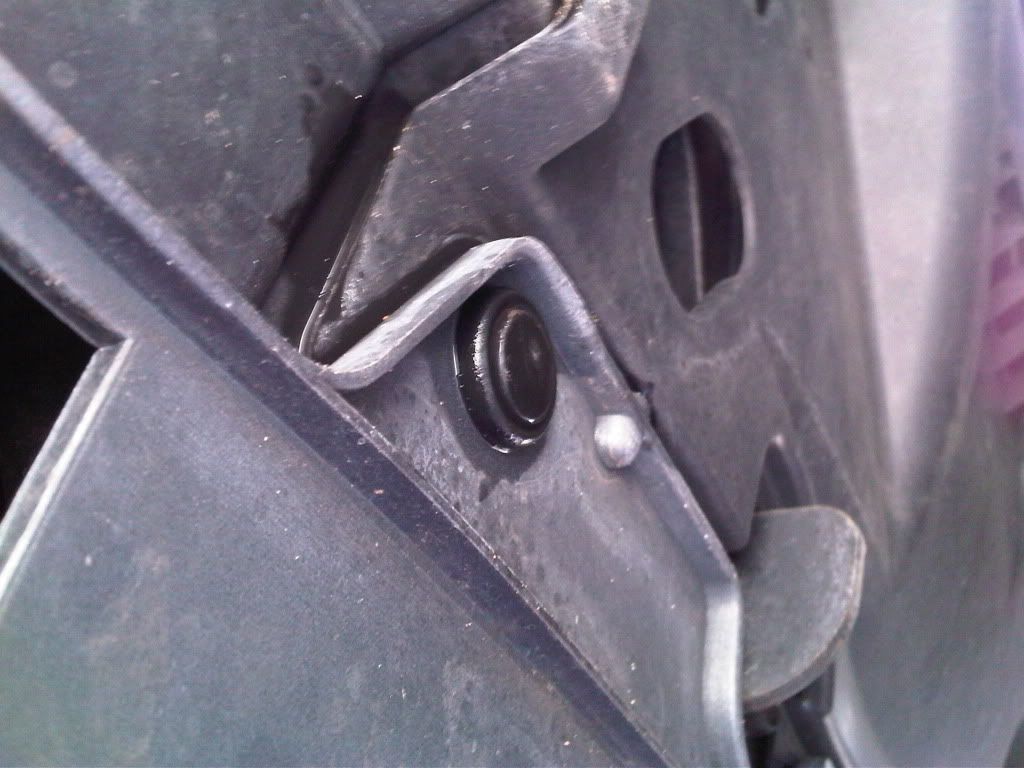
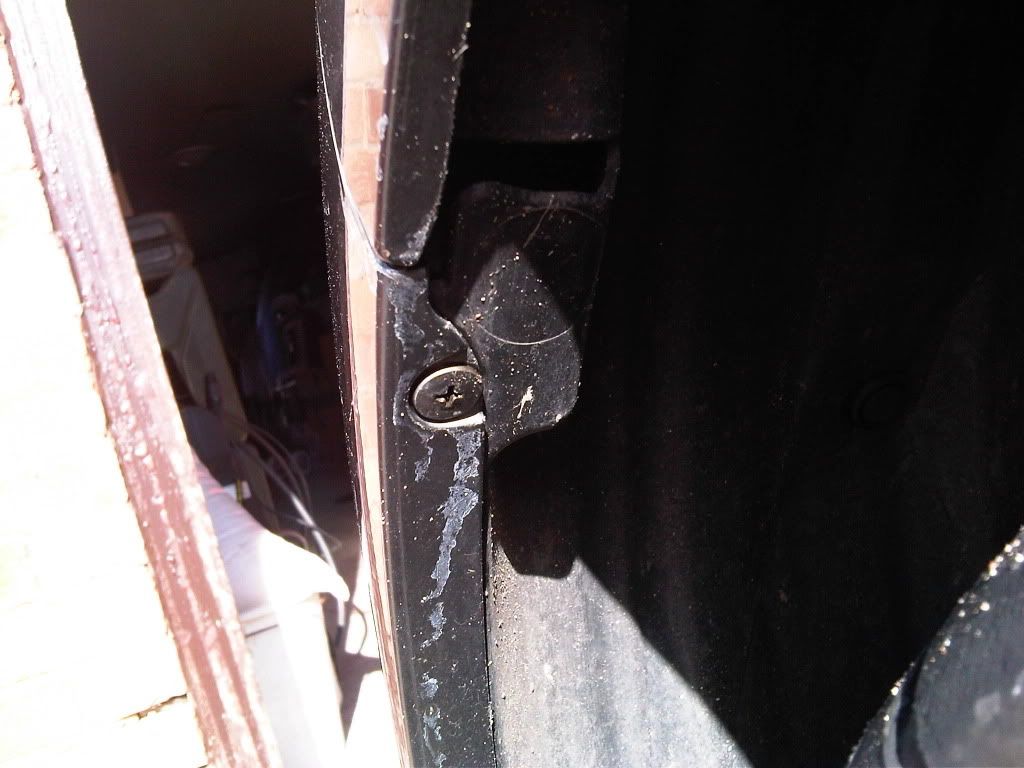
Remove the single philips screw located inside each wheel arch.
Step 4.
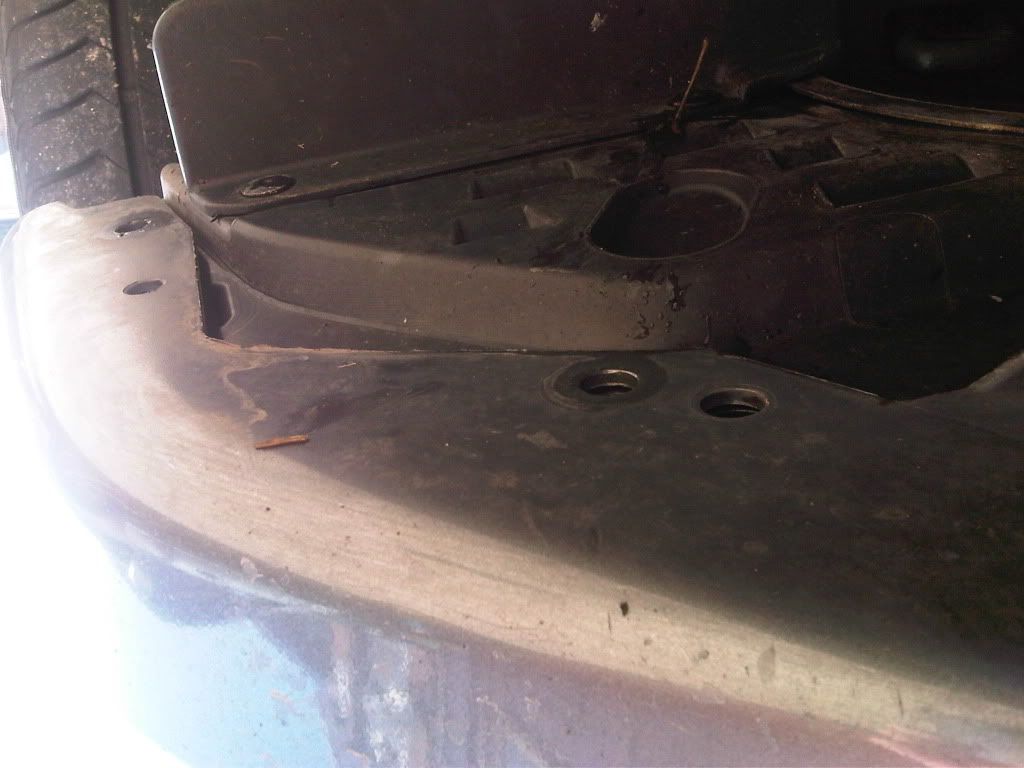
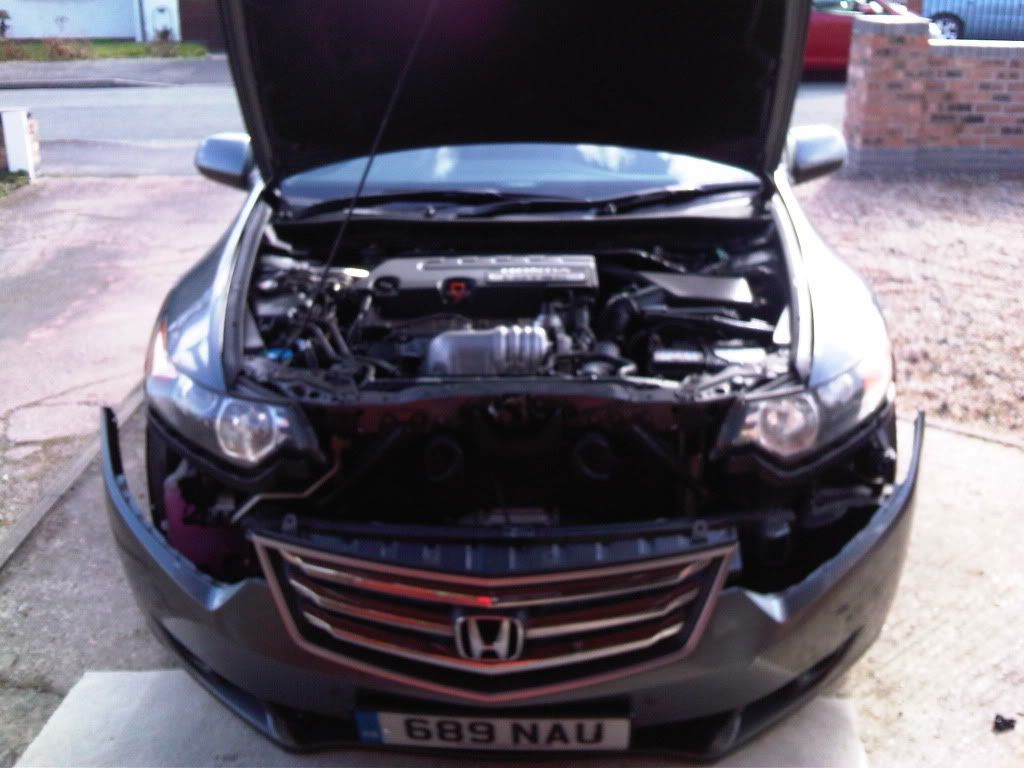
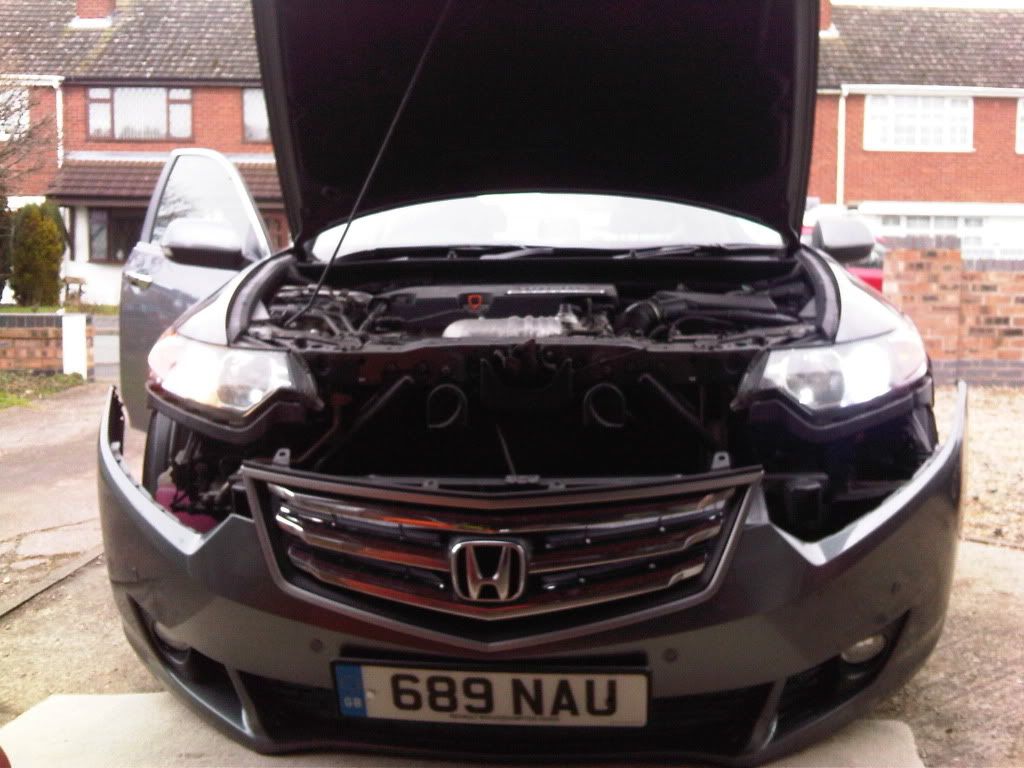
Starting at either side give the bumper at the wheel arch a good tug and it will unclip. Follow this round under the light fitting and then repeat from the other side. Be careful at this point not to drop the bumper!! This is where best to put the carpet to aviod scratches to the paint work. Once free lift off from the car and place on the floor.
Step 5. (optional)
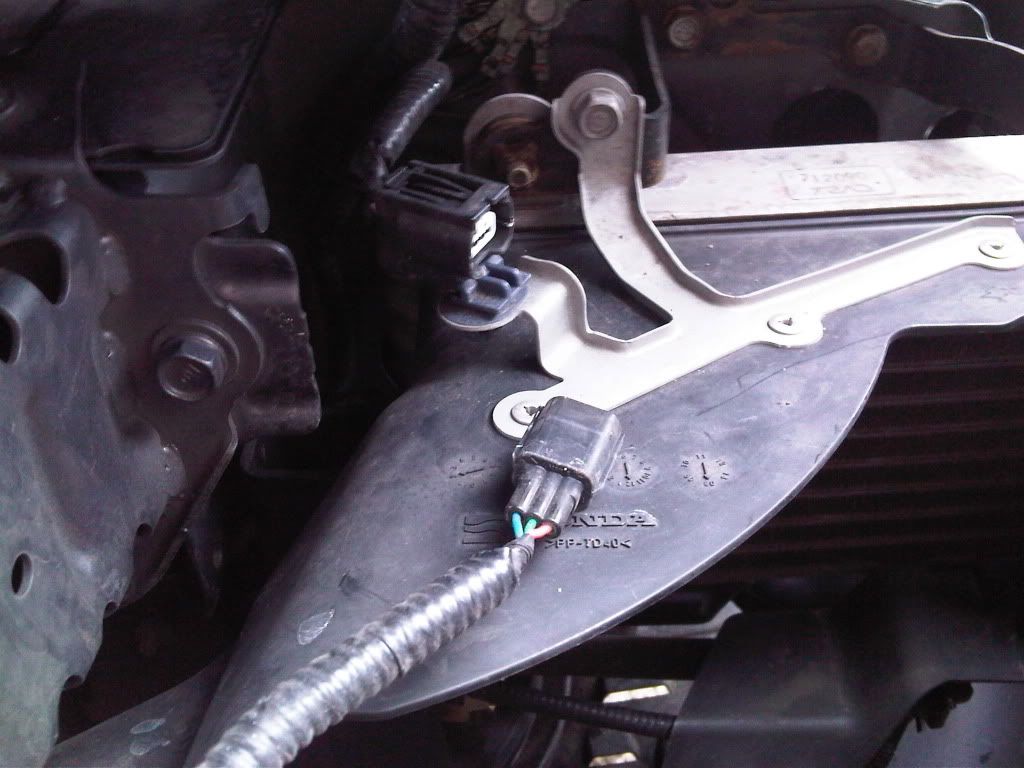
If you want to remove the bumper out of your way then you will need to disconnect any cables, so dependant on the options fitted to your car unplug the leads to the front bumper to remove.
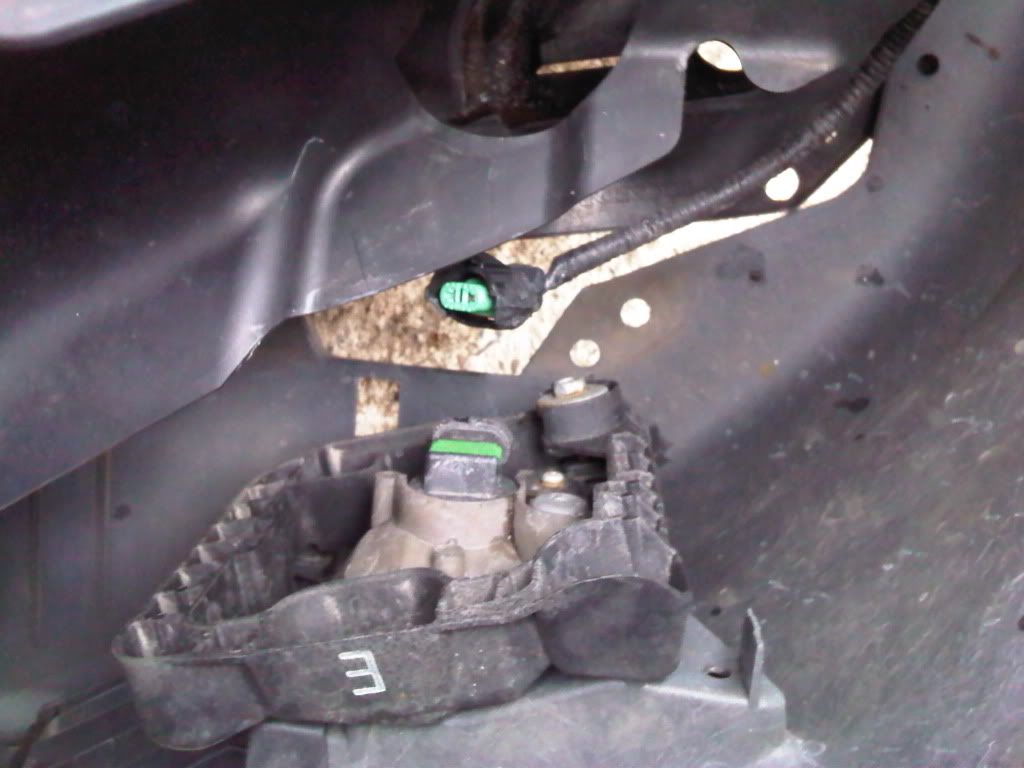
Parking sensors located on the passenger side:
Fog light connections:
Put the bumper somewhere safe!
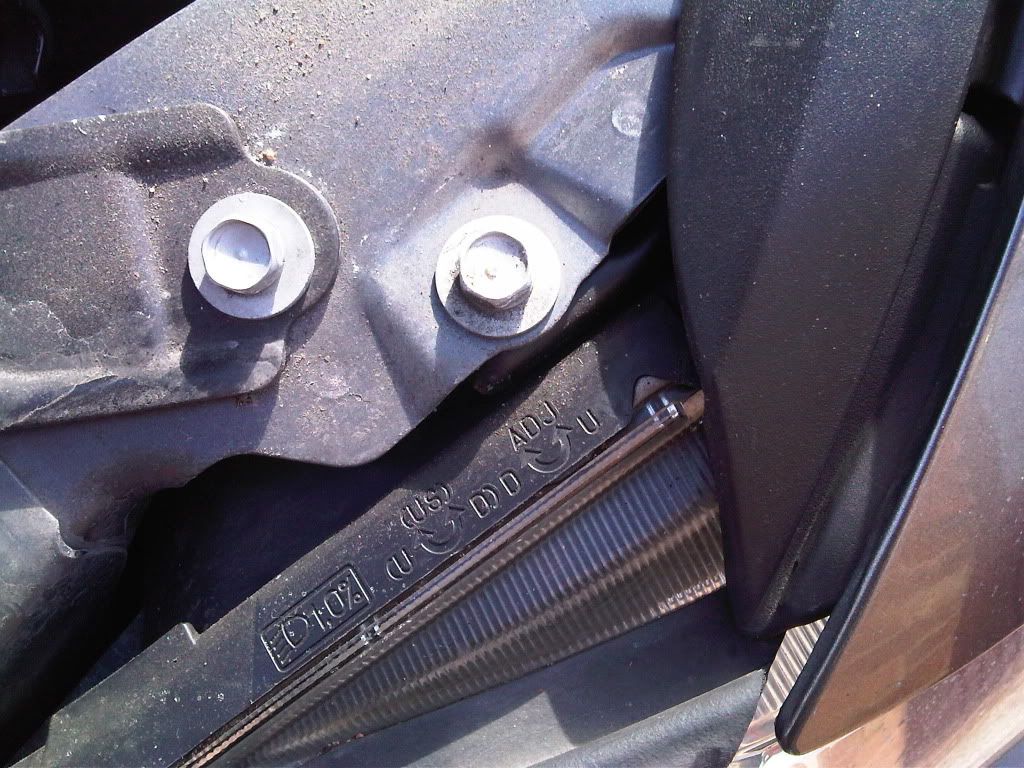
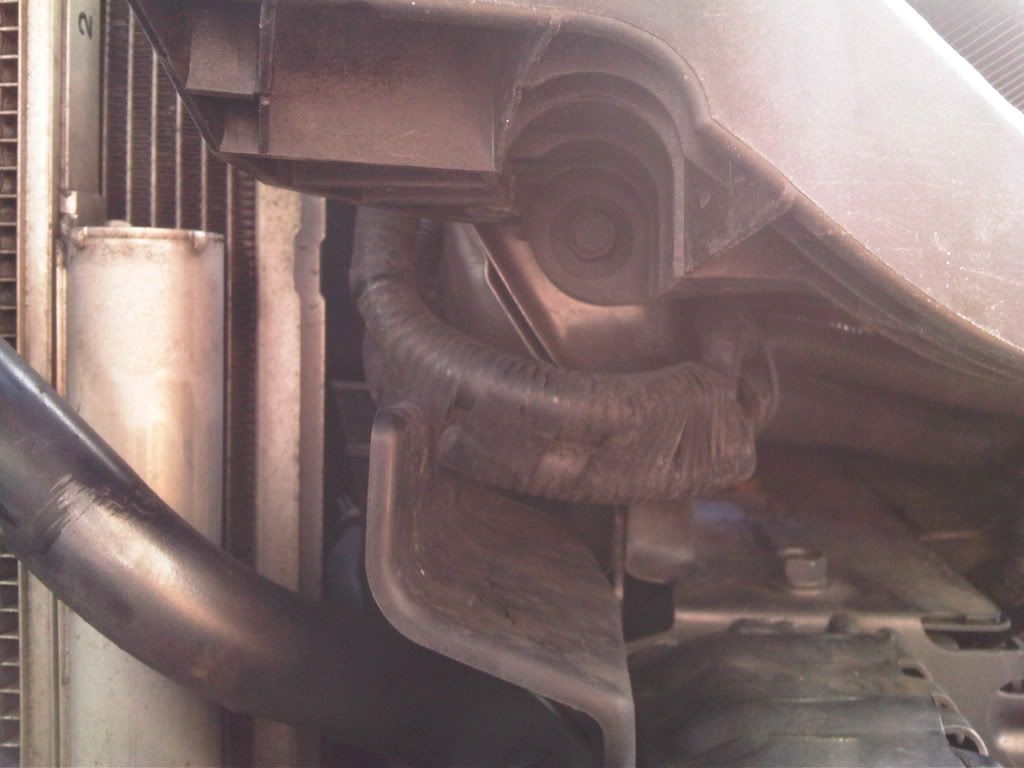
Step 6.
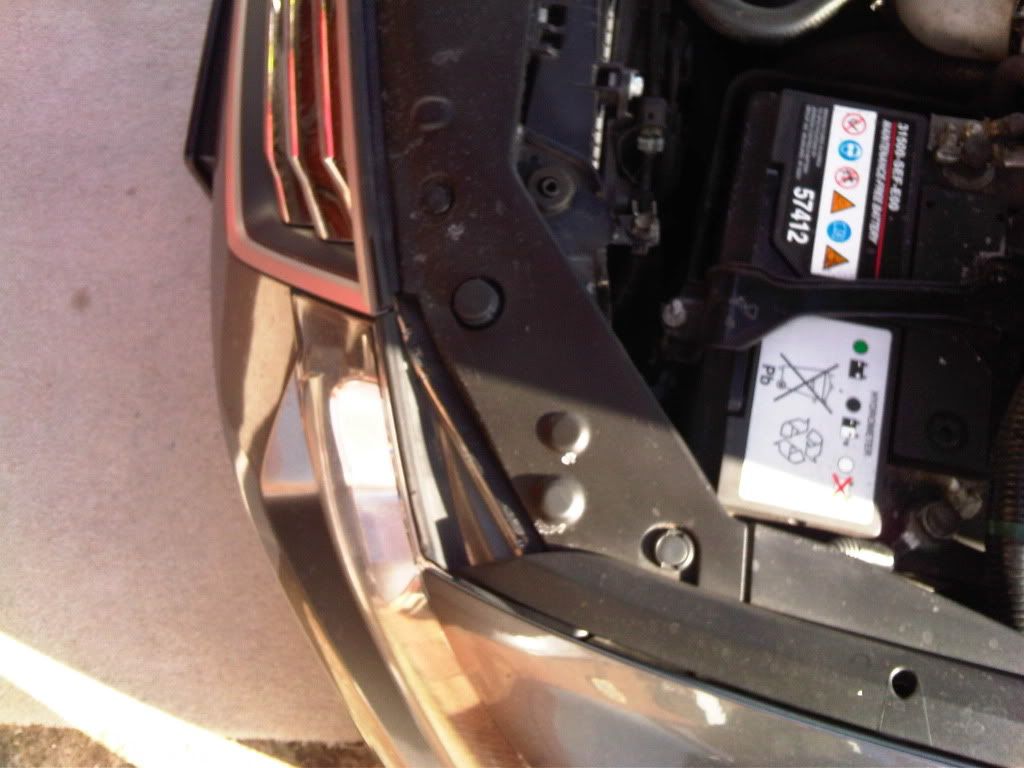
Locate the 4 bolts holding the headlight into position. These are 10mm and you will require an extesion to reach one of them.
one in the side wing:
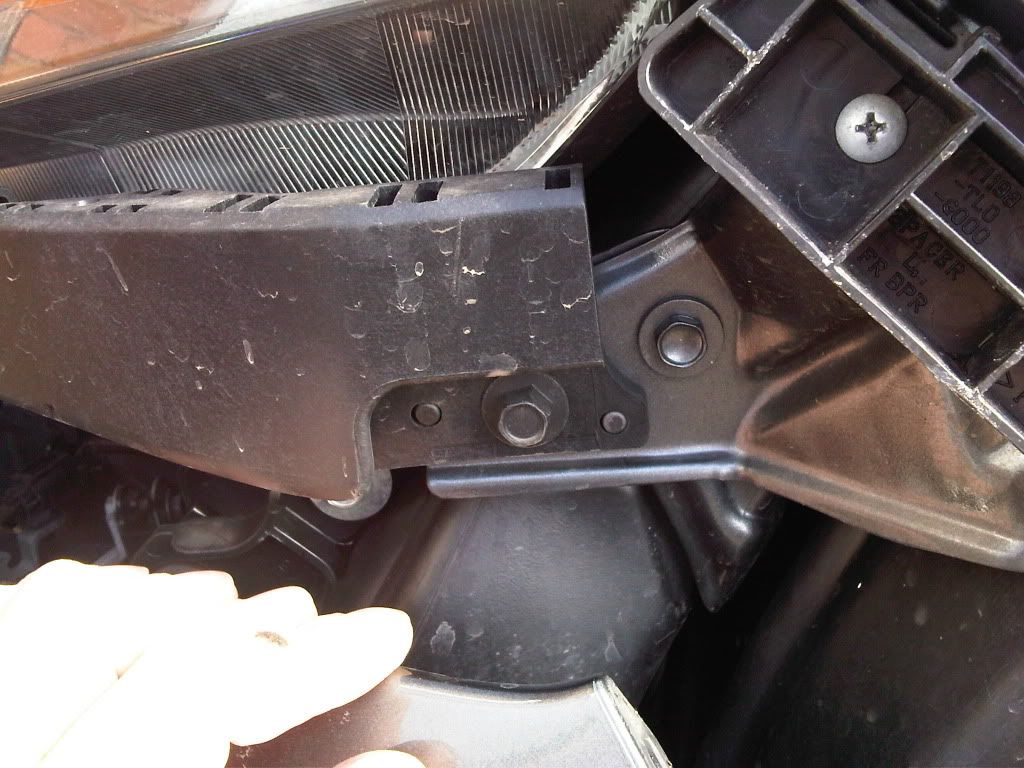
two on the top of the light:
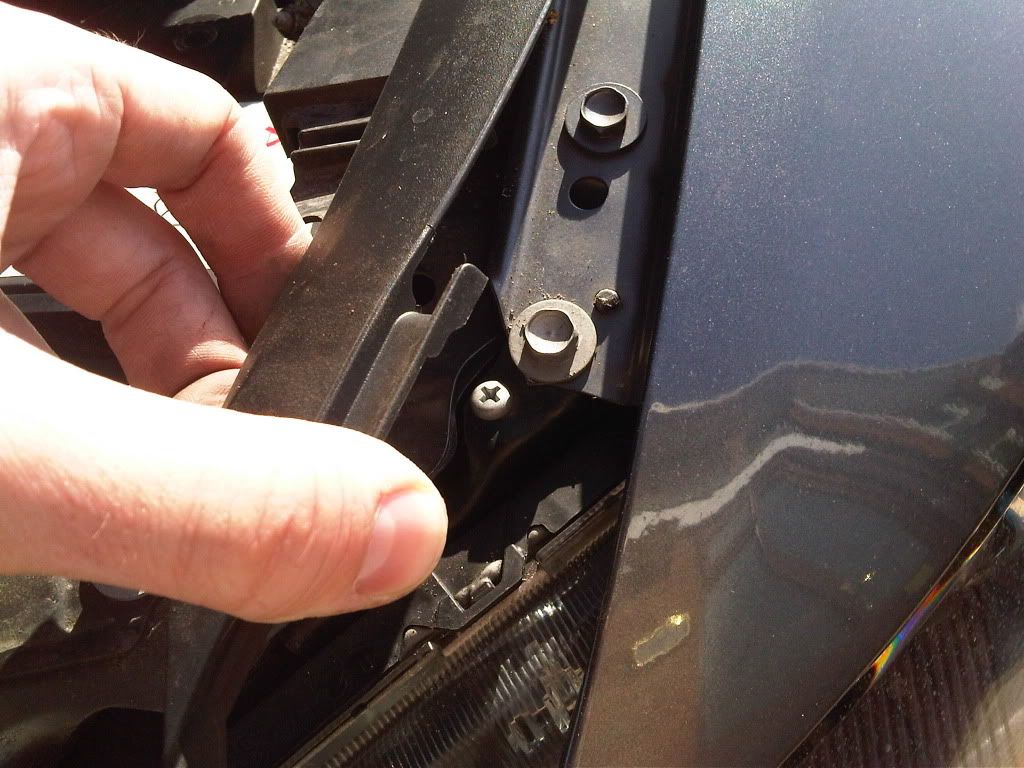
one under the light ***embly - extension time:
Step 7.
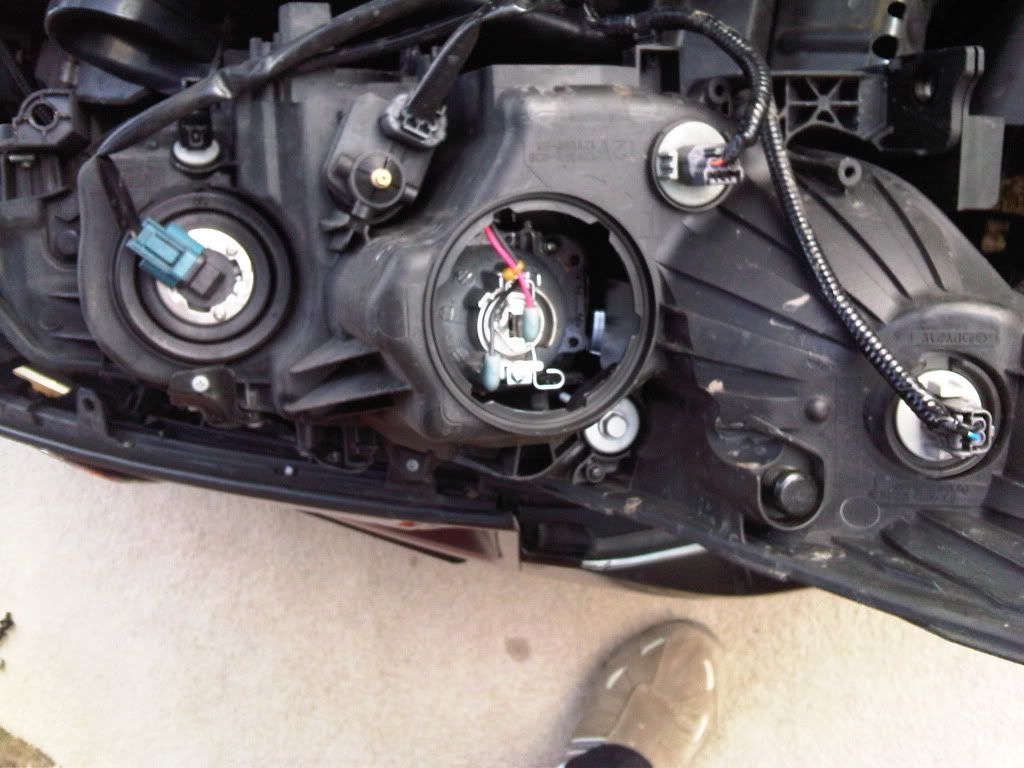
Remove the light ***embly.
You can at this point disconnect the light totally and remove but i did this while attached to the car. Remove the rear cover to expose the wiring and old bulb housing.
Now this is where i didnt take pictures but you need to drill a 25mm hole in the rear cover to allow the new HID cables to pass through and secure with the gromet connected. I didnt have a hole cutter so i used a 16mm drill and used this to open up the hole to fit the cables through.
Step 8.
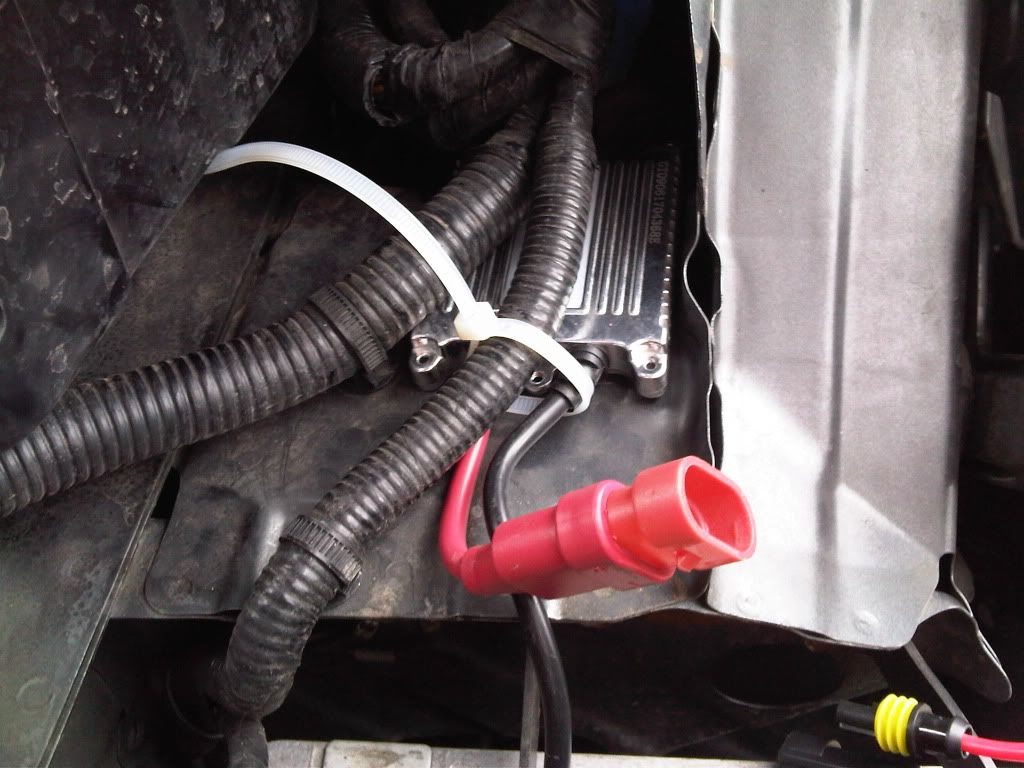
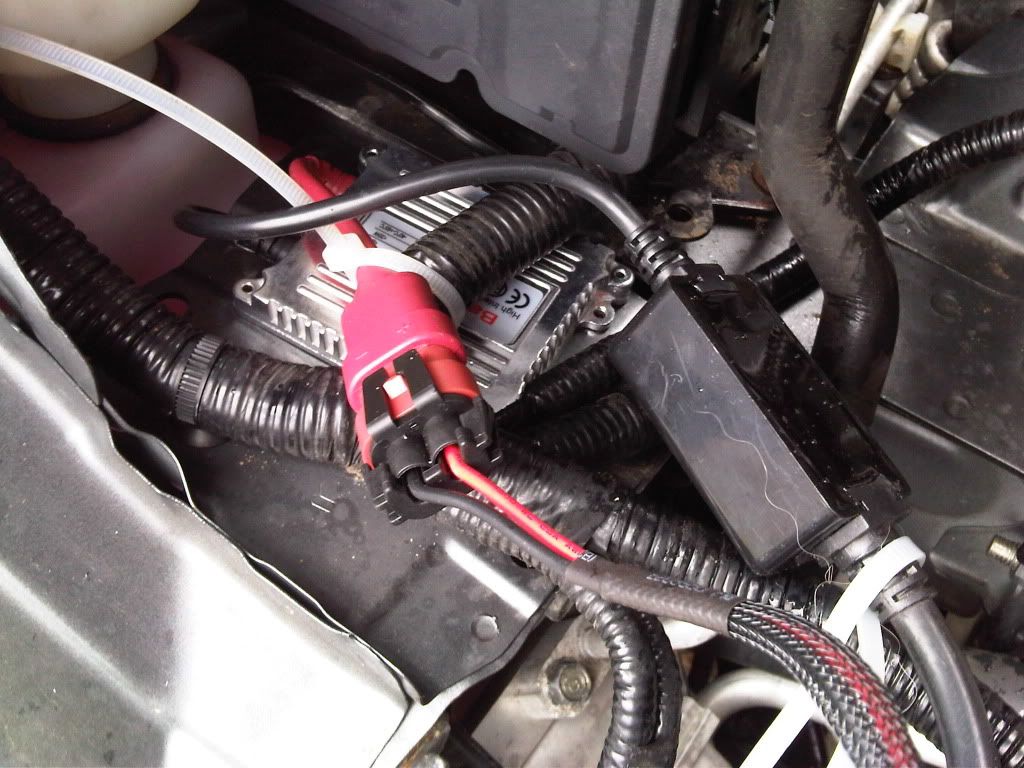
Locate a position for the ballest to go. i chose to place these tight under the existing wiring loom and secure with the cable ties.
Passenger side:
Drivers side:
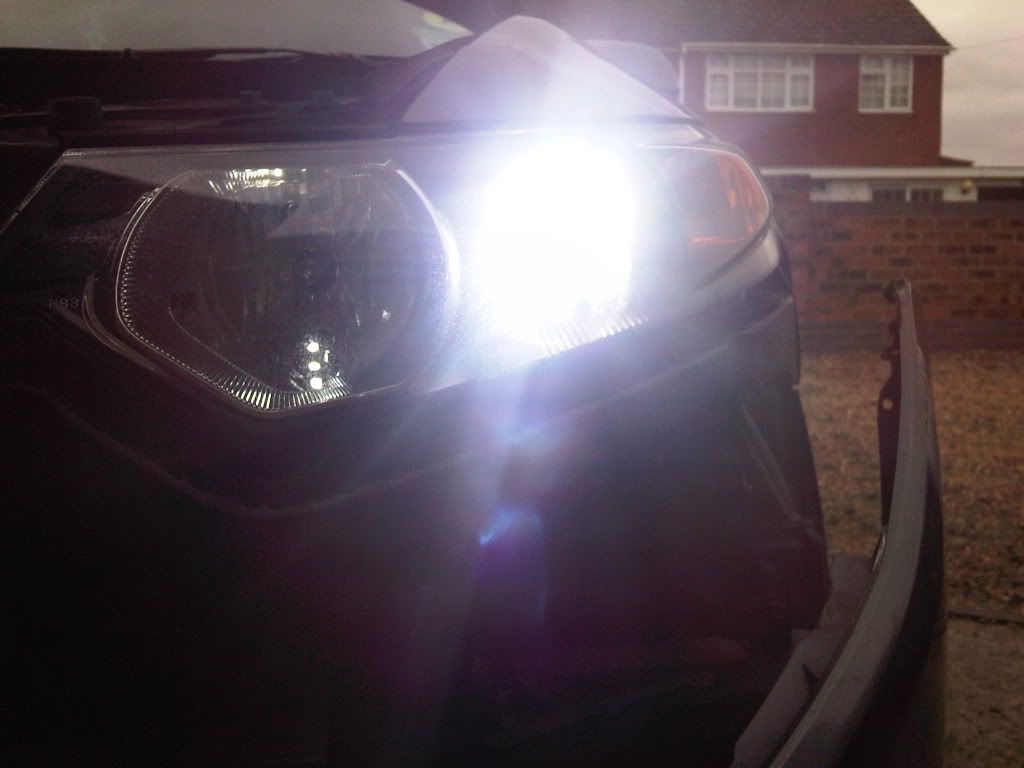
Step 9
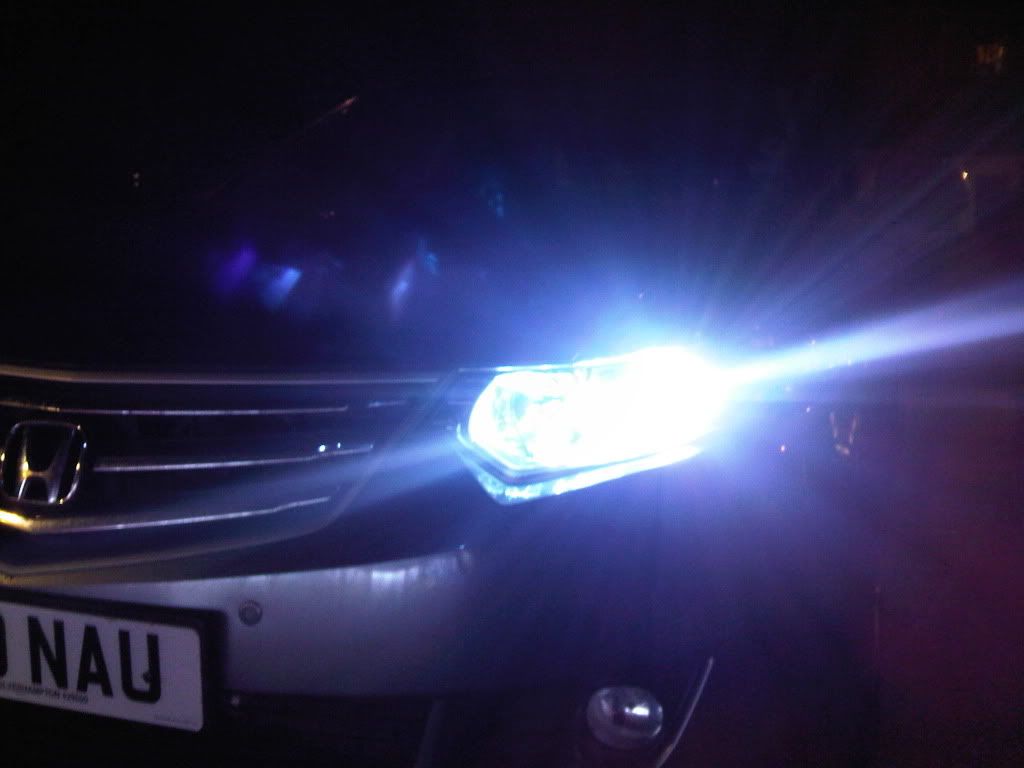
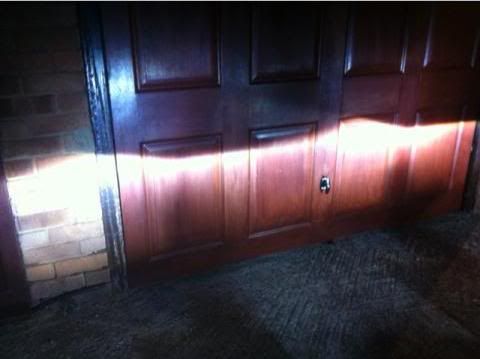
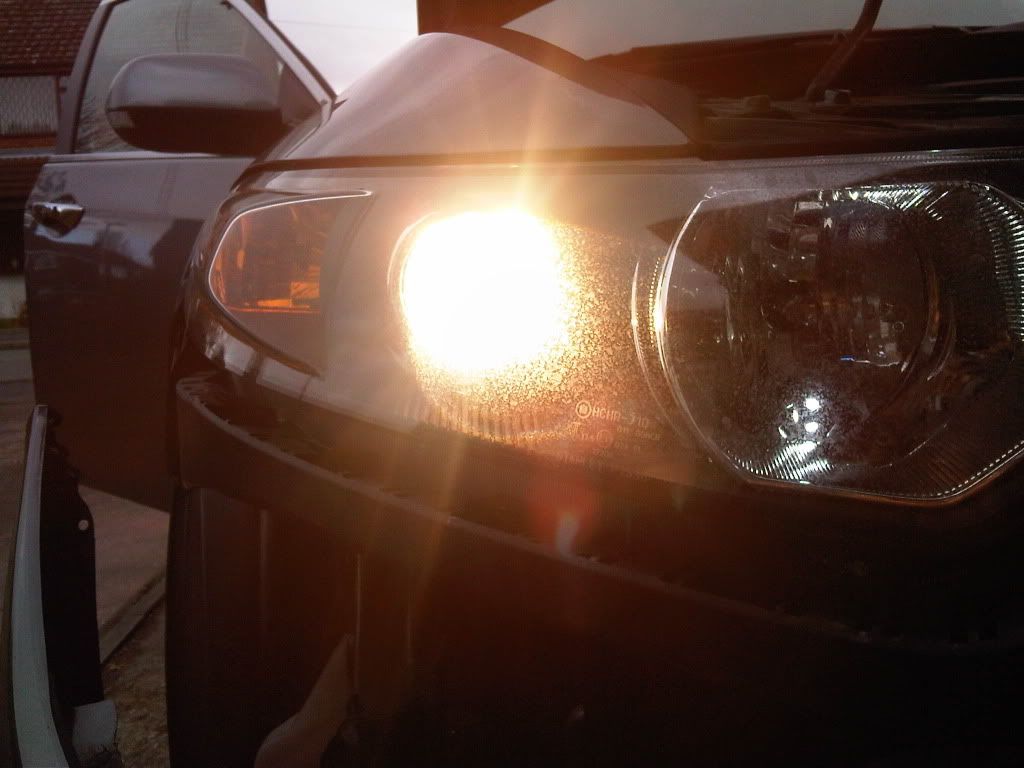
refit the passenger light (i did this light first) and replace the bolts hand tight. Check the cable underneath the light to ensure no tangles or trapped wires. Next turn on your lights and check operation!
Old light
New light
If happy secure the light fully and repeat the process on the drivers side!!
Step 10.
Once both light are completed and you are happy with the operation you will need to refit the bumper and any wiring plugs disconnected.
I found the best way to get the bumper on is to start at the gill and work outwards, you will find that the bumper goes on very very easily and takes 2 ticks!
Replace all the plastic securing lugs, and trim work including the 2 philips screws and be please with your work!
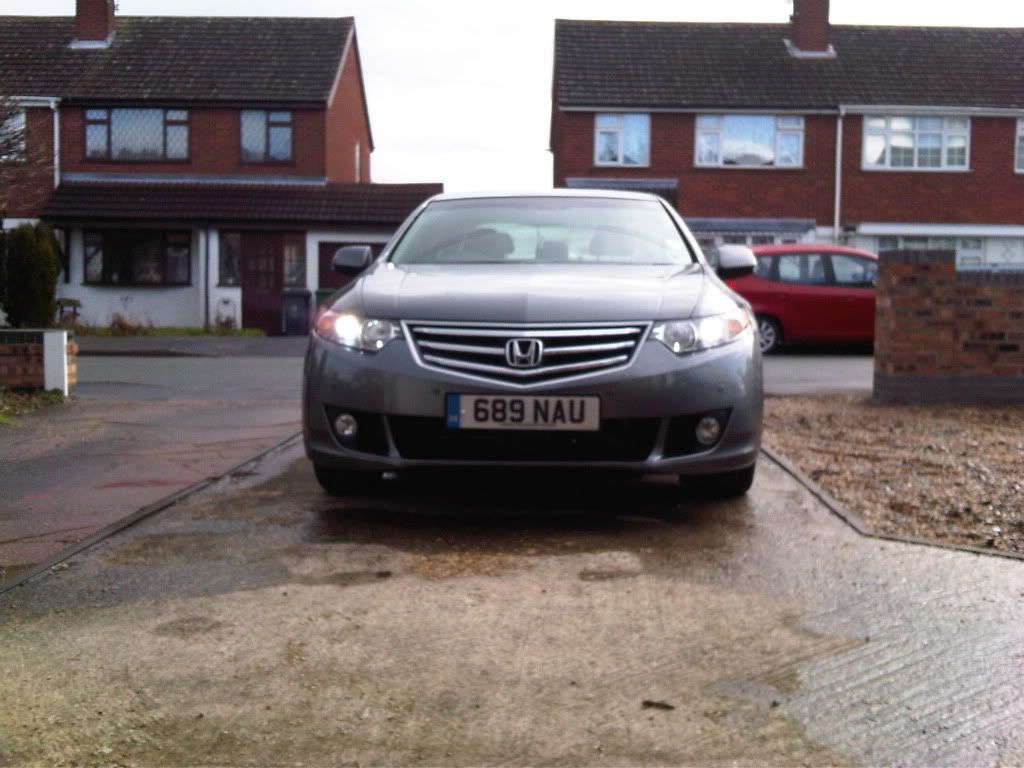
I will get pictures tonight to show the new light effects!!
Enjoy, any questions let me know.
I decided to install HID 6000K units into my 8th Gen accord and can advise they work a treat so thought i would share with you all. Apologies as i couldnt take pictures all the way through as i sort of forgot or had my hands full.....
So to start you will need:
1. HID kit in H1 fitting (ebay best - http://www.ebay.co.u...=item4cec249814 )
2. philip screw driver
3. flat blade screw driver
4. 10mm socket and ratchet
5. old peice of carpet
6. a drill and a 25mm hole cutter or similar
So the easiest way for me to show this is in step format so here goes:
Step 1.
Locate all the plastic securing pins on the top trim within the engine bay and remove. Be gentle as they will break but do come out without to much effort.
Step 2.
Repeate same process for the lower fixing points under the car - there are lots of these!!!
Step 3.
Remove the single philips screw located inside each wheel arch.
Step 4.
Starting at either side give the bumper at the wheel arch a good tug and it will unclip. Follow this round under the light fitting and then repeat from the other side. Be careful at this point not to drop the bumper!! This is where best to put the carpet to aviod scratches to the paint work. Once free lift off from the car and place on the floor.
Step 5. (optional)
If you want to remove the bumper out of your way then you will need to disconnect any cables, so dependant on the options fitted to your car unplug the leads to the front bumper to remove.
Parking sensors located on the passenger side:
Fog light connections:
Put the bumper somewhere safe!
Step 6.
Locate the 4 bolts holding the headlight into position. These are 10mm and you will require an extesion to reach one of them.
one in the side wing:
two on the top of the light:
one under the light ***embly - extension time:
Step 7.
Remove the light ***embly.
You can at this point disconnect the light totally and remove but i did this while attached to the car. Remove the rear cover to expose the wiring and old bulb housing.
Now this is where i didnt take pictures but you need to drill a 25mm hole in the rear cover to allow the new HID cables to pass through and secure with the gromet connected. I didnt have a hole cutter so i used a 16mm drill and used this to open up the hole to fit the cables through.
Step 8.
Locate a position for the ballest to go. i chose to place these tight under the existing wiring loom and secure with the cable ties.
Passenger side:
Drivers side:
Step 9
refit the passenger light (i did this light first) and replace the bolts hand tight. Check the cable underneath the light to ensure no tangles or trapped wires. Next turn on your lights and check operation!
Old light
New light
If happy secure the light fully and repeat the process on the drivers side!!
Step 10.
Once both light are completed and you are happy with the operation you will need to refit the bumper and any wiring plugs disconnected.
I found the best way to get the bumper on is to start at the gill and work outwards, you will find that the bumper goes on very very easily and takes 2 ticks!
Replace all the plastic securing lugs, and trim work including the 2 philips screws and be please with your work!
I will get pictures tonight to show the new light effects!!
Enjoy, any questions let me know.

")