6th Gen SOHC F18B2 Air Filter Howto
This is my 6th Gen SOHC F18B2(f18b3,f20b6) Air Filter Howto.
One of the easier jobs on the 6th Gen, just requiring simple tools or a spanner.
Tool List
1. 1/4” Ratchet
2. 1/4” 10mm Deep Socket
With the bonnet up and secure you want to identify the air filter housing as we will be opening it up later. It is just to the left of the battery
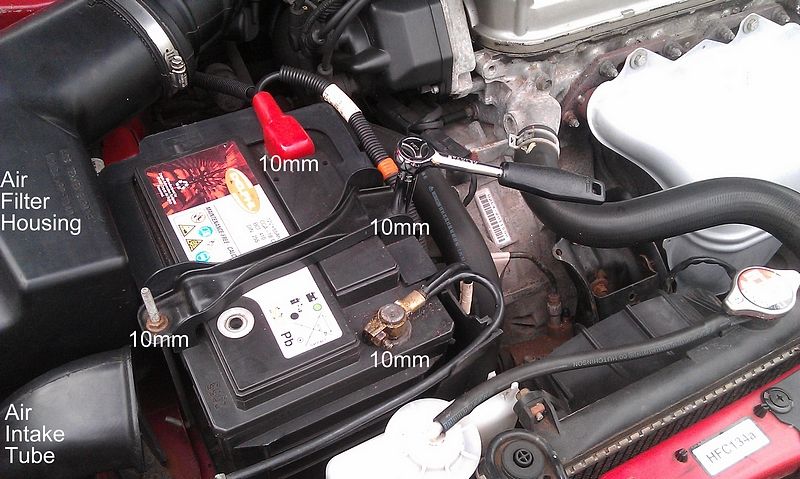
I always remove the battery for ease of access. You might find you don't need to, but I've tried and don't want to damage or rip the new filter. I also want to ensure its properly seated and not pinched anywhere. If you do decide to remove your battery you will need your radio code and will also need to reset the Auto Window function once its reconnected.
Disconnect the (BLACK) Negative cable, followed by the (RED) positive cable.
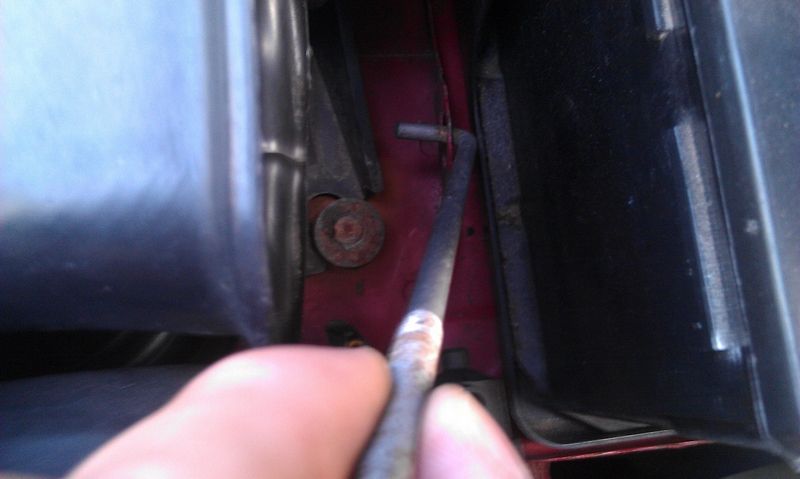
A single socket as long as its a deep one can be used on the battery posts but it is needed on the clamp securing J Bolts. A spanner will also do the job if you don't have a deep socket.
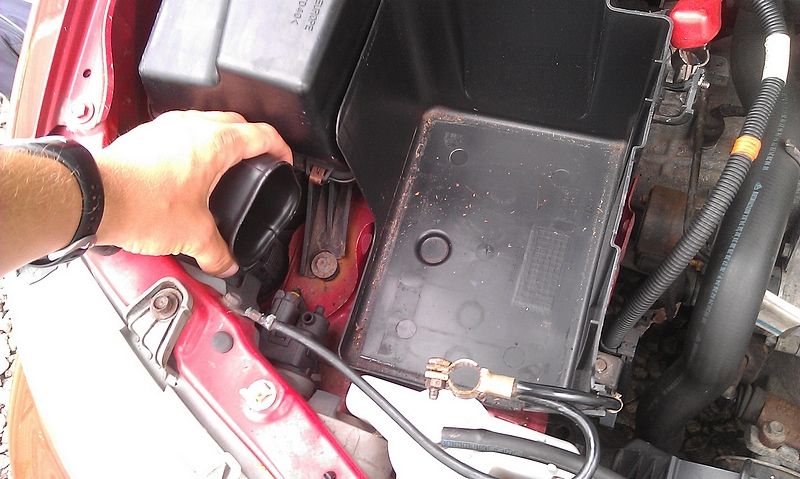
Take the clamp out the way noting its orientation, then lift the half-cover off and then take the battery out. The battery will be a little heavy so be aware when you lift.
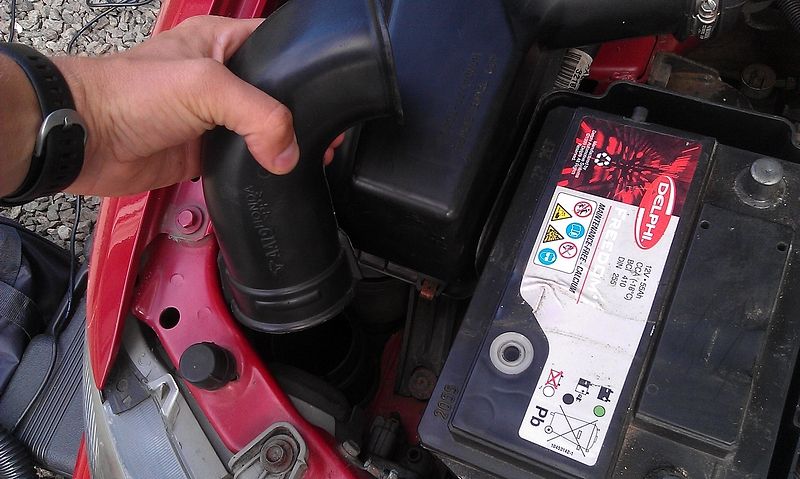
Once the battery is out then twist and pull up on the Air Intake Tube
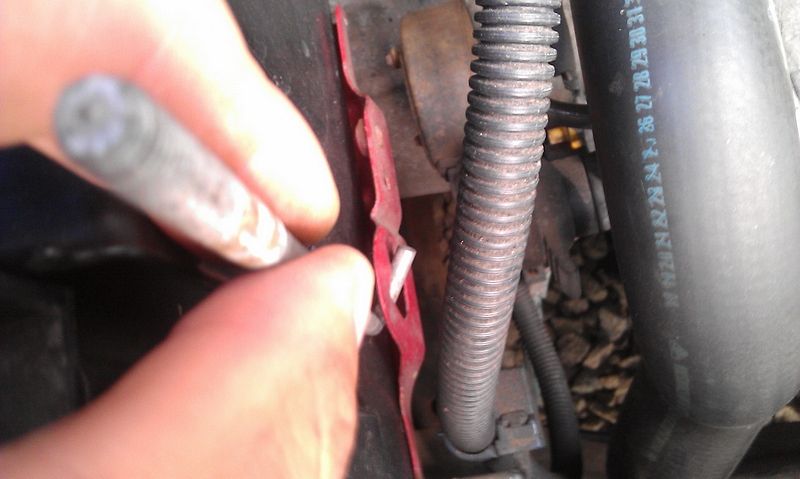
Now just unclip the two spring clips
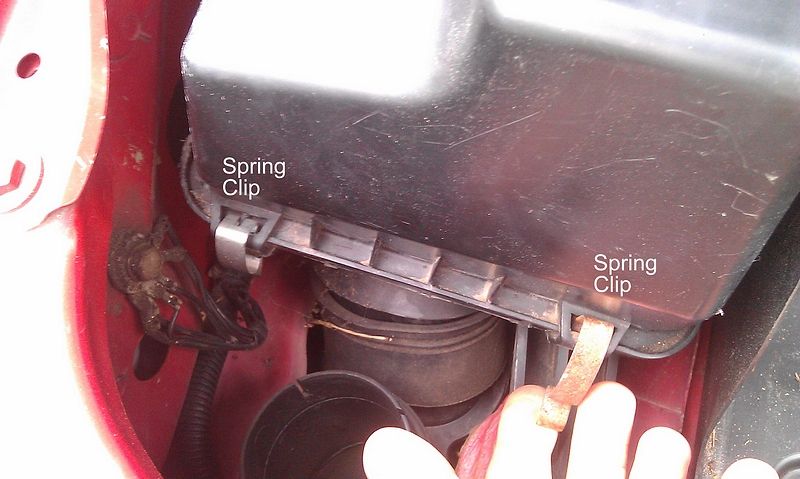
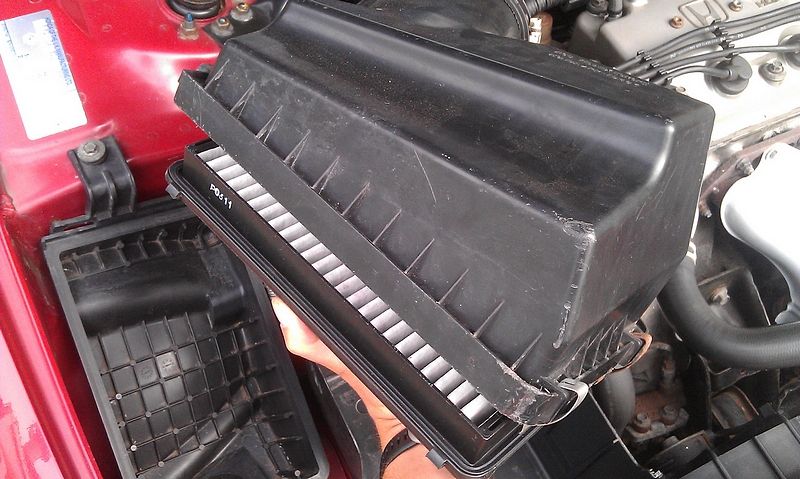
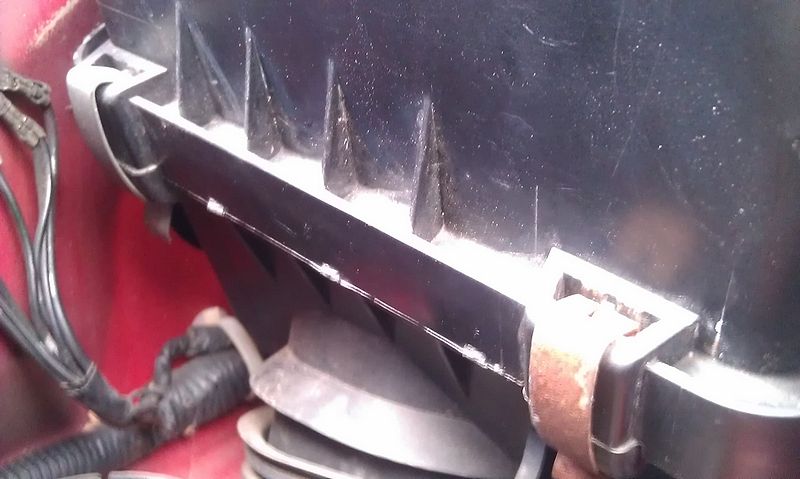
At the back of the Air Intake Housing are two tabs. You just need lift the housing up and forward and slide the tabs out.
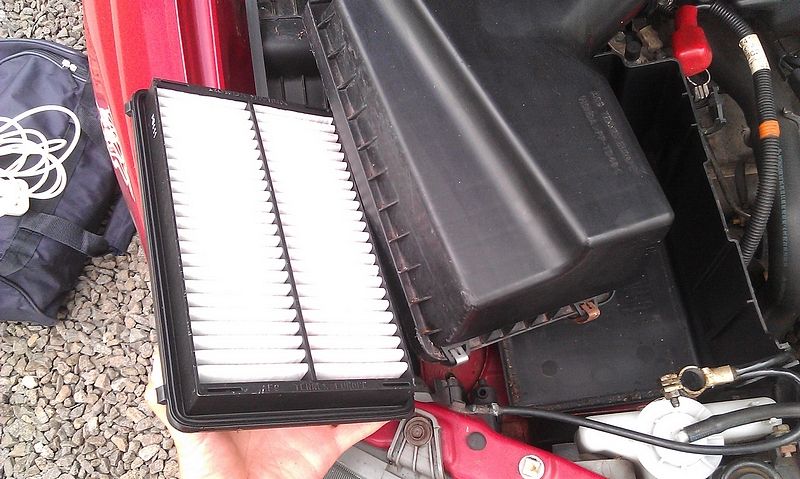
The air filter should then be obvious. Take a look at its orientation and if the plastic frame is offset in any way ensure you put the new back in the same manner. Any debris should be on the underside with the top side being spotless indicating good filtration and good maintenance. Annually I'll vacuum or blow compressed through an old filter. If you decide to try this (and its not really recommended) then be careful not to damage the filter. In no circumstances invert the filter to present a clean side down as your engine vacuum will then suck the trapped debris straight into your throttle body and intake manifold.
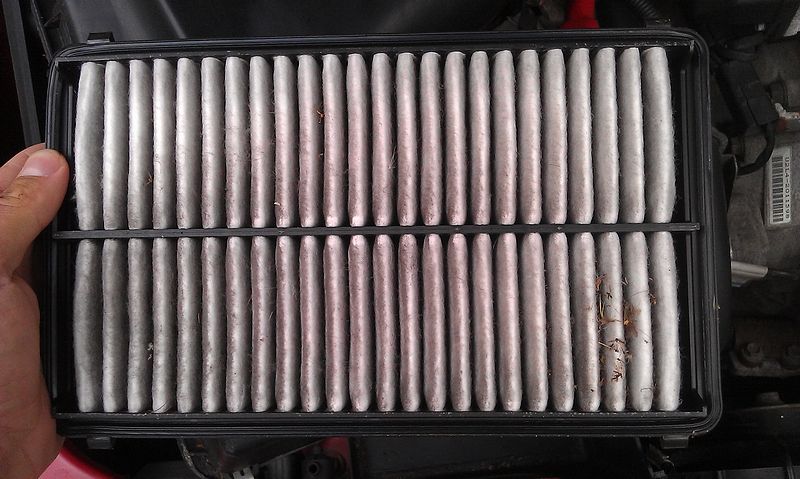
Underside of air filter.
Reinstallation is the reverse of removal
Ensure the tabs are properly seated
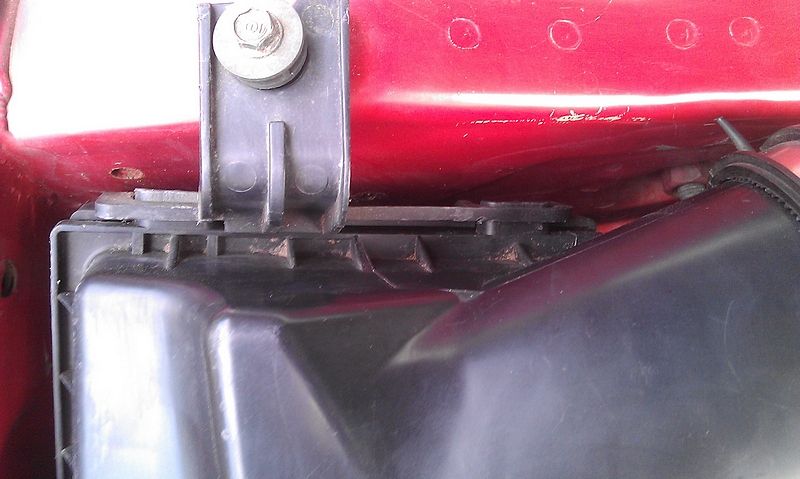
Ensure the filter housing is flush, square and the spring tabs engaged
Reinstall your Intake Tube (don't forget
") )
)
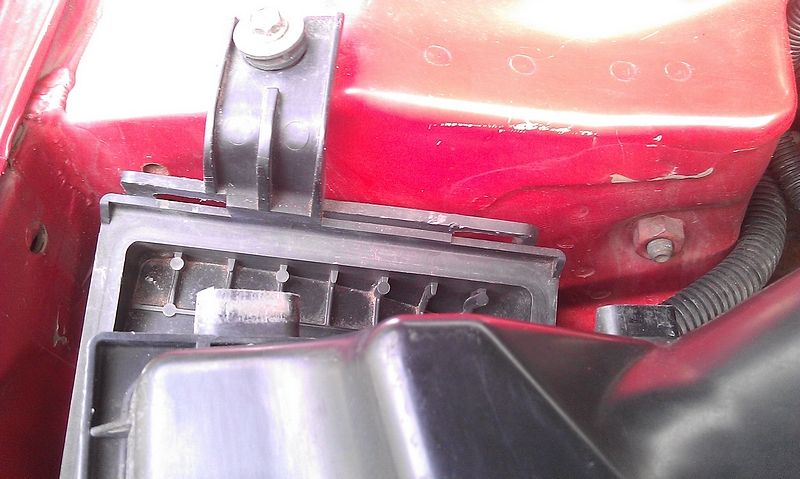
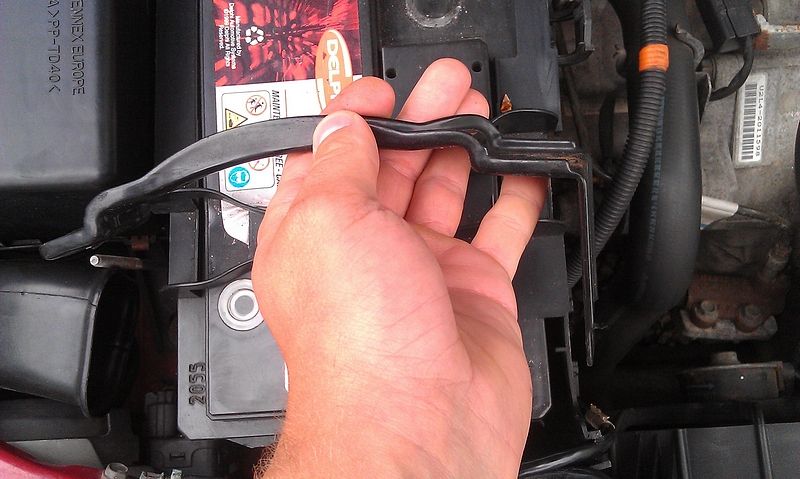
Battery clamps and bolt securing.
This is the proper clamp orientation. It can be a bit fiddly installing the long J Bolts and the clamp whilst keeping the bolts hooked on the catch underneath. Its easier to install the right hand side bolt, then slip the longer side of the clamp over. As the left side is short it doesn't need as much clearance to lift over and seat. Tighten the bolts down snug but not too tight to crack the battery case.
Now attach your (RED) positive cable, follow by your (Black) Negative battery cable, snug again not over tight.
Power window reset procedure
Press window button down, when fully down keep the button down for 5 secs. Then pull up on the button, when window fully up keep button up for 5 secs – this should enable 'Auto' window. This is one action, do not let go the button until the very end.