6th Gen CG8 F18B2 Rear Brake Disc and Pad Service
This is my 6th Gen CG8 F18B2 Rear Brake Howto
Safety, Lifting and Supporting the car.
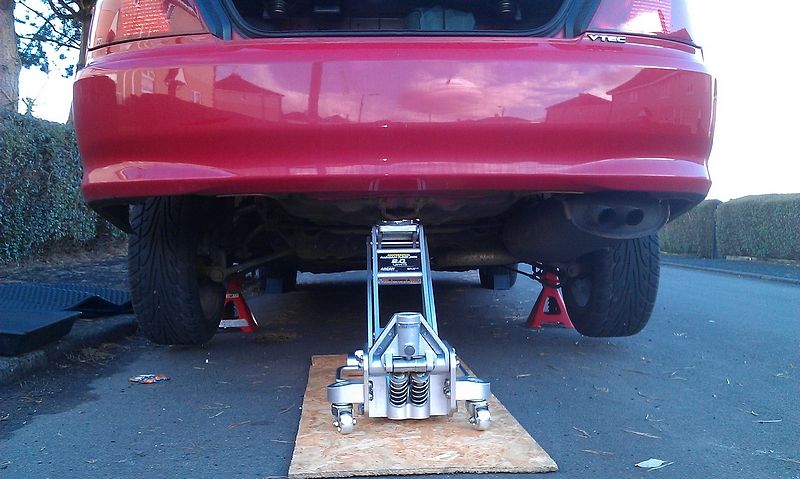
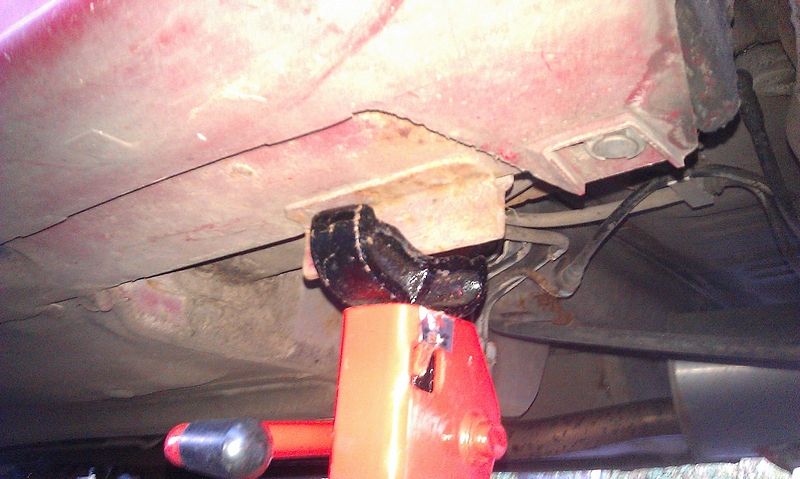
Put the car in gear, chock the front wheels – if using large bricks be aware of your front bumper becoming crushed as you lift the rear. If you have a large enough jack, use the rear tow hook to lift the end and secure the vehicle with axle stands.
Now the car won't kill you by falling on you also want to ensure that when the job is over the bolts are all tight enough that the car will stop when you need it too. A Torque wrench really is a must for the DIY'er here, braking efficiency and safety is paramount. Ensure these bolts are torqued according to spec.
Also remember you will be handling grease and friction surfaces simultaneously later on. Do not contaminate the friction surfaces of the pad face or the disc itself with any grease.
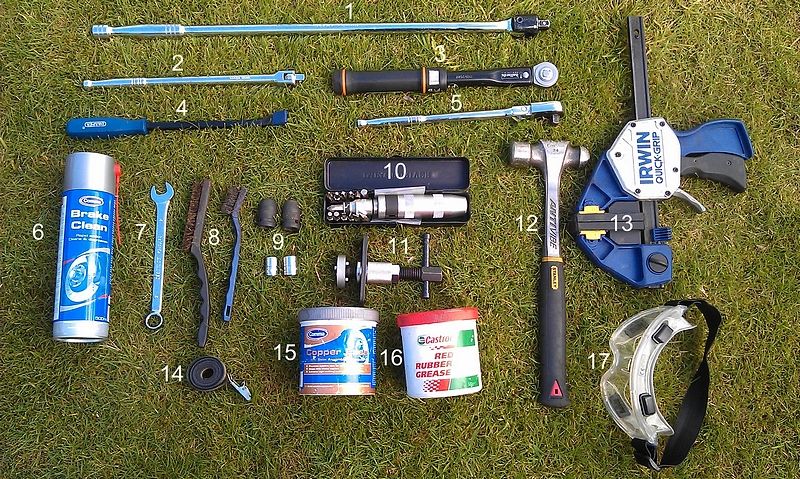
Tool List
1. Breaker Bar 1/2”
2. Breaker Bar 3/8”
3. Halfords Torque Wrench 3/8” 8-60Nm
4. Pry Bar
5. Ratchet 3/8”
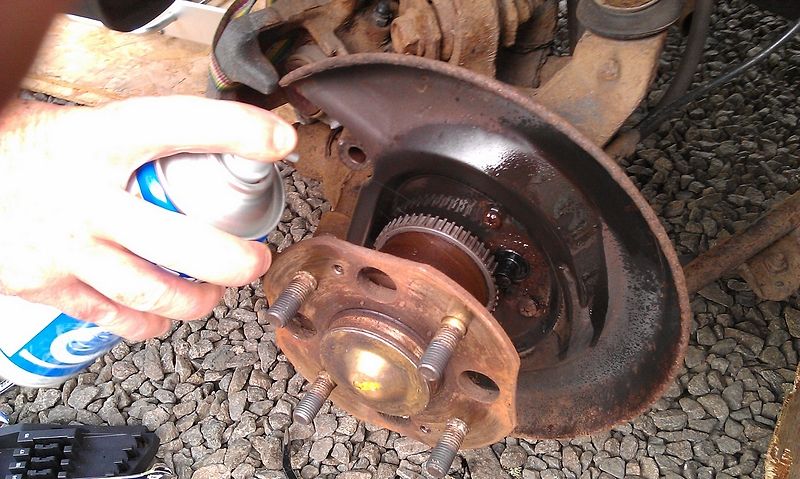
6. Brake Cleaner
7. Spanner 15mm
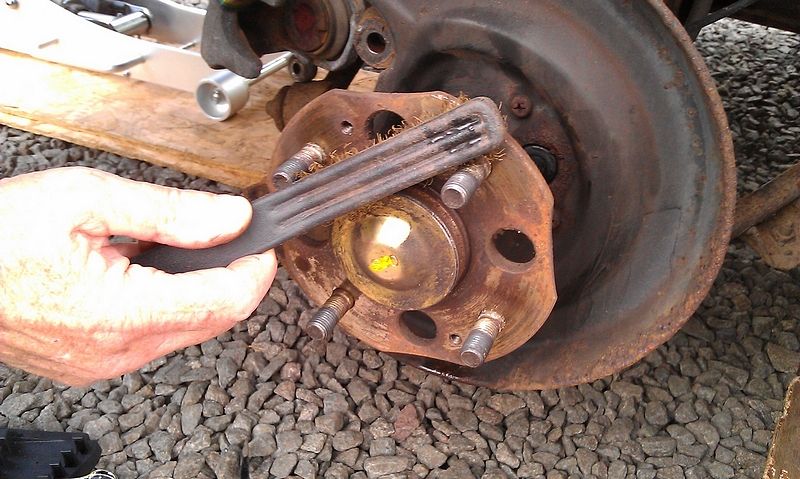
8. Wire Brushes
9. Sockets 12mm 14mm
10. Impact Driver
11. Laser 1314 Brake Piston Rewind Tool
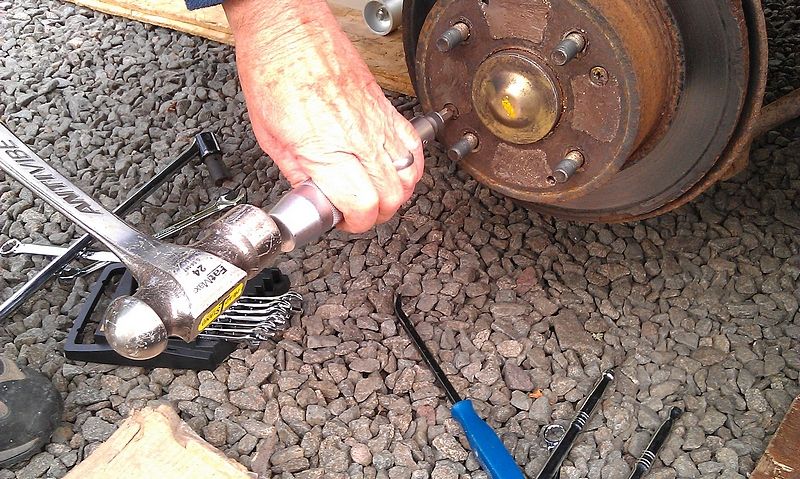
12. Hammer
13. Clamp (front piston)
14. Strap (for securing caliper)
15. Copper Grease
16. Rubber Grease
17. Safety Glasses
Some duplicate items here,namely the breaker bars and sockets. Not all essential, but its what I used in the process. The procedure is essenitally the same for the fronts, only using a clamp to push that piston in.
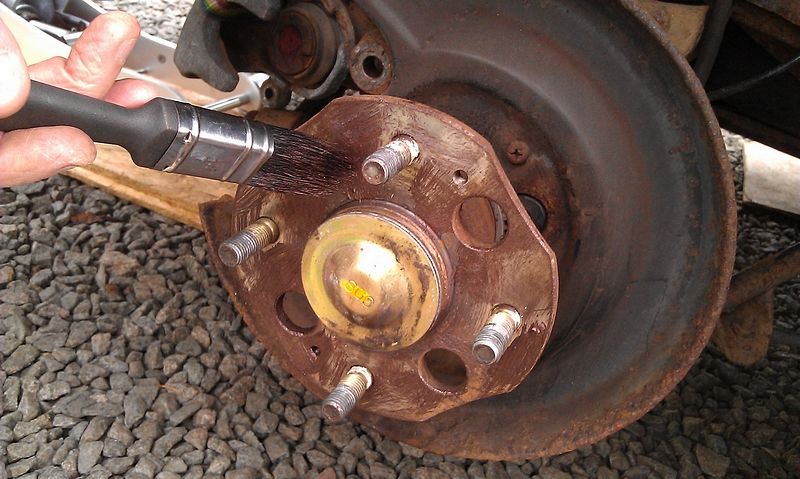
Removing the Caliper
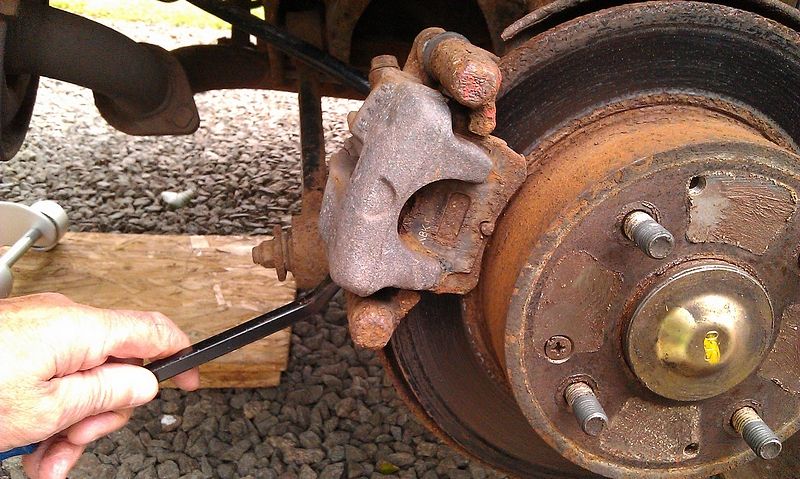
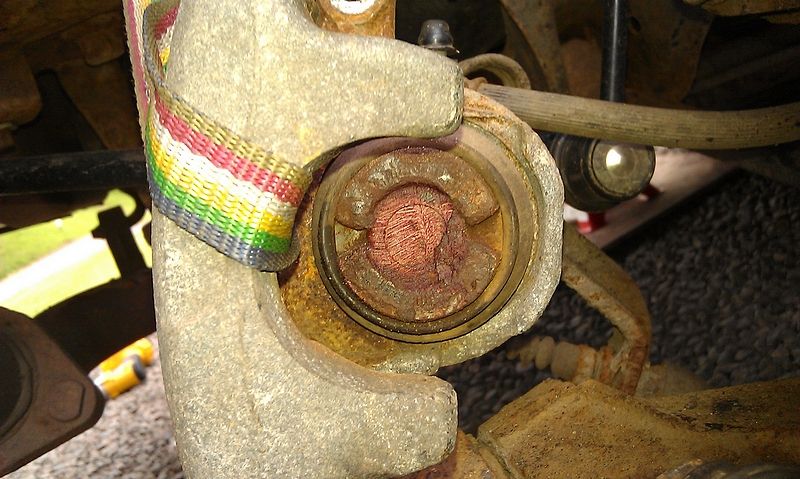
First thing to do now the vehicle is secure is to release the handbrake!
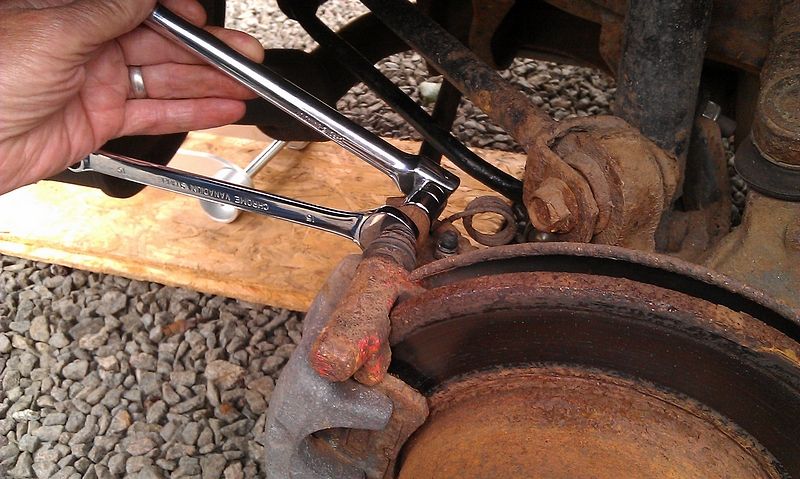
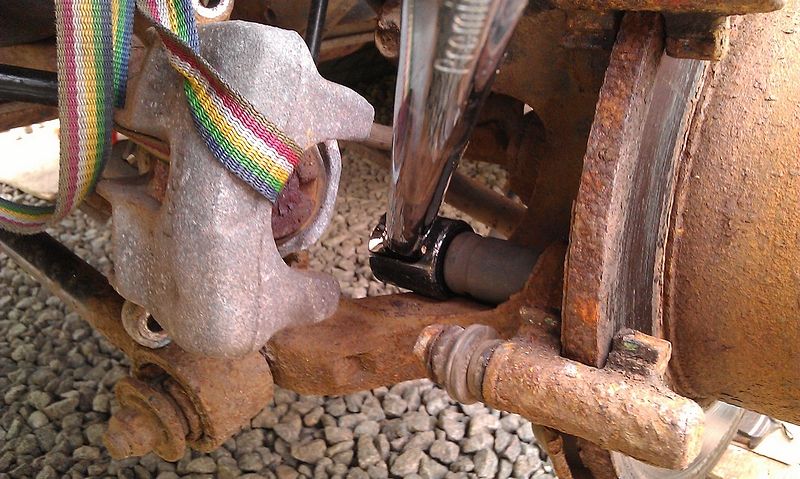
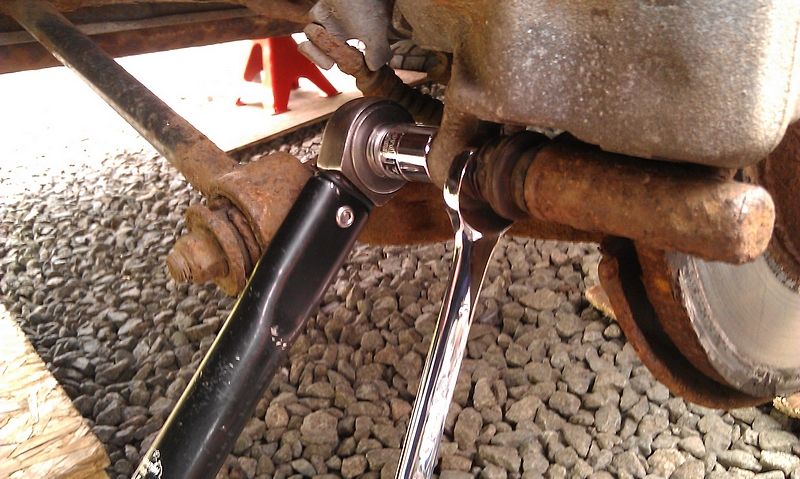
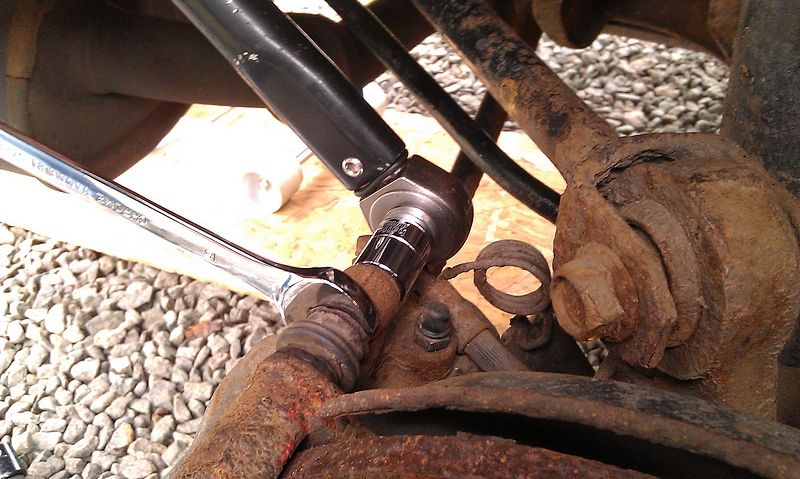
The rear caliper is secured by and upper and lower 12mm bolts at 26ft-lb. These two bolt screw into the end of the slide pins, which will likely begin to rotate and twist the slide pin boot. To avoid this hold the slide pin ends with a 15mm spanner and remember to spin the bolt clockwise as you look at it. Habit always has me spinning this anti-clockwise but as you are effectively infront of the bolt rather than behind it just remember the orientation.
Once the 12mm bolts are removed the caliper can be eased off. You might find this a little tight, so a prybar is useful to pry it off. Do not let the caliper fall off the bracket get ready to catch it.
Once the caliper is off, do not let it hang by the hose, tie it up to a control arm or shock coilspring with wire, bungee cord or a strap.
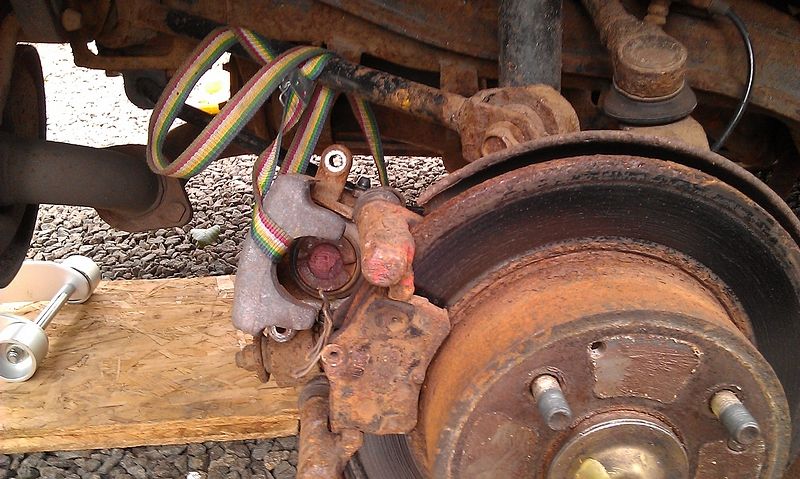
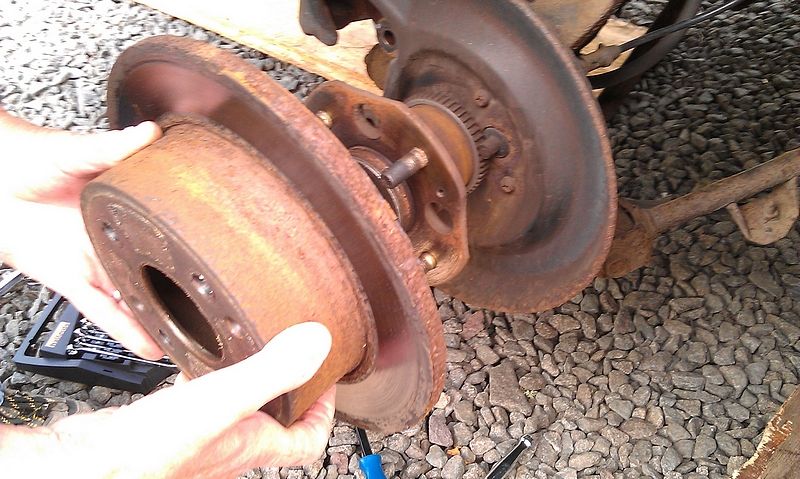
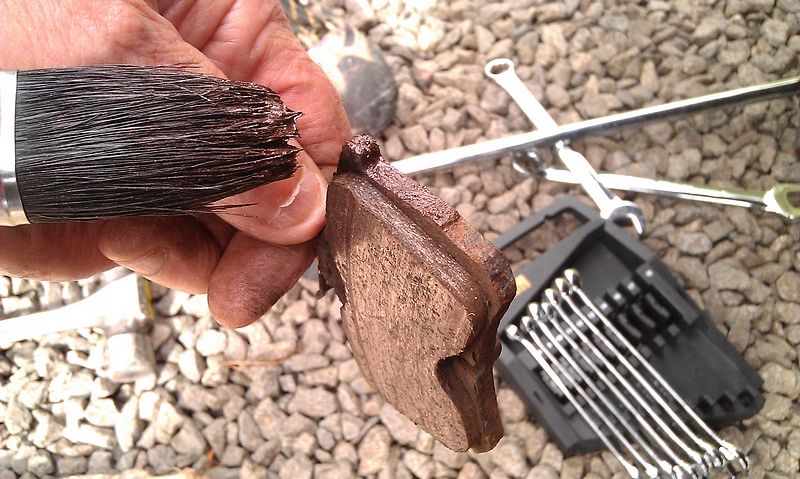
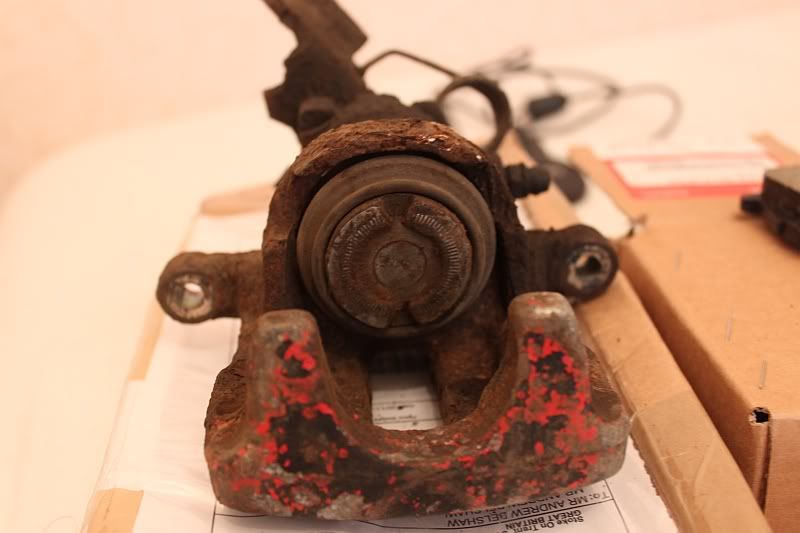
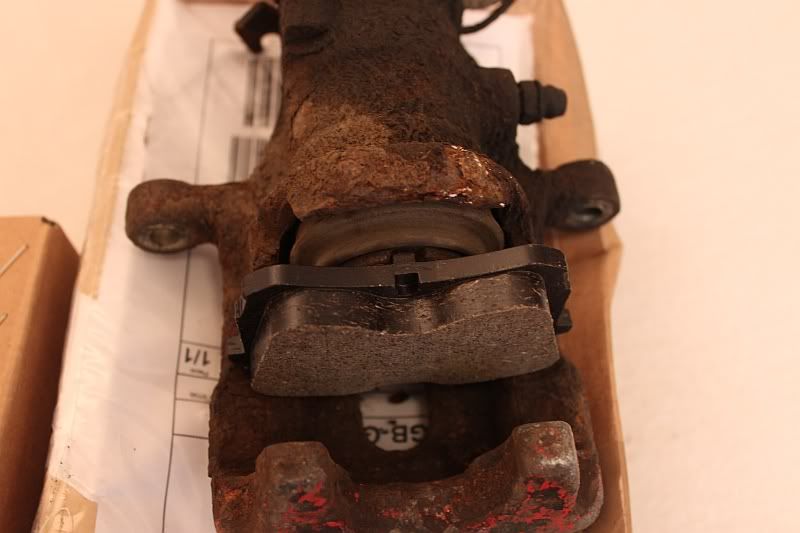
Next the old brake pads come off. Again these might need hammered or pried out. If you are just doing a brake service rather then new pads then take care here not to damage anything.
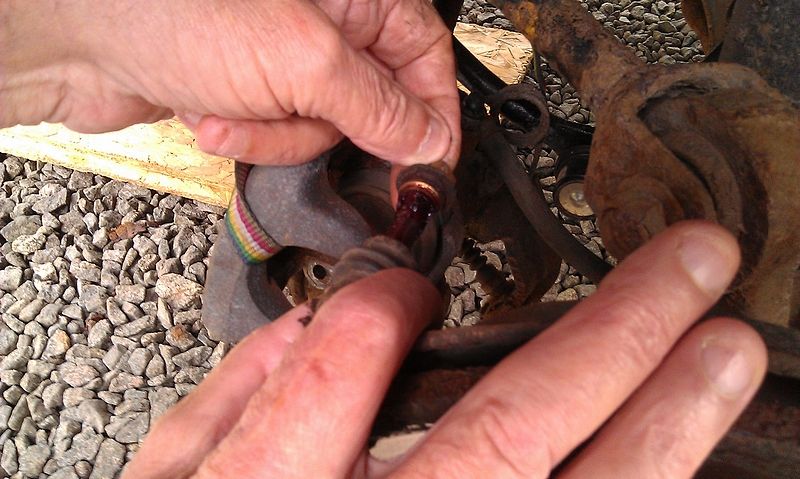
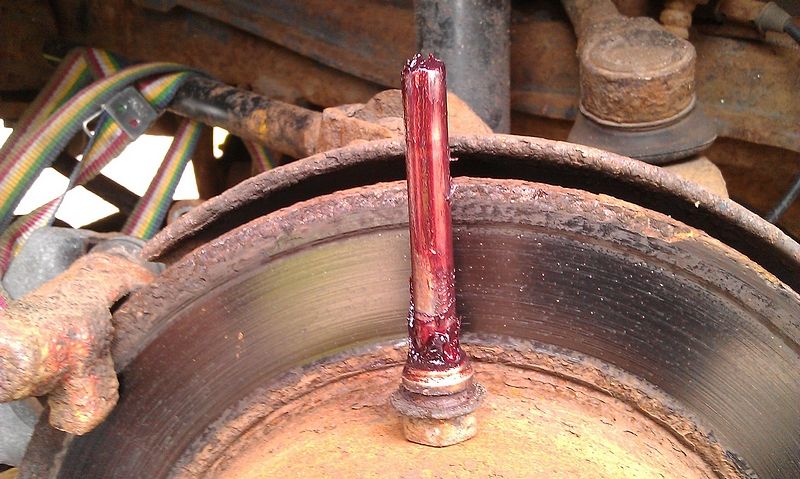
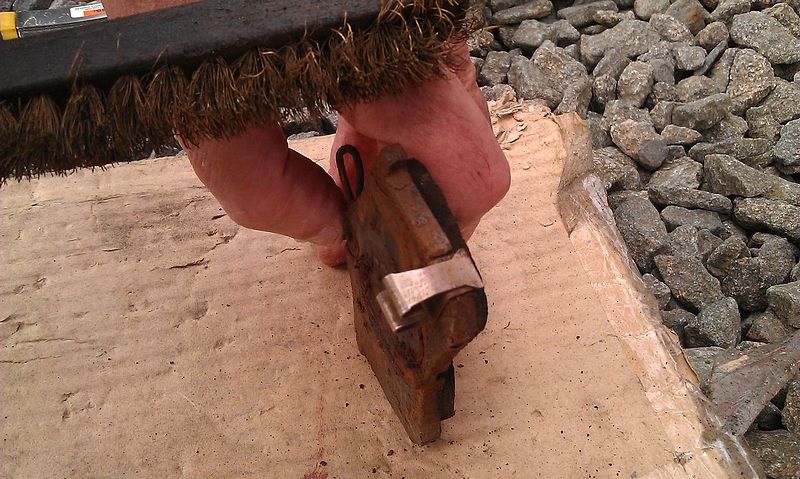
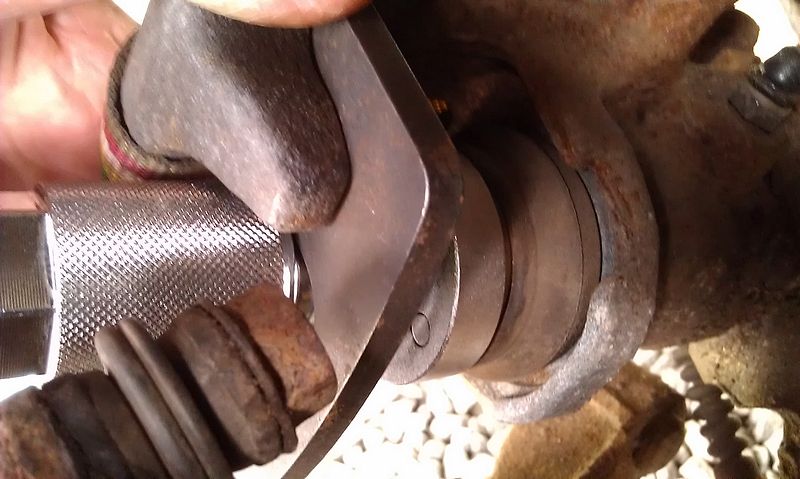
Slide Pins.
I usually tackle the slide pins at this point. The upper and lower pins are often a little different so just do one at a time not to mix them up. Hold the boot and ease the pin out. You can see here the remnants of the rubber grease from 12mths/5kmiles ago. This year I will keep the grease as is, I want to experiment with more miles and time to see how long the grease holds out.
Otherwise just clean the pins up with a paper towel and regrease them.
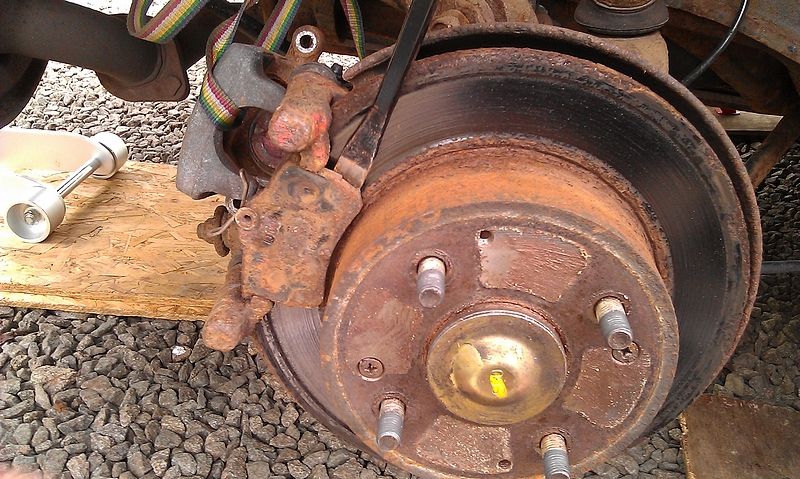
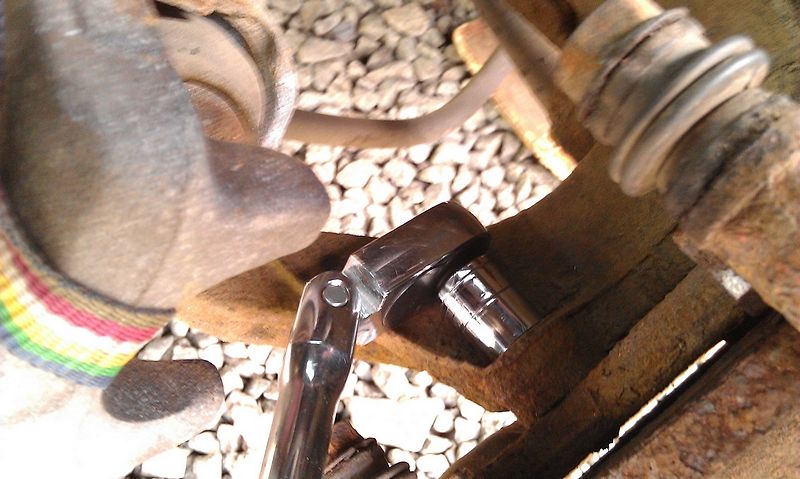
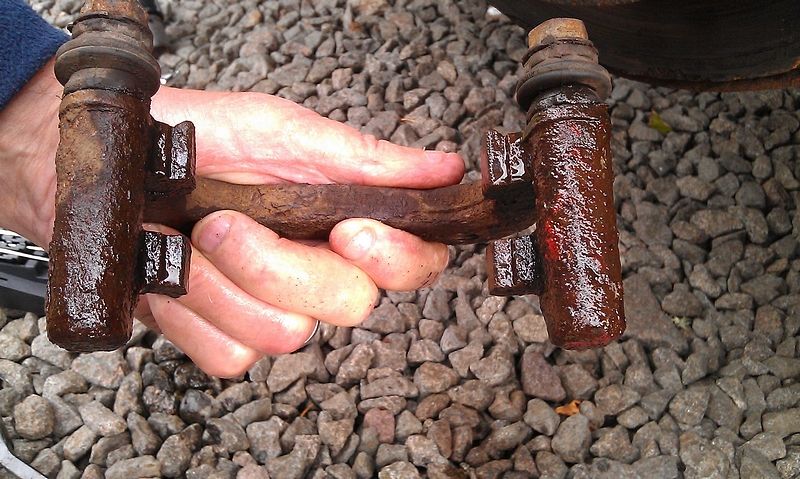
Removing the Caliper Carrier/Bracket.
Two 14mm 41ft-lb bolts hold on this bracket
Usually when I'm taking off bolts that have been on for a while I'll go for a 6 sided socket hence the 1/2” impact socket and large 1/2” breaker bar.
Then I'll just spin it off with what's at hand, on this occasion a 3/8ths flexihead ratchet with 12 sided socket.


") .
.